Google Street View
The Google Street View panel uploads a tour or single panoramas to Google Street View, and manages your Street View photos, places, and levels.
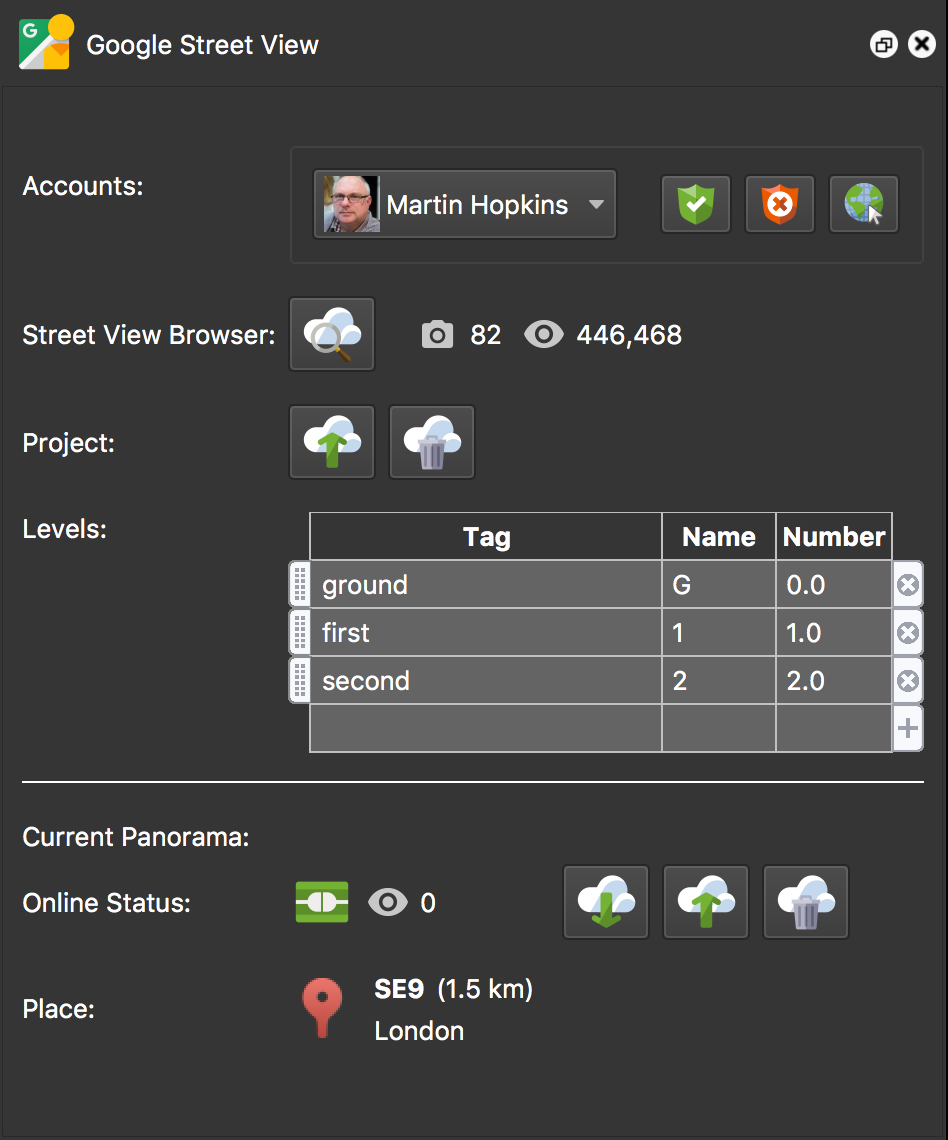
In the Google Street View Panel, you can connect to your Google account, browse your tours, upload tours and add places to panoramas.
Account
Click the green grant access button to connect a Google account. The authorization runs through the integrated web server; if the web server is not running, Pano2VR asks you to activate it. Once connected, you can get to your Street View profile by clicking the Open Account button.
Use the red revoke access button to log out of an account.
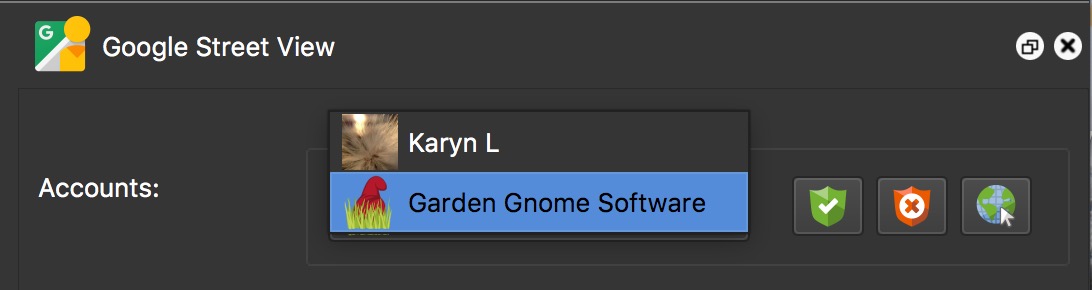
You can be logged in to multiple accounts at the same time. To add another account, follow the same procedure as above. You can then switch between accounts using the menu. If the project has already been uploaded with a different account, Pano2VR warns you before uploading or downloading with another account.
Street View Browser
The Street View Browser gives you access to your uploaded images. You can also see views, when the images were captured (hover over the capture time to see the upload time), and if a project has connections or not. Next to the button that opens the Street View Browser, the panel shows the total number of photos and the total views for the connected account.
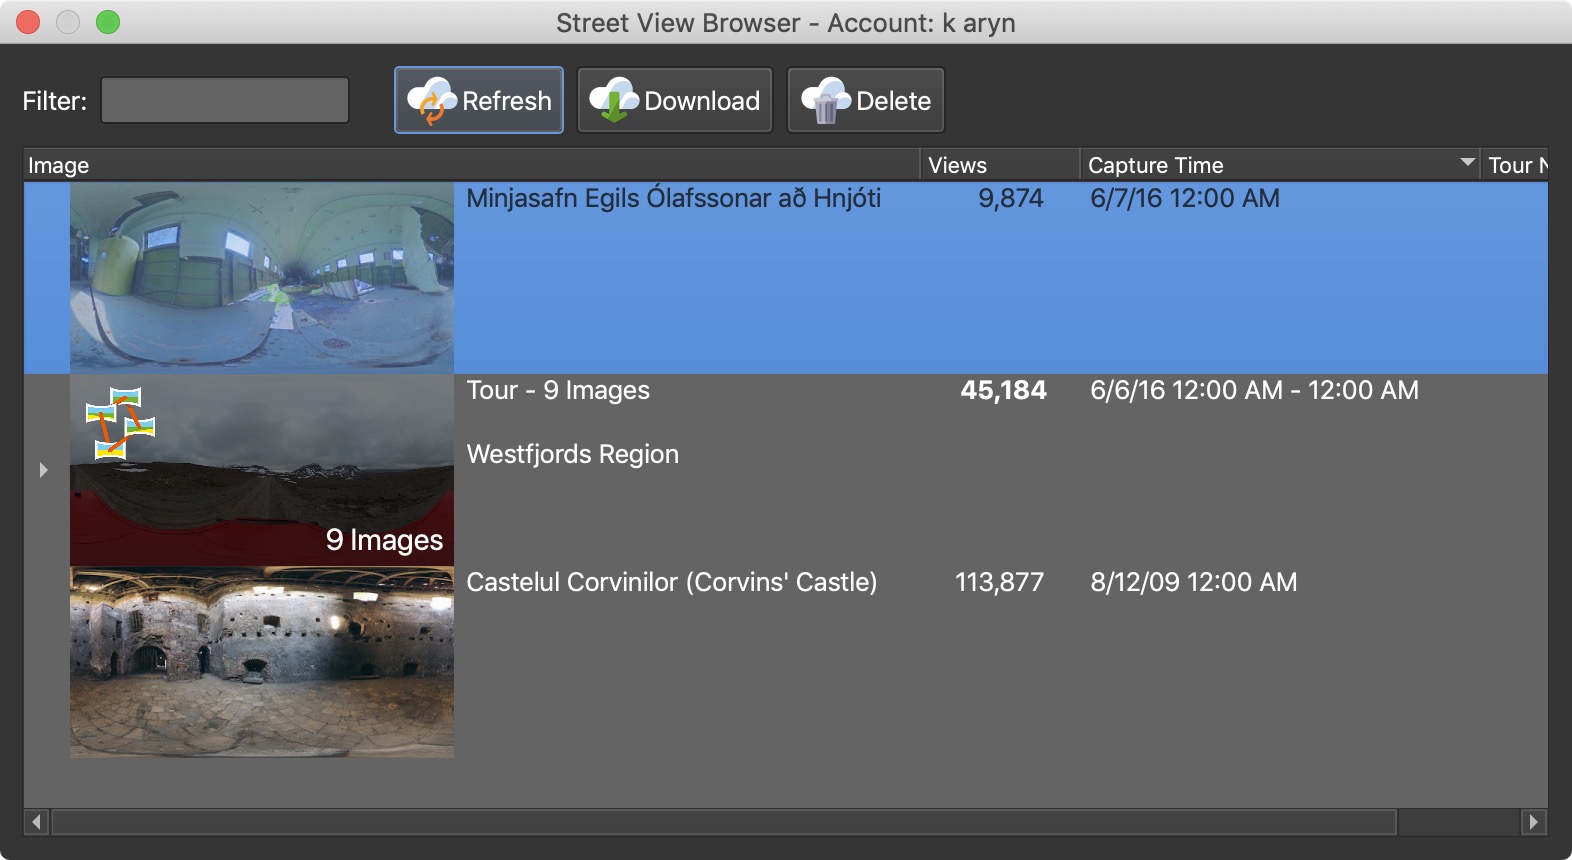
In the Tour Node column, symbols indicate whether the images are connected to nodes in the current project. A green plug indicates all images of a tour are connected to nodes in the current project. A symbol with a warning sign indicates that only some of the images are connected; the number of connected nodes is shown next to it. In the Maps Status column, a green check mark indicates the image is published on Google Maps; hover over the symbol to see the publish status. You can also sort projects according to name, views, and capture date.
Search – Type into the search field to list only the images whose name contains the text. Click the x to clear it.
If Pano2VR finds panoramas in your project that match photos in your Street View library but are not connected to them yet, it offers to connect them.
Refresh – Loads the list of photos from Google again. Shift-click the button to also clear the stored list and thumbnails first, for example when the list looks out of date.
Download – Choose to download an image or the entire project. In the Browser, select an entire project, or click the disclosure triangle to open the project and select one or more images. The project must be saved before downloading, as the downloaded panoramas are stored in the project folder.
Downloading more than one image at a time requires Pano2VR Pro.
Delete – Deletes an image or project from your Google account.
To view the panorama or tour in Google Street View, double-click the panorama in the Street View Browser. For a tour, open the tour to expand the images and double-click one of the tour nodes.
Right-click an image in the Browser to choose from the following options:
-
Open in Browser – Opens the panorama in Google Street View in your web browser.
-
Select in Project – If this panorama is part of the current project, this makes the corresponding node active in the Tour Browser. If it is not part of the current project, the option is dimmed.
-
Connect to Current Panorama – Connects this panorama in Street View to the current node in the Tour Browser.
-
Add Link to External Panorama – Creates a connection between the selected panorama in the current project to a panorama in the Street View Browser that is not part of the current project.
Project
Upload the project (the entire tour) or remove it from Google Street View. Before uploading, a checklist summarizes the upload: images without GPS data cannot be uploaded, and warnings are shown for images without an assigned place and hotspots that are not auto placed. Keep in mind that it may take several hours for the connections and hotspots to work online.
After the images are uploaded, Pano2VR adds their connections, places, and levels. Google often needs a few minutes before it accepts these for a new photo. When a photo is not found yet, Pano2VR waits and tries again on its own, several times over several minutes, so the last part of an upload can take a while.
Resync all PhotoIDs – Updates the Photo IDs stored in the project with the current IDs from your Street View account.
Levels
Use tags to apply levels to the tour.
Double-click an empty row in the table (or click the plus icon) to add a level. Choose the Tag that identifies the level’s nodes, then give the level a Name of up to 3 characters (consider how the elevator buttons would be labeled for this level if there was an elevator). The Number is the floor number used for ordering: 0 indicates the ground level, 1 indicates the first level above ground level, and -1 indicates the first level under ground level. Non-integer values are OK.
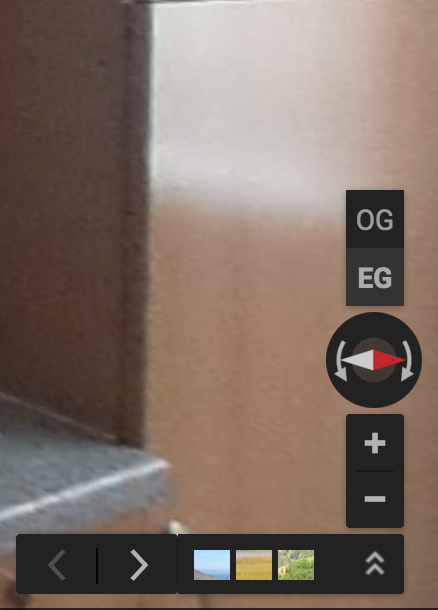
The levels appear like this on Google Maps:
Current Panorama
This section refers only to the currently selected panorama.
Online Status
Shows the current panorama’s online status. The view count for the current panorama is shown next to the status symbol.
Double-click the symbol to get the image’s Photo ID (PanoID). Right-click to:
-
Copy Photo ID to Clipboard – Copy the Photo ID of the current panorama to the clipboard.
-
Disconnect from Street View – Removes the Photo ID from the current panorama in your project. It does not remove the photo from your Street View library.
-
Manually Set Photo ID – Enter the Photo ID of the current panorama.
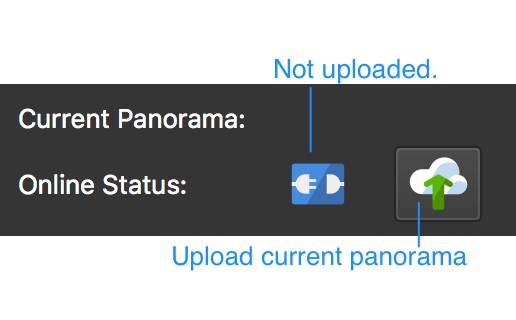
If you have not yet uploaded a project or image, your panel looks like the image below. The blue symbol indicates the current panorama has not yet been uploaded to Google Street View. Click the button next to it to upload the current panorama.
In the image below, the image’s status is Online. Hover over the symbol to get information. A symbol with a warning sign indicates that the panorama’s Photo ID was not found in the currently selected account.
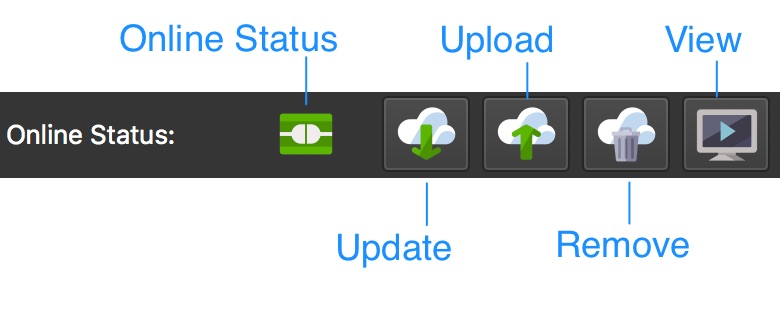
Update Current Panorama – Click to update the current panorama’s metadata. This downloads the metadata that is currently stored in Street View and adds it to Pano2VR.
Upload Current Panorama – Click to upload the current panorama. If the panorama is already online, its metadata is updated.
Remove Current Panorama – Click to remove the current panorama from Street View.
Open Panorama in Browser – Opens the current panorama in Street View in a browser.
Place
Adds a Place ID to the current panorama. The node needs GPS data assigned before a place can be added.
Click the Add Place button to choose a place, or to search for one to add. Select the place to add. You can also enter a Place ID directly in the search field. If more than one node is selected in the Tour Browser, the place is added to all selected nodes. The place search works without a key of your own. If you have your own Google Maps/Places API key, you can enter it under Advanced in the Settings.
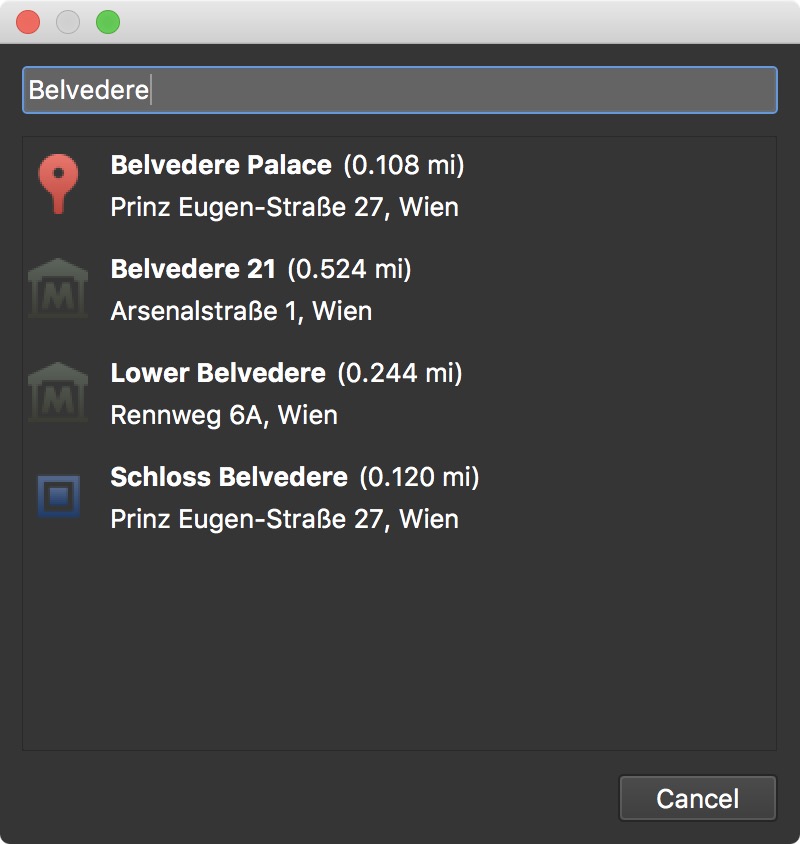
Click the Pick Place from Google Maps button to find a place in the Tour Map. It opens the Tour Map with Google Maps.
Once a place is added, new buttons appear:
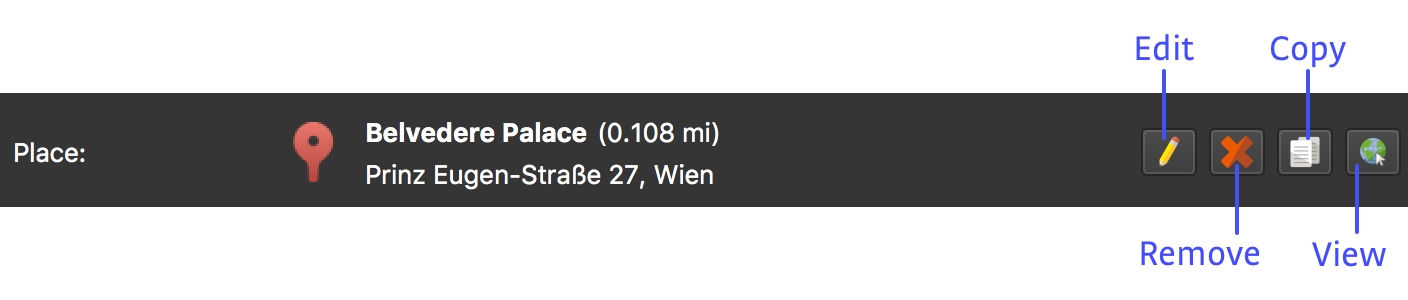
Edit – Click to edit the place.
Remove – Click to remove the place.
Copy – Click to copy the place to all other nodes in the tour. If multiple nodes are selected, the place is copied only to the selected nodes. Existing places are overwritten after a confirmation.
Show – Click to show the place on Google Maps.
Right-click a place to open it on Google Maps or, if the node has more than one place, to move the place up or down in the list.
External Links
Here you can connect to other panoramas in Street View that are not part of the current project but are in your Street View Library. In the table, you can add Photo IDs of panoramas that the current node should link to. The Place column shows the place assigned to the linked panorama.
Add a link by doing any of the following:
-
Double-click an empty row in the table (or click the plus icon) and enter the panorama’s Photo ID.
-
In the Street View browser, right-click the photo you want to link to and choose Add Link to External Panorama.