Viewer
The center of Pano2VR contains the interactive panorama. Here you can view and interact with the panorama and use the Viewer Modes to add patches, hotspots, sounds, images, videos, and lens flares.
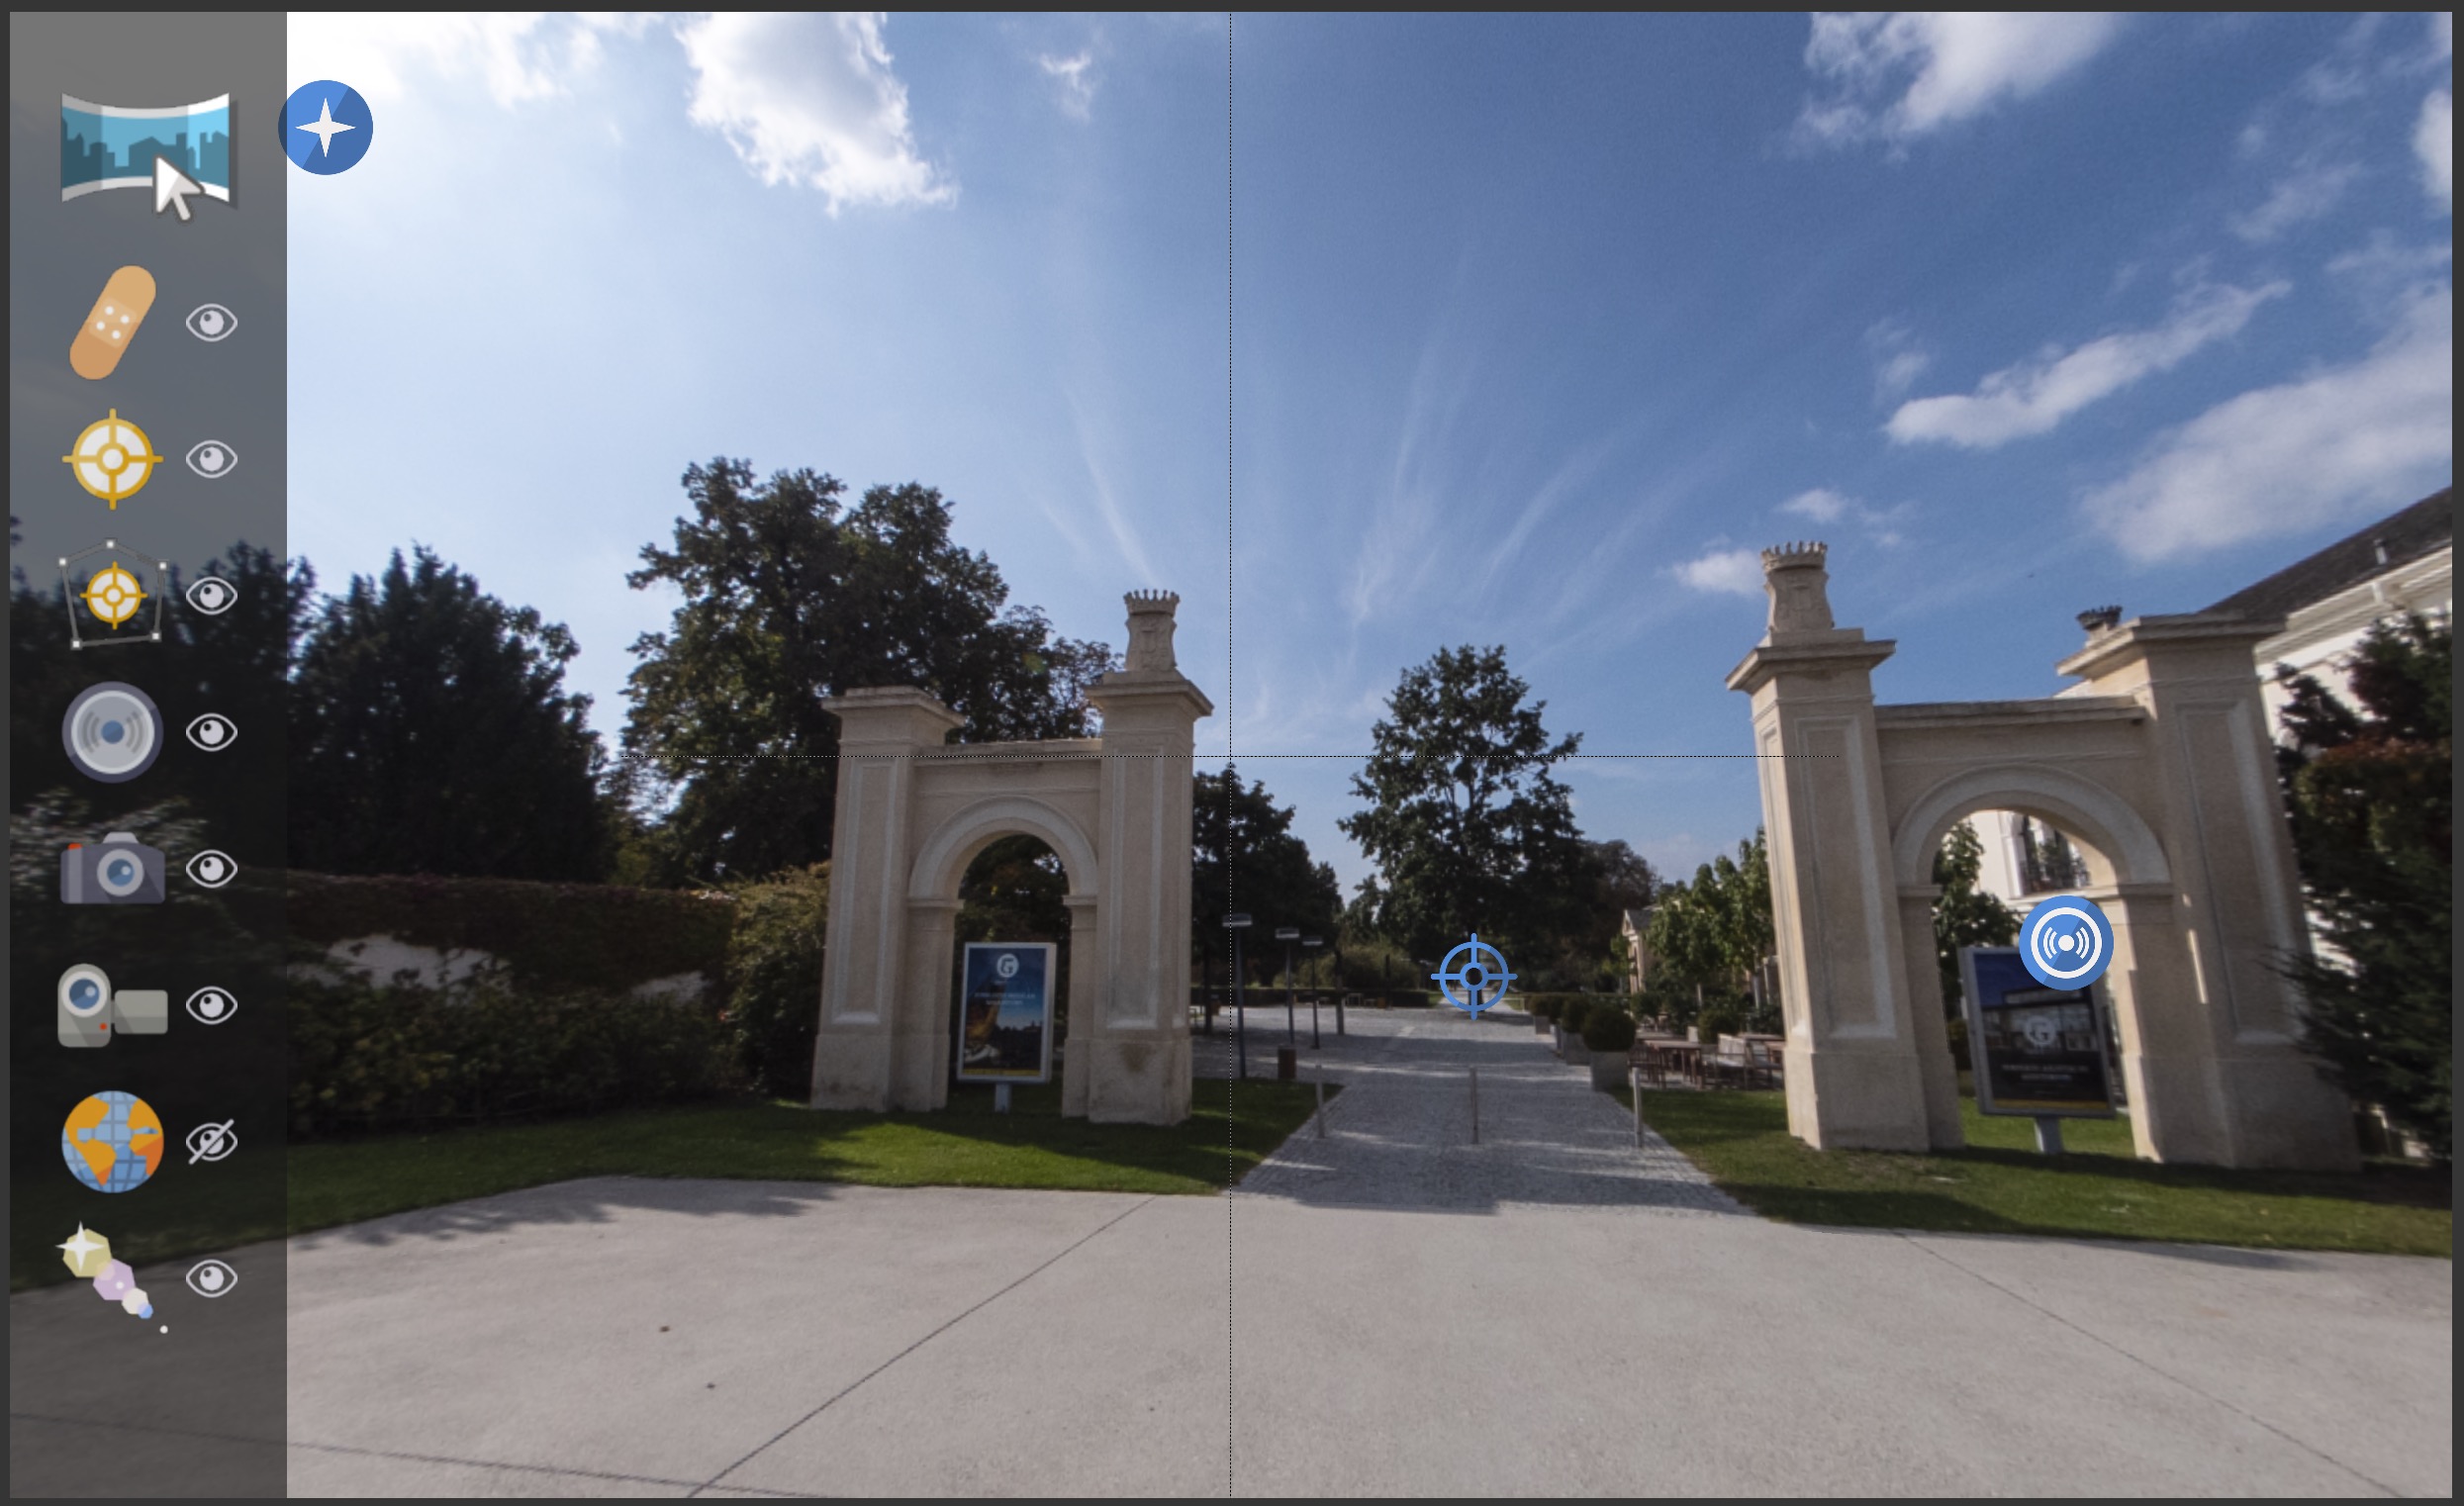
Viewer Modes
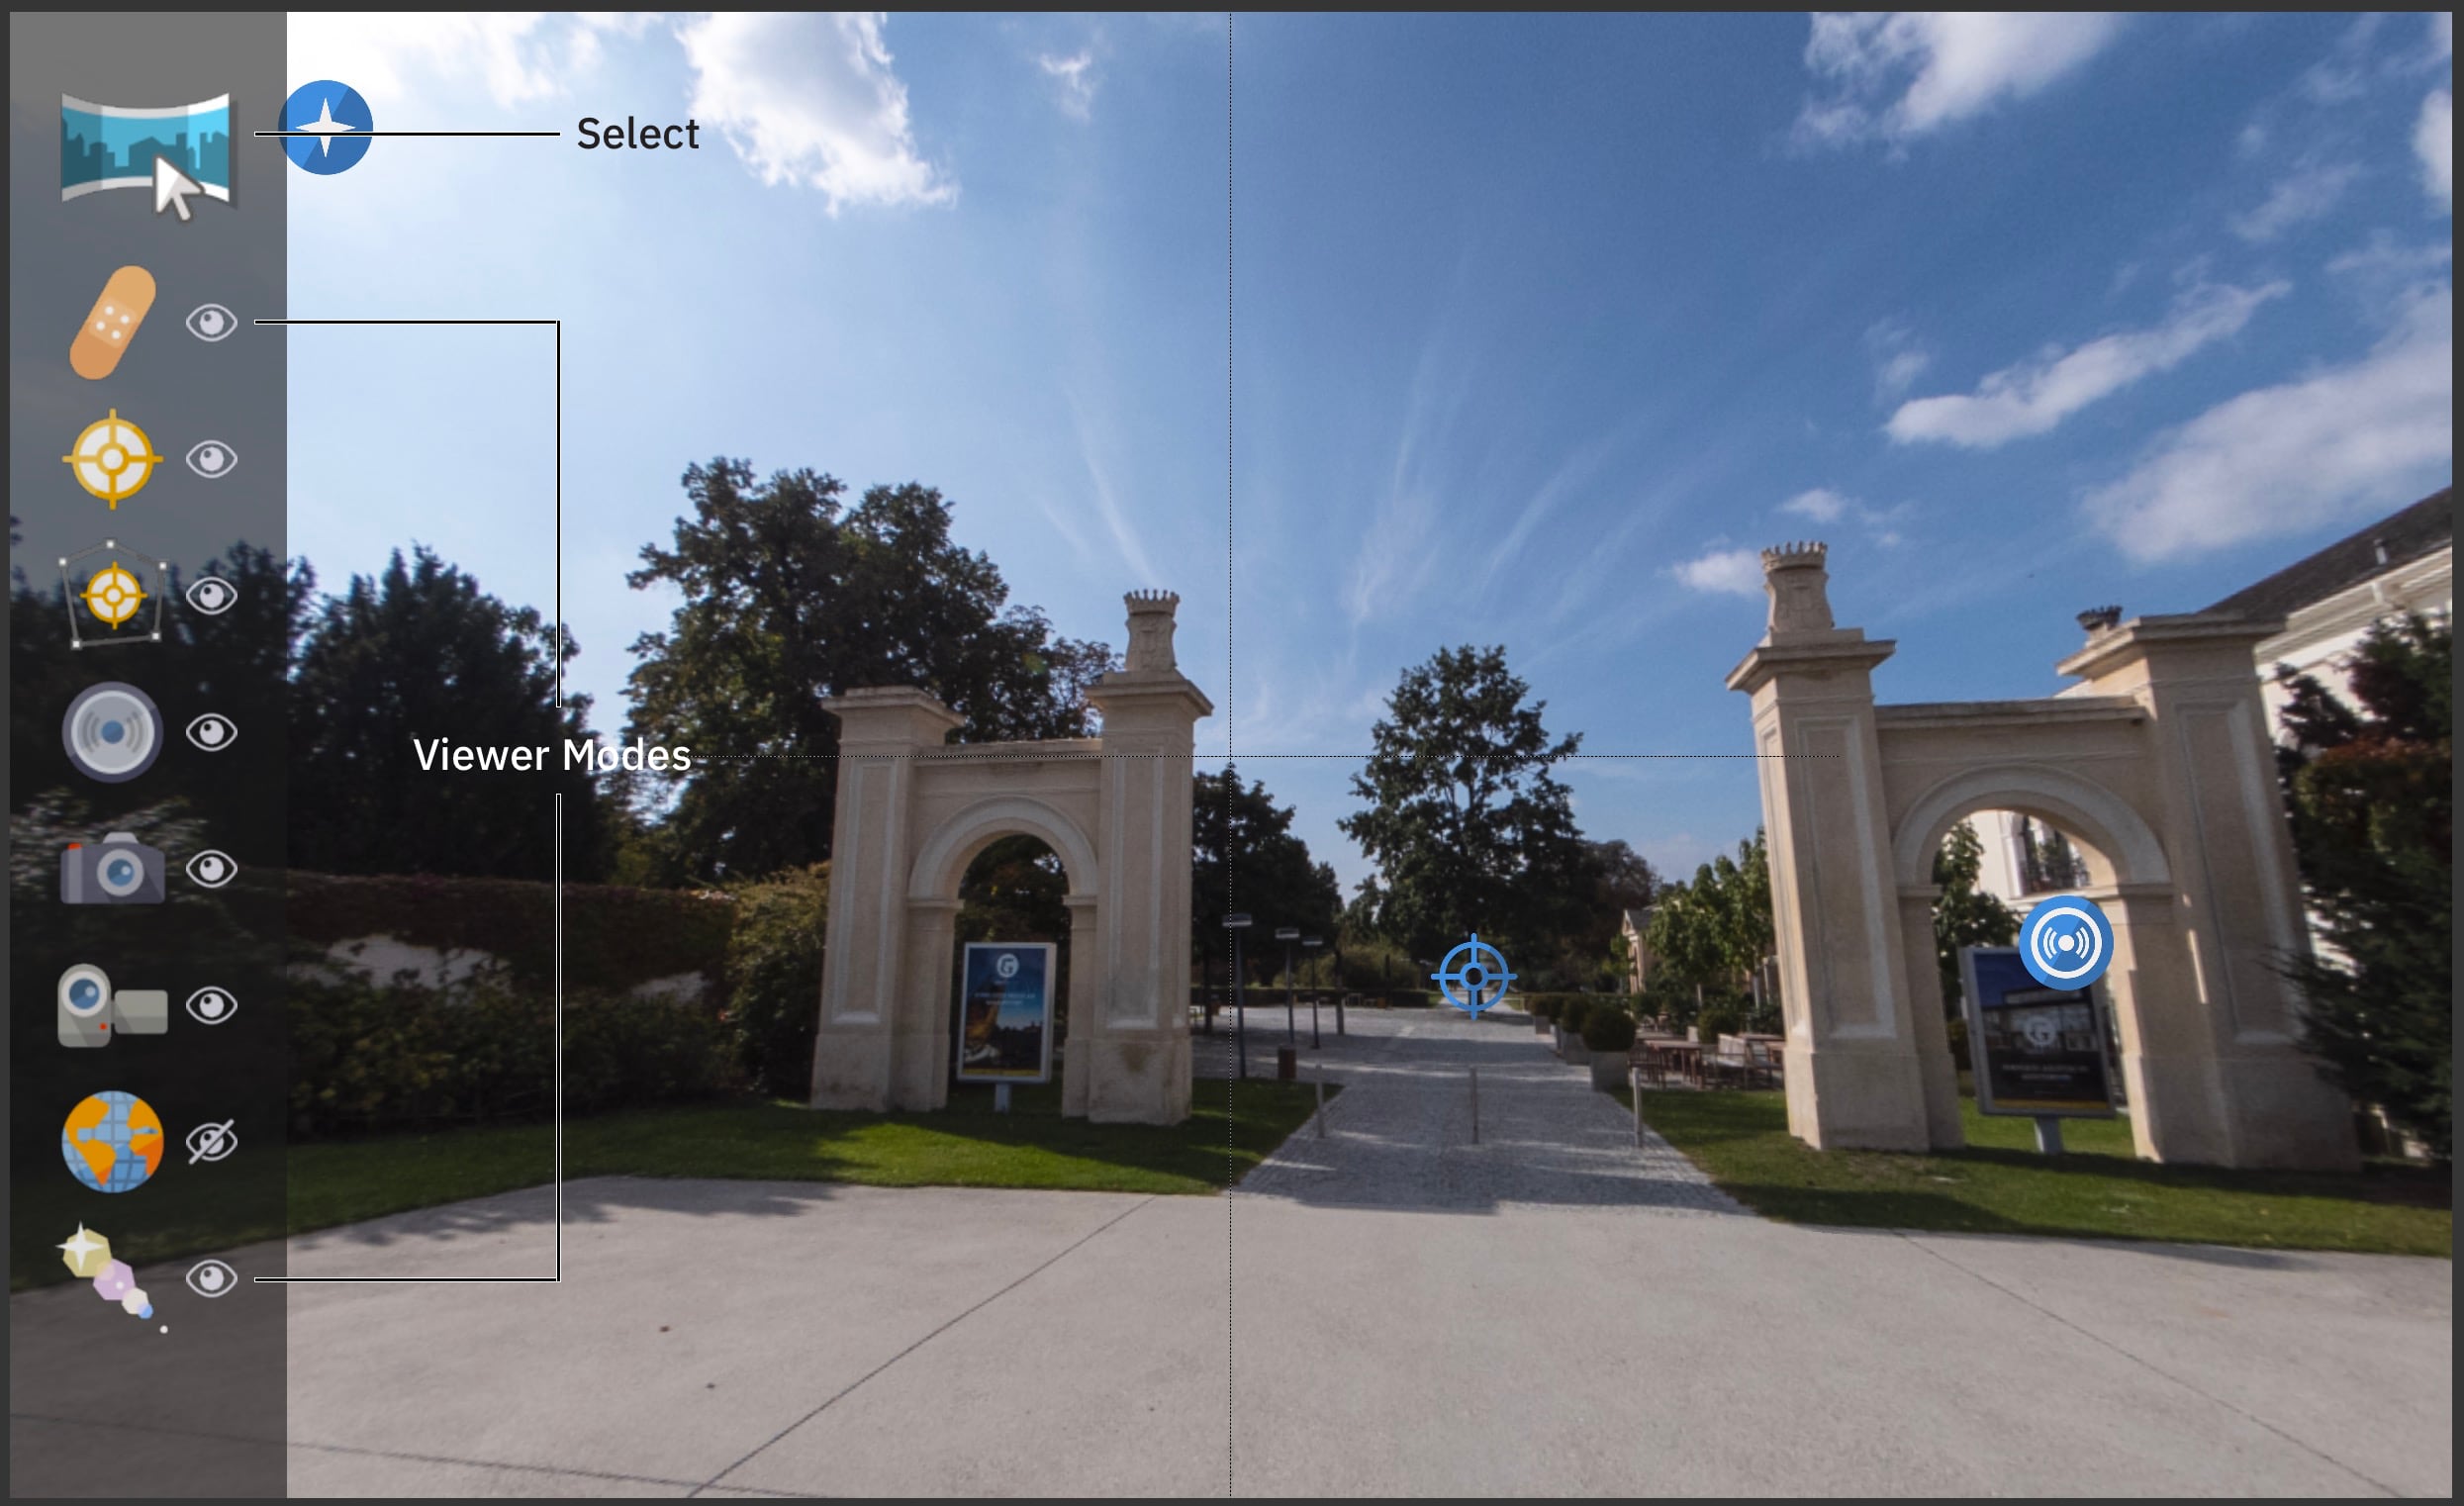
The Viewer Modes are where you add pinned elements to your panorama. Pinned elements are elements that stick to the panorama and move with it.
To switch modes, hover over the icon in the upper-left corner of the Viewer. The modes palette slides out from the side; click a mode to select it.
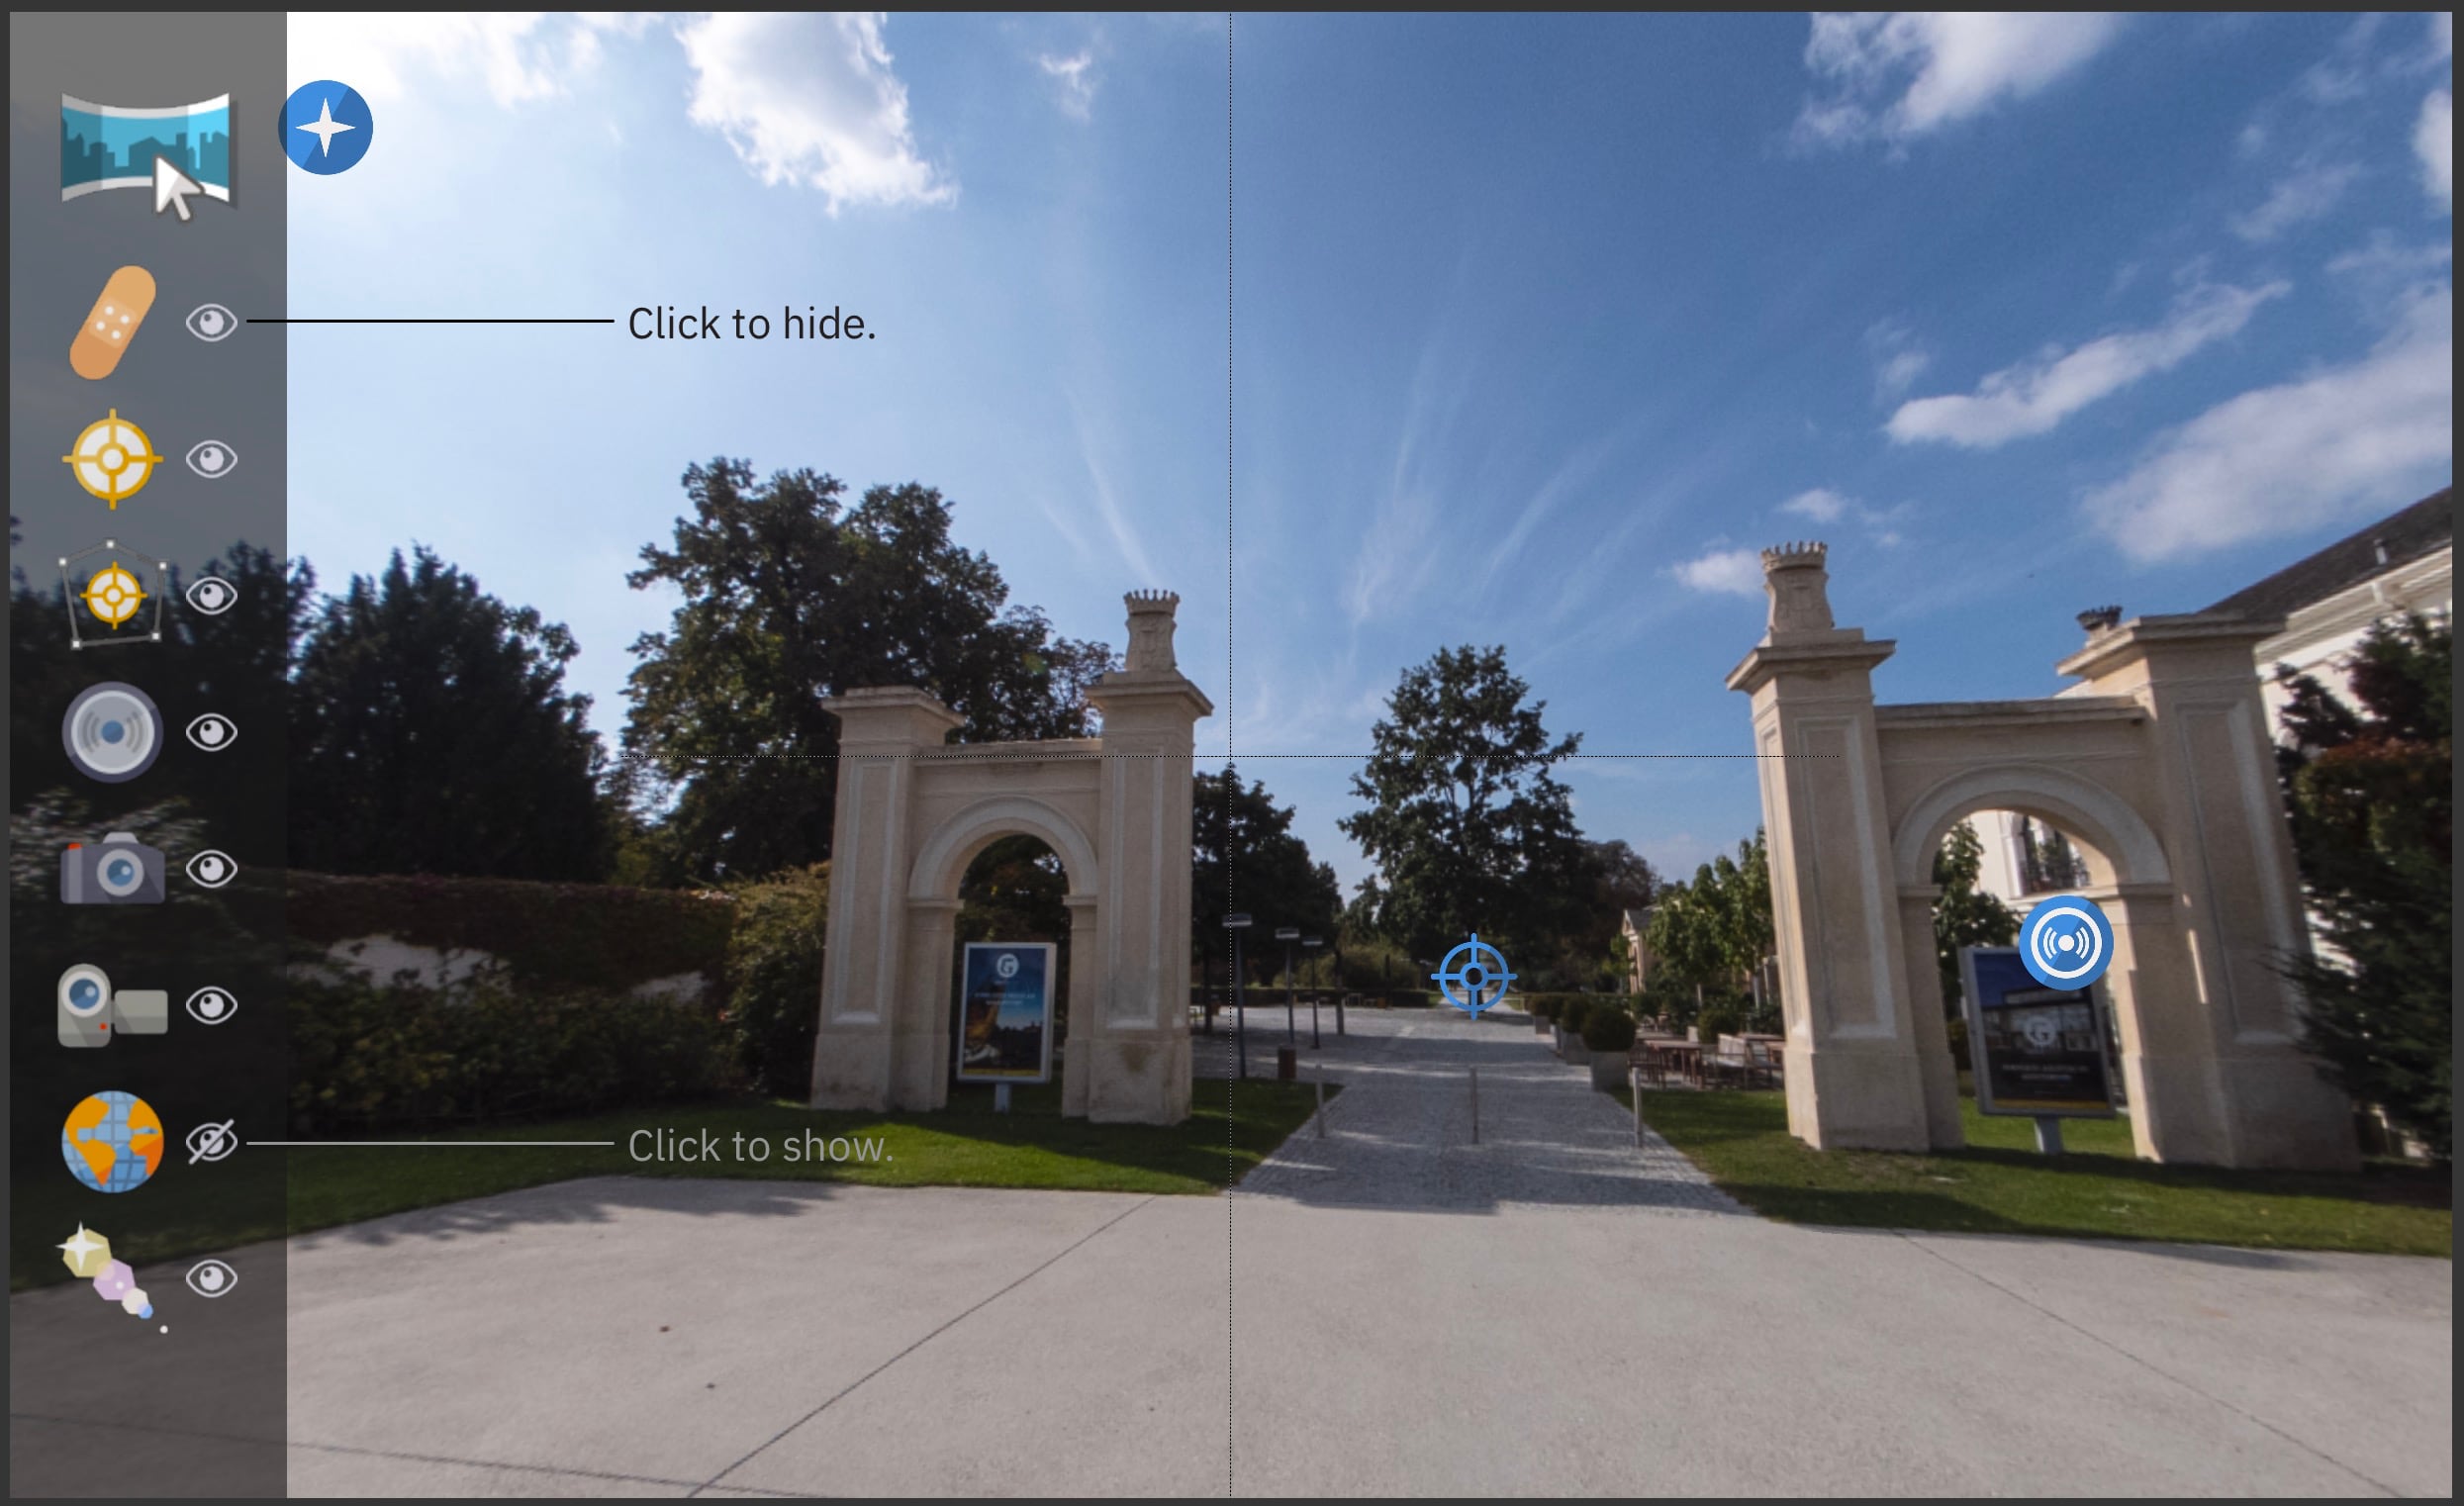
To keep the Viewer tidy, click the eye icon next to a mode to hide or show its elements.
-
Select – Default mode
When a 3D model node is open, the palette offers the modes for models instead, including Camera Points.
Add Elements by selecting the mode, then double-clicking in the Viewer. When you add an image, video, or sound, Pano2VR asks for the media file.
Move Elements by dragging them. To restrict the movement to pan or tilt only, press and hold Shift while you drag horizontally or vertically.
Create hotspots from ghost hotspots by double-clicking a ghost hotspot. This works in every mode that shows ghost hotspots.
Leveling
Pano2VR levels your panoramas automatically when needed, but you might want to refine the leveling. To do this in the Viewer, press and hold the L key and drag near the edges of the panorama. More grid lines in the Viewer Settings can help.
Projections
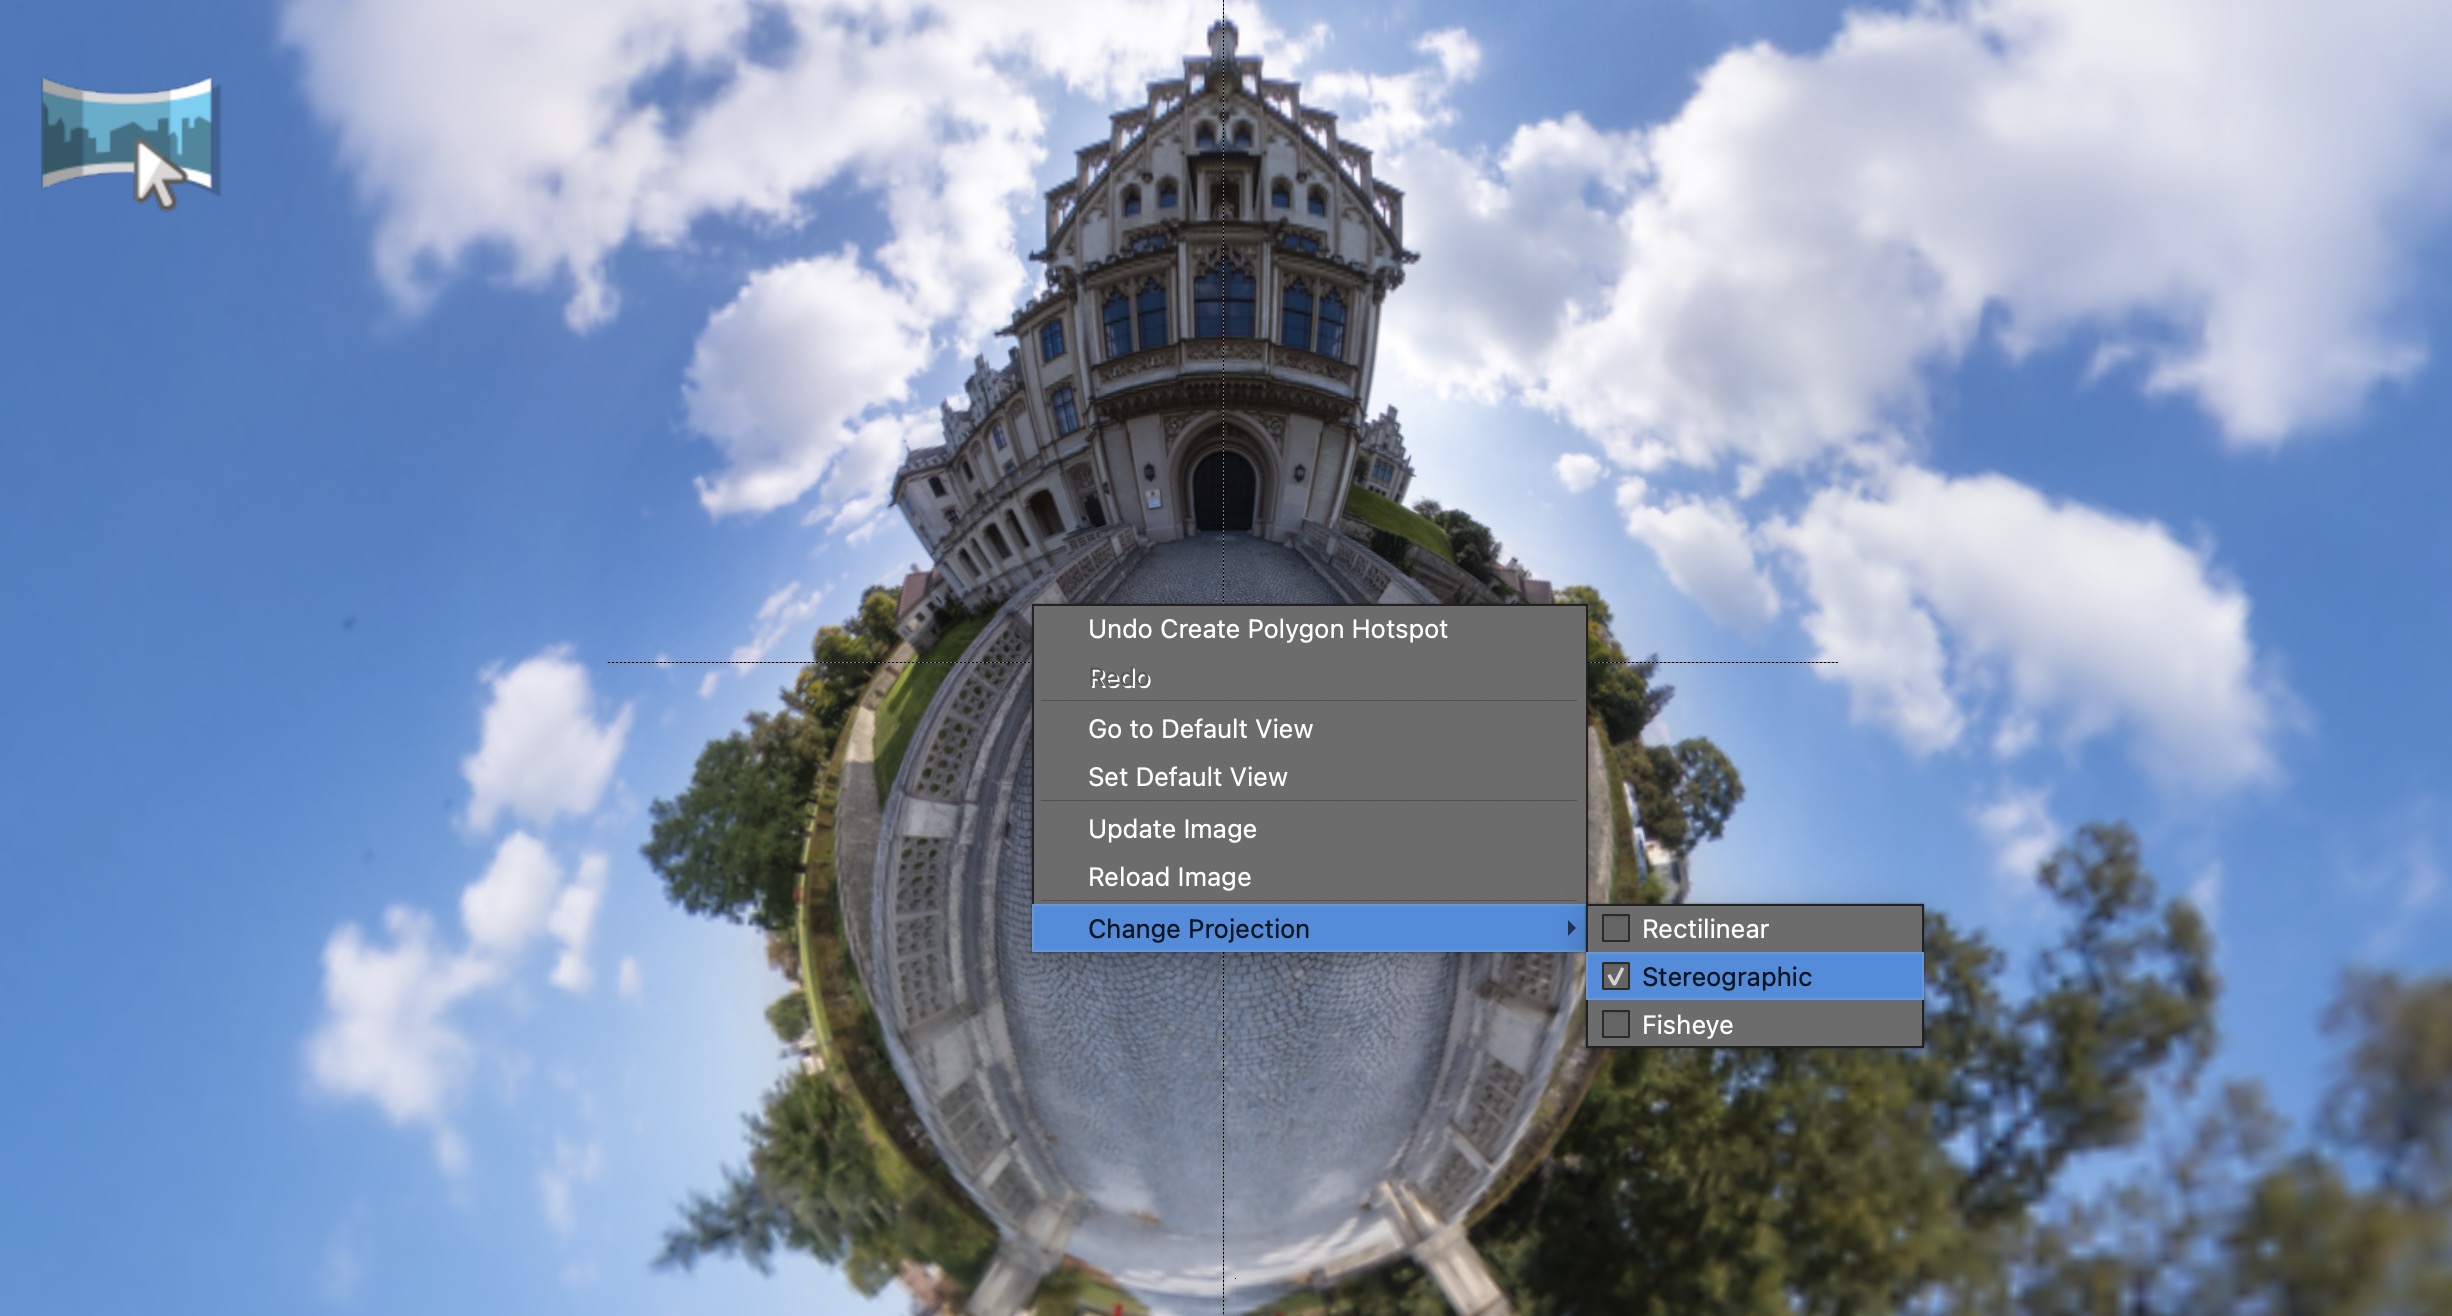
To view your panorama in another projection, right-click in the Viewer, choose Change Projection, and then choose Rectilinear, Stereographic, or Fisheye. You can also use the Switch Projection button in the Viewer Settings. The projection in the Viewer doesn’t change the output; set the output’s projection in the Viewing Parameters.
360º Videos
When a 360º panoramic video is added to your project and selected in the Tour Browser, the Viewer displays the video and a transport control.
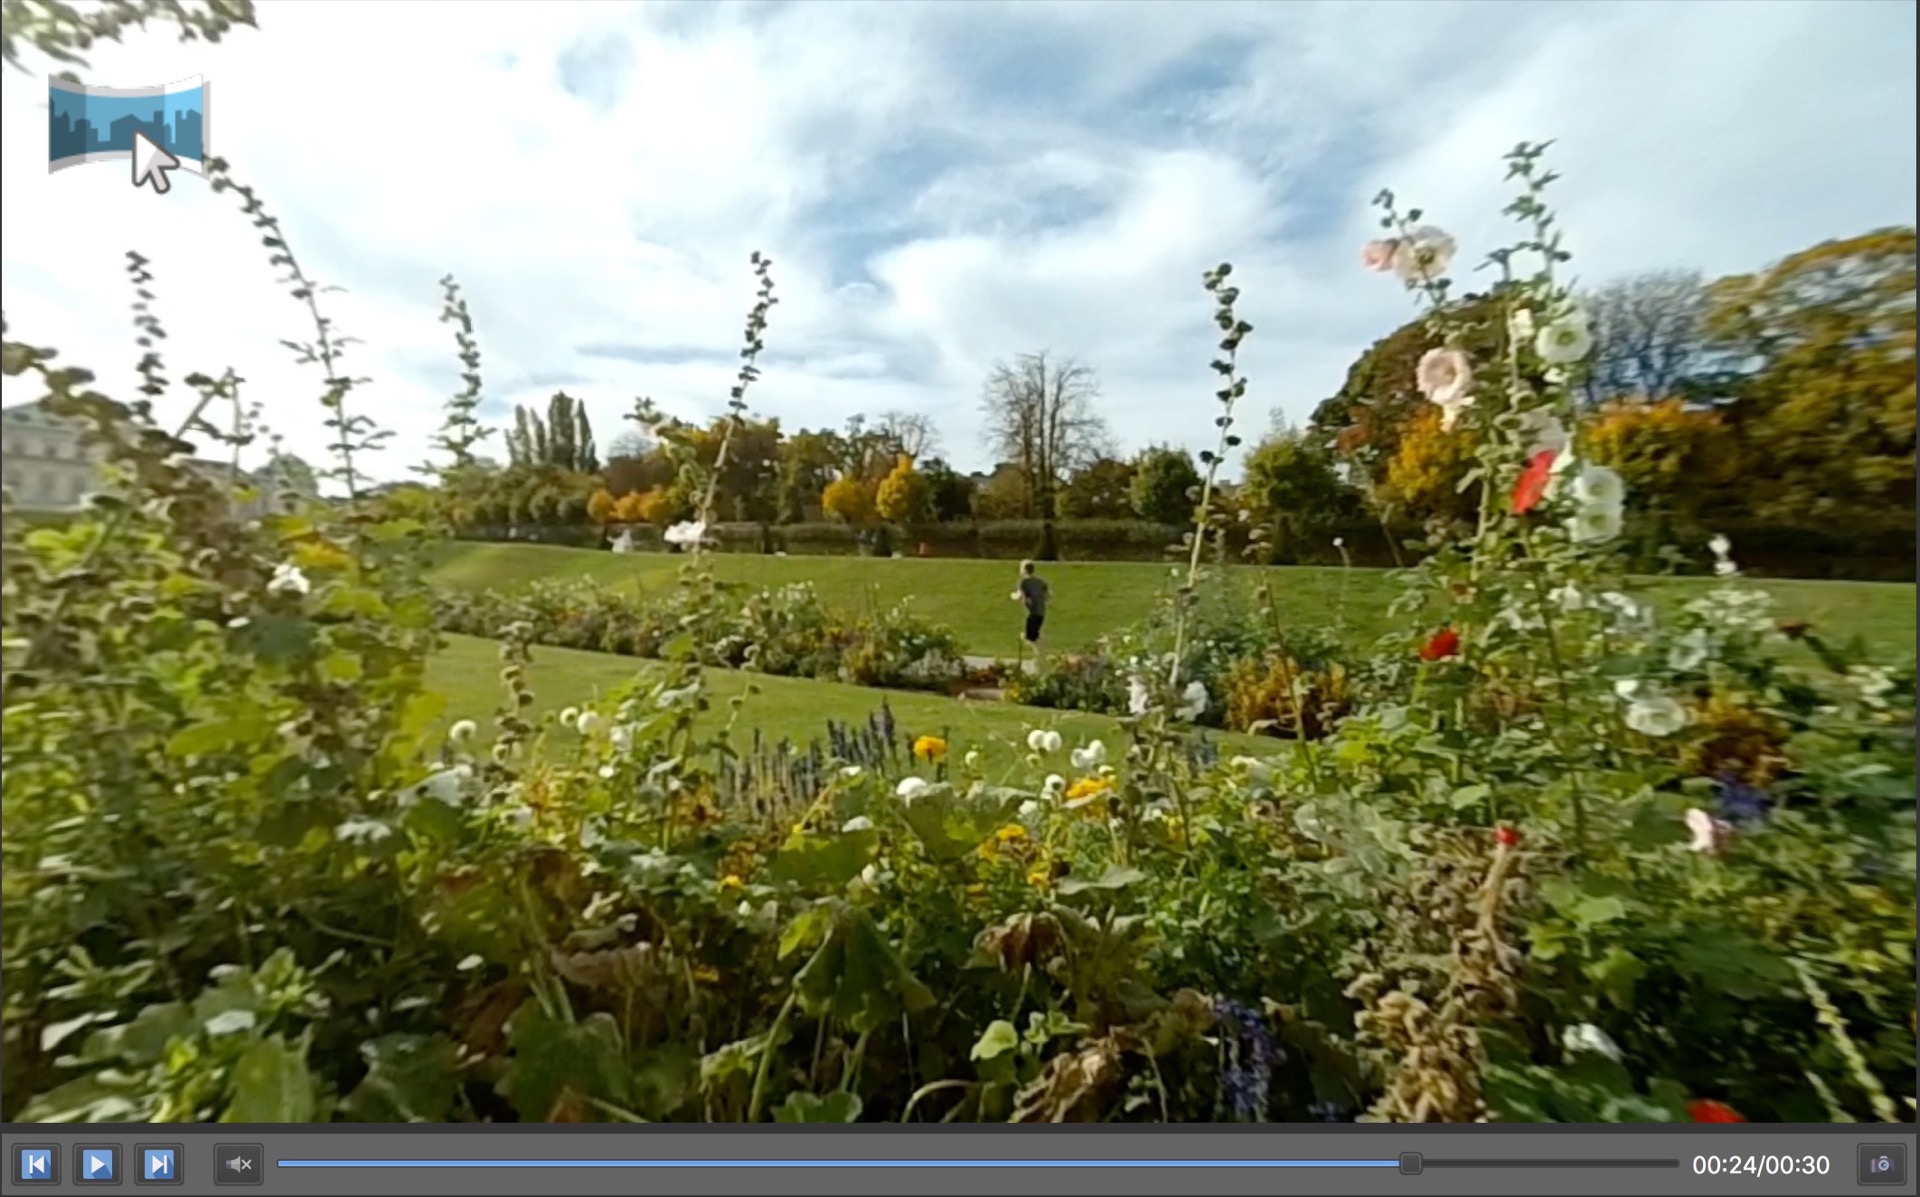
The transport control can rewind, fast forward, play and pause the video. There is a sound on/off button, a seek bar, and a button to capture a custom poster frame.
Learn more about working with video panoramas:
Viewer Shortcuts
The Viewer has many keyboard shortcuts, and you can customize them in the Settings.
Viewer Context Menu
Control-click (macOS) or right-click in the Viewer to open its shortcut menu.
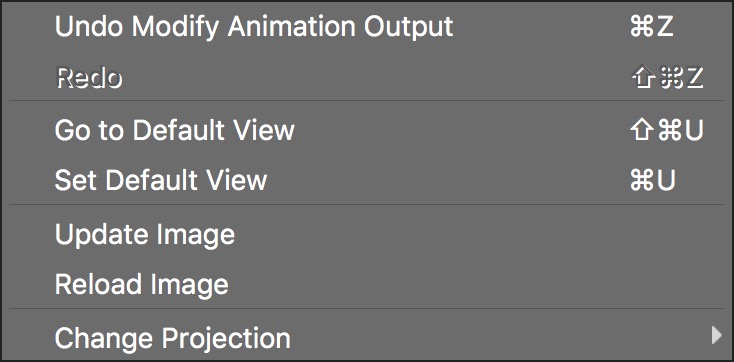
Undo – Undo the last action that was performed.
Redo – Redo the previously undone action.
Copy Active Element – Copies the selected patch, point hotspot, polygon hotspot, lens flare, or pinned media element. The command names the kind of element, for example Copy Active Patch. When a control point is selected, the menu offers Remove Active Control Point from Project instead.
Paste – Pastes a copied patch, point hotspot, media element, or lens flare into the current node, for example Paste Point Hotspot. The command appears only when an element has been copied.
Go to Default View – Move the view to the Default View.
Set Default View – Set the Default View.
Capture Project Custom Preview Image – Saves the current Viewer image as the project’s custom preview.
Update Image – Updates the current image. Useful to update viewer elements like patches.
Reload Image – Reloads the current image from its file, for example when the image was changed in another program while Pano2VR is open.
Change Projection – Change the projection in the Viewer to Rectilinear, Stereographic, or Fisheye. Rectilinear is the default projection. This command isn’t available for flat images.
Go Back – Returns to the node you came from. The command appears after you have moved to another node.