Creating a Support Package
The Support Package is available for you to collect all the project files our support team would need to help you. Learn how to create a pared-down version of your large project as a support package.
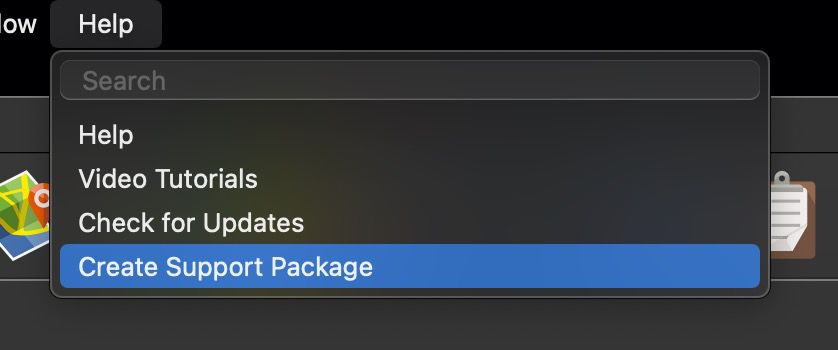
When you need help and contact our support, you may be asked for a support package: a ZIP file with the files our support team needs to look into your problem. Choose Help > Create Support Package, in the main window or in the Skin Editor, to create one.
Most of the time it’s enough to send only the project file and skin, but sometimes, to better assist you, we may need all the associated project files. If your project is very large and has many (for example, hundreds of) nodes, then make a pared-down version or even a new project, as long as it still shows the issue.
Support Package Items
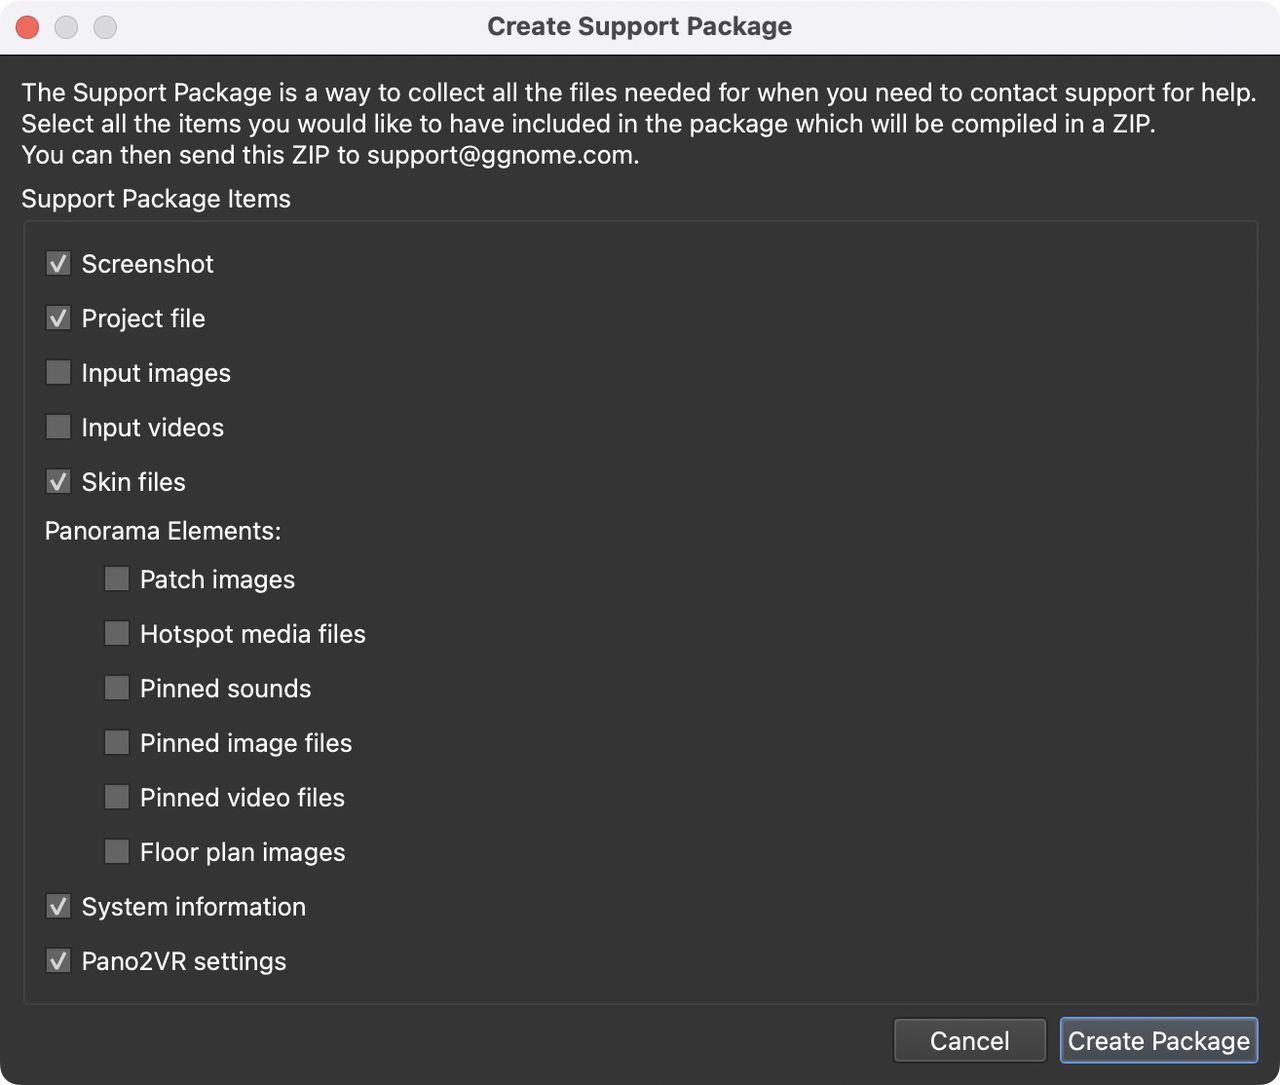
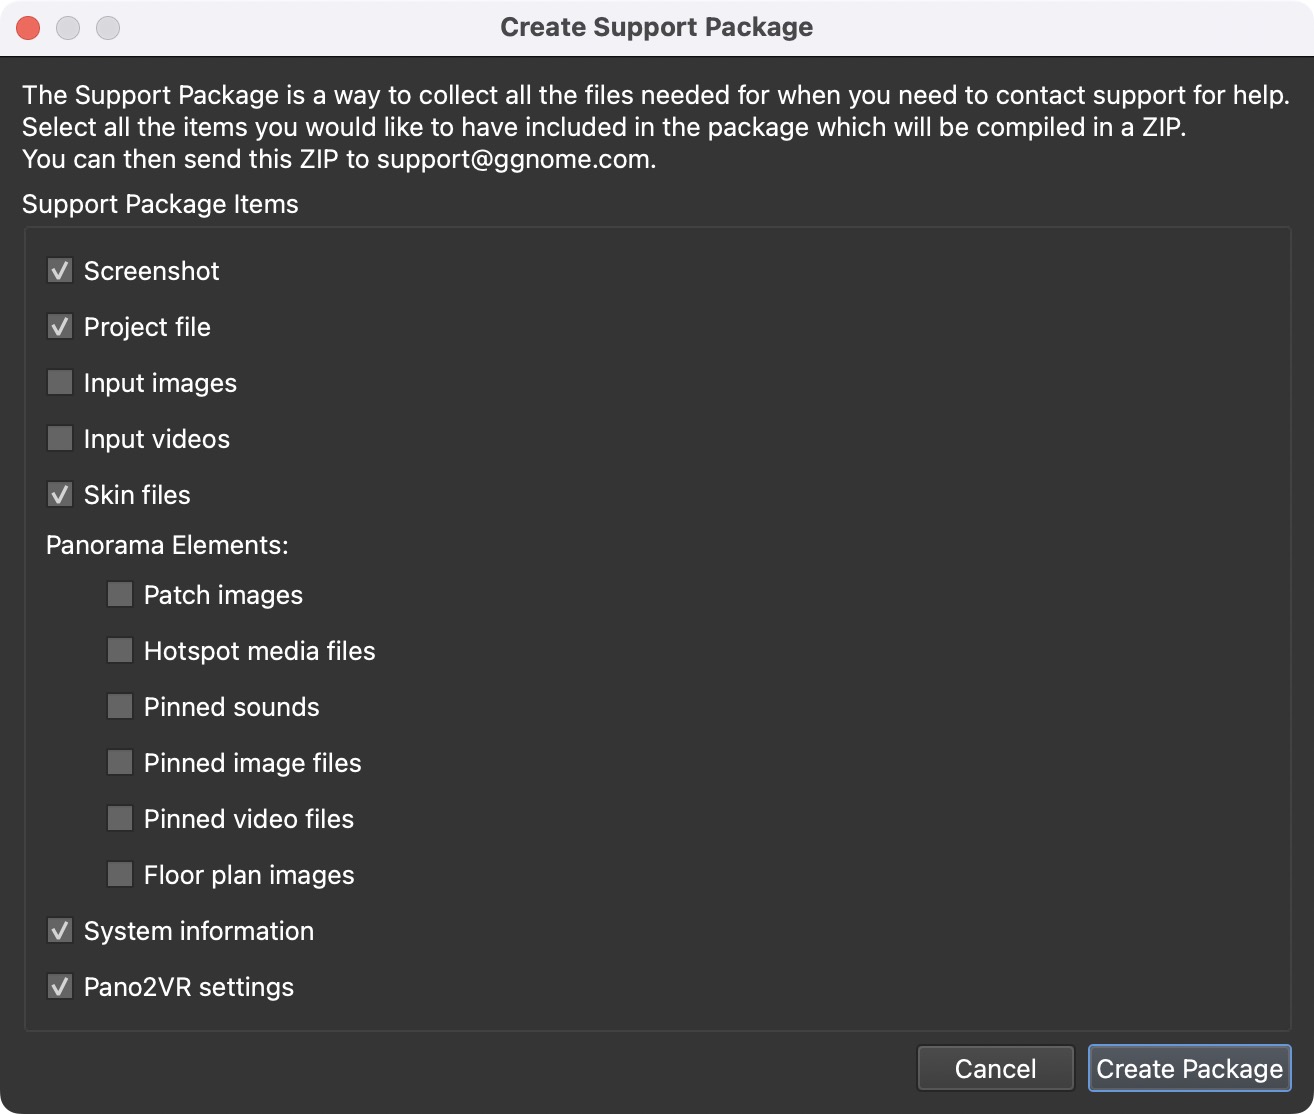
Select the items to include in the package. The items that are selected by default are enough for most questions.
Screenshot – A screenshot of Pano2VR as it looks right now. Selected by default.
Project file – The last saved version of the project file. Selected by default. Save the project first, so the package contains your latest changes; a project that has never been saved isn’t included.
Input images, Input videos, and Input 3D models – The input files of the nodes. Subtitle files of the videos are included with them.
Project background sounds – The project’s background sound files.
Skin files – The skins, and VR skins, of all web outputs. Selected by default.
Panorama Elements – The files used by Patch images, Hotspot media files, Pinned sounds, Pinned image files, Pinned video files, and Floor plan images.
System information – Details about Pano2VR, your license, your computer, and its operating system, including its environment variables. Selected by default.
Pano2VR settings – All of Pano2VR’s settings. Selected by default.
Include recent crash logs – Crash reports of Pano2VR from the last 14 days. This option is only available, and then selected, when there are such reports.
Click Create Package, choose where to save the ZIP file (by default a file
named SupportPackage with the date and time in your Documents folder), and
Pano2VR shows the finished file in the Finder (macOS) or File Explorer
(Windows).
Below we describe how to create a pared-down version of your project.
If the skin is the suspected culprit, you can create a new project using the following test images and the skin:
Create a Smaller Support Package
-
Copy the original project file (
.p2vr). -
Open the copied file.
-
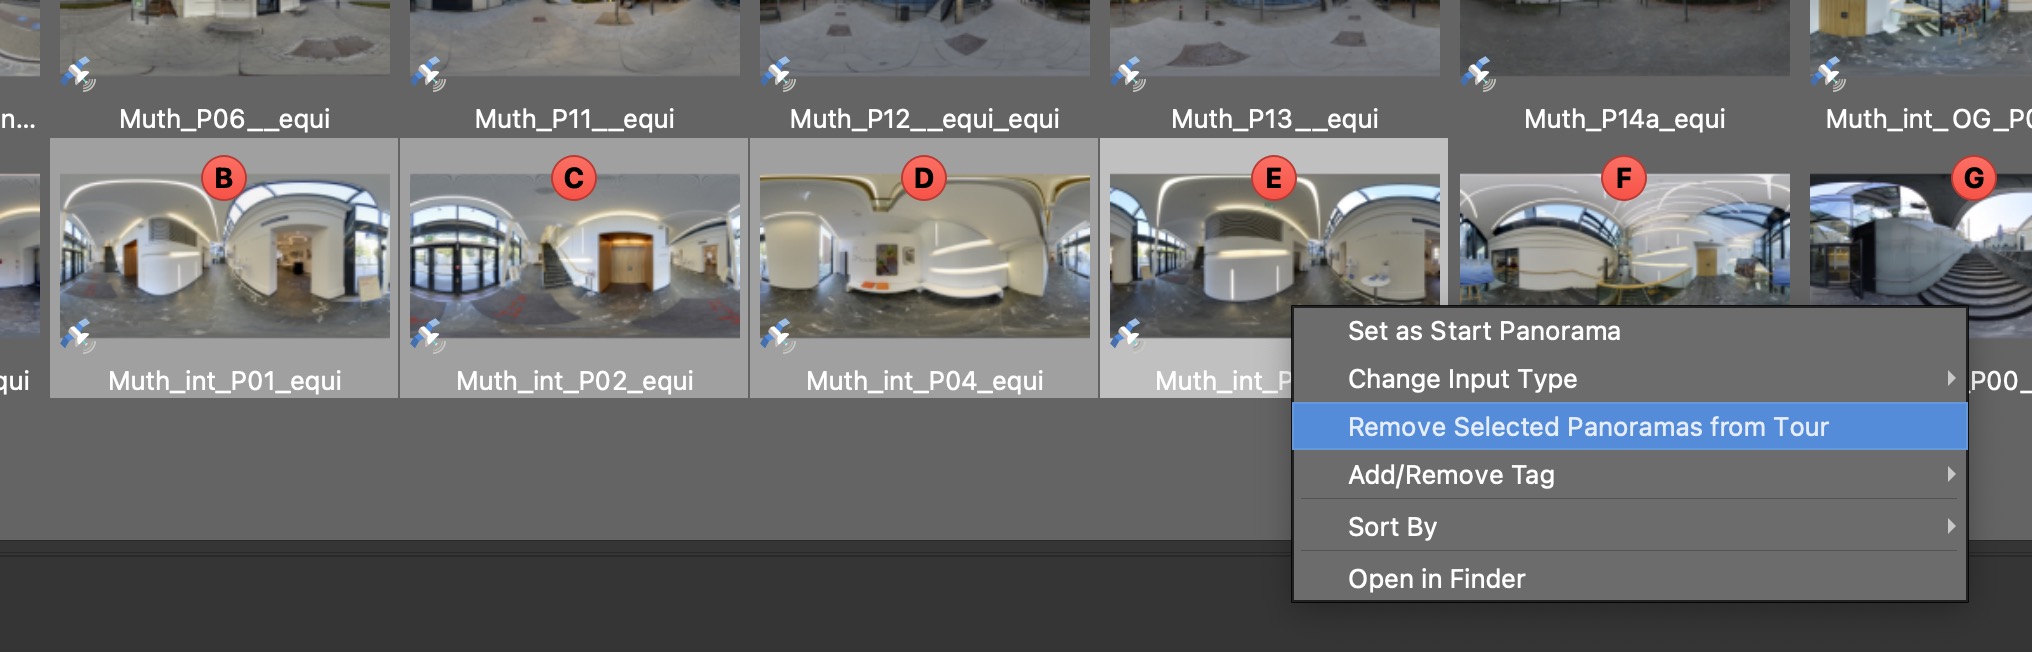
Remove most of the nodes from the Tour Browser (leaving about 2 or 3 nodes). Select the nodes to remove. Right-click and choose Remove Selected Panoramas from Tour, or press Delete.
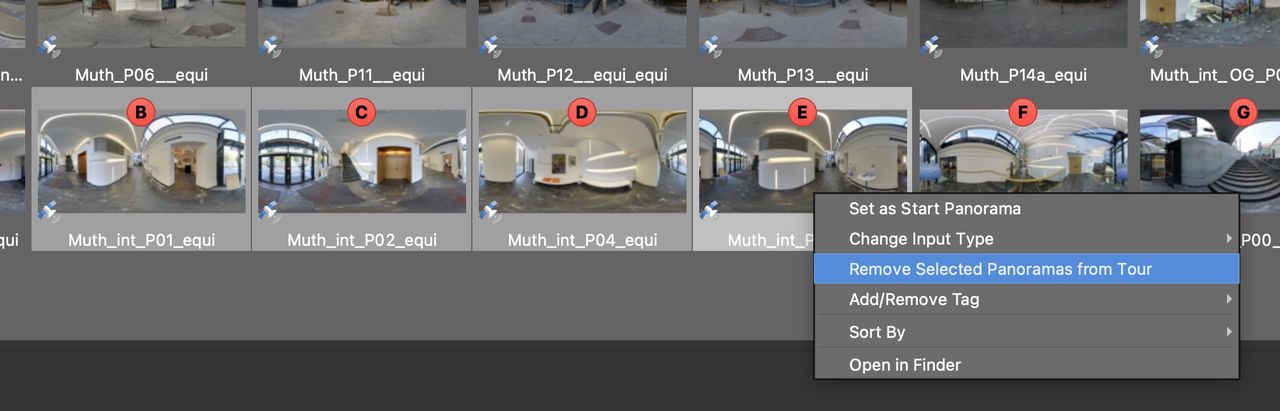
Remove Nodes -
Save the project.
-
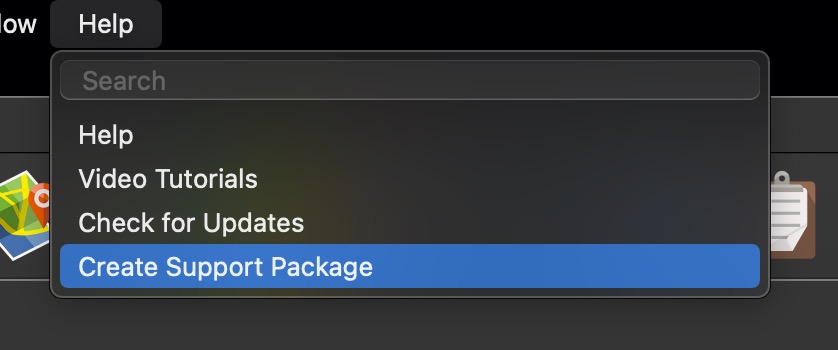
Choose Help > Create Support Package.
Create Support Package -
In the dialog, keep the default selection and add what you’ve been asked to add. Add any Panorama Elements that are causing issues.
Support Package Dialog -
Click Create Package and save the ZIP file. This is the support package. Next, test the project.
Test the Support Package
-
Unzip the Support Package.
-
Open the project file. Pano2VR may say it can’t find the files. This is normal, because the original file paths are left intact in case there is a file path issue.
-
In the Locate Missing Files dialog, double-click a file in the table to locate it. A dialog asks whether to use the same folder for the other missing files. Click Yes.
-
Create the output. Test to confirm that the issue still occurs.
-
Send the Support Package to [email protected]. If the file size is too big for email, we recommend uploading it to a cloud drive and sending us a direct download link. If you don’t have or use a cloud drive, you can use WeTransfer to send files up to 2GB for free and without registering.
-
Include the download link to your support ticket. Do not send as a separate email.
Using WeTransfer
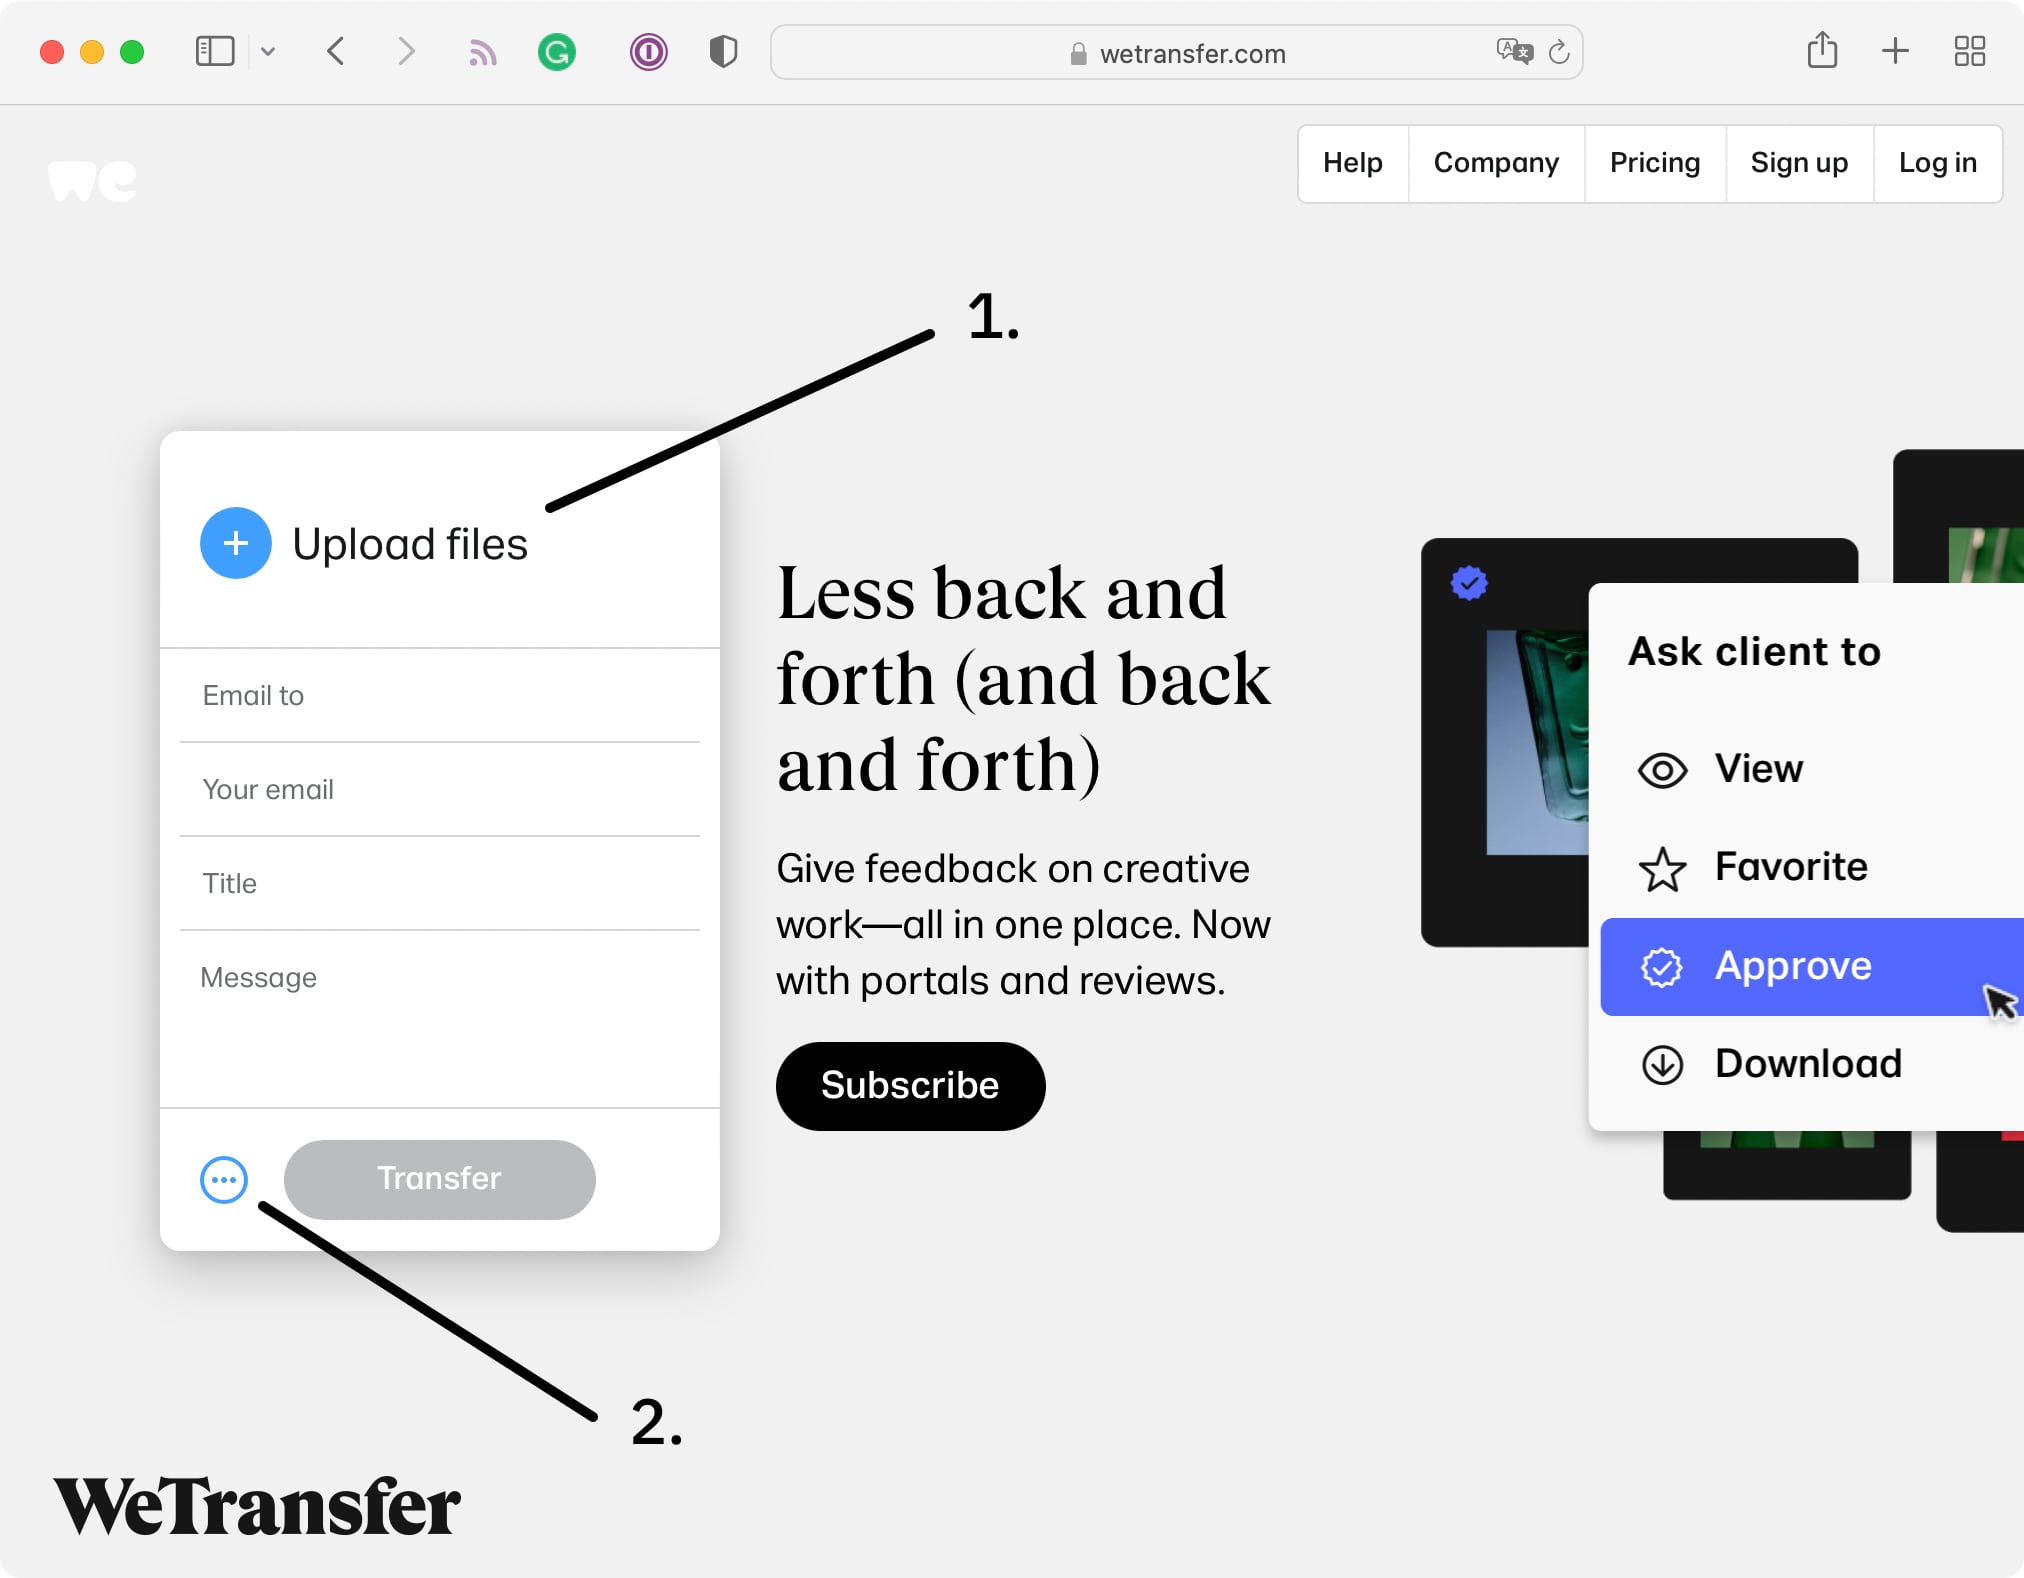
WeTransfer is a free service that allows you to share up to 2GB either via email or via a share link. To help keep our ticket system clean and ensure we get your package, we recommend using the link option. Copy the URL and add it to your email or add it to the support thread you’ve already started.
- Go to WeTransfer.
- After you agree to the terms of service, there is an option to upload files.
- Add your file(s).
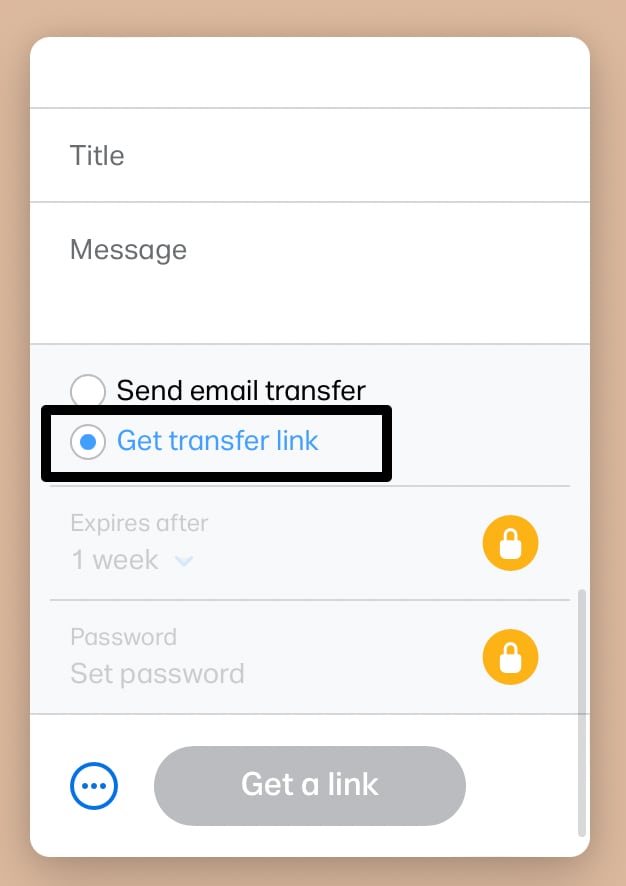
- Then choose the send via link option. Click on the menu button and change the
setting to Get Transfer Link.
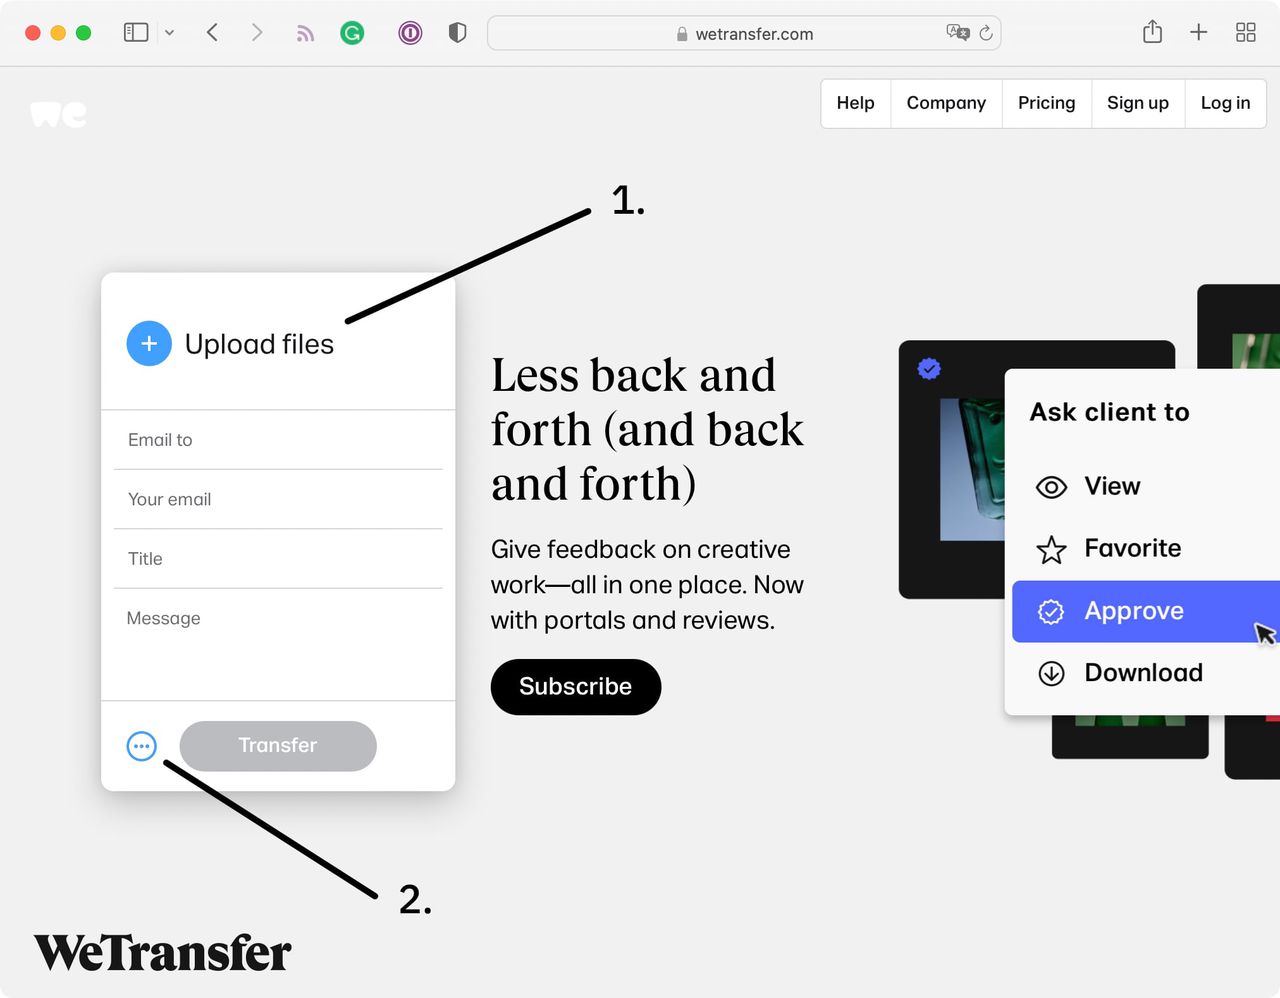
Add files, then select Get Transfer Link. 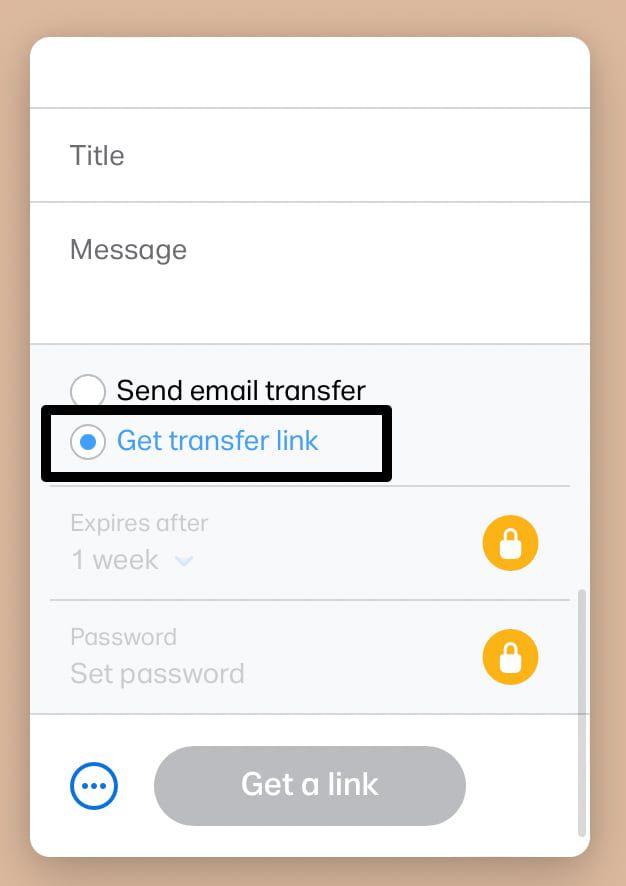
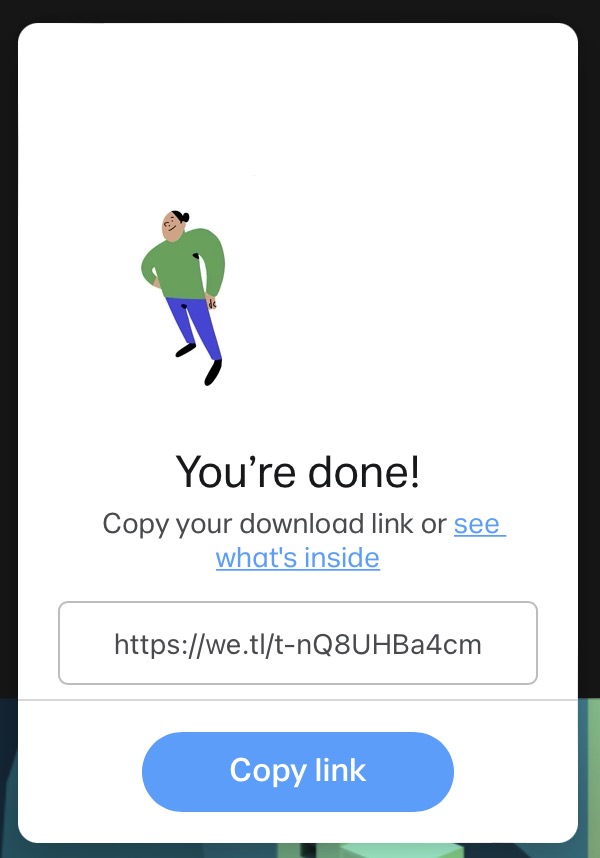
Select, Get Transfer Link. - Once the files are finished uploaded, copy your transfer link and include it
your support email
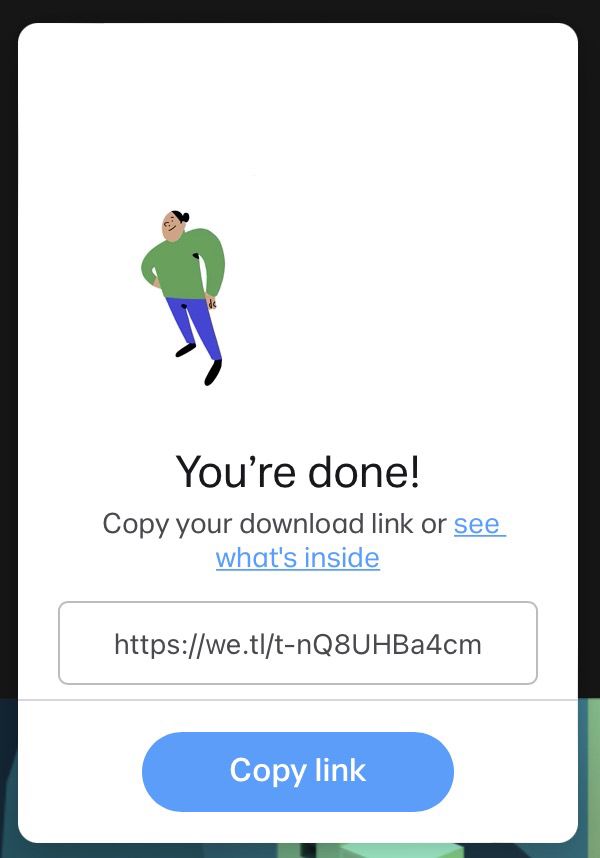
Copy the transfer link.