Connecting to a Skin
When outputting the project as a Web Output (rather than a video format), you can have an animation to control skin elements using additional tracks.
In this example, you show and hide text boxes at a certain point in time using a variable. First, you create the additional track in the Animation Editor, and then you assign actions to skin elements based on the changing variable in the animation editor.
Add a Variable Track
The first step is to add a variable track in the animation editor:
- Add a clip.
- Add an additional track. Right-click the track names in the editor and choose Add Track > New, or choose Animation > Add Track > New.
- In the dialog that pops up, choose Skin Variable for the Track Type.
- Give the track a meaningful description. For example, show text.
- Set the skin variable name for this track. This can be anything. For example,
our variable is called
showtext. Variables can also be defined in the skin. If a skin is already selected in the Web Output, its variables are listed in the Add Track menu, and picking one fills in the dialog for you. - Select the variable type. Ours is a text variable.
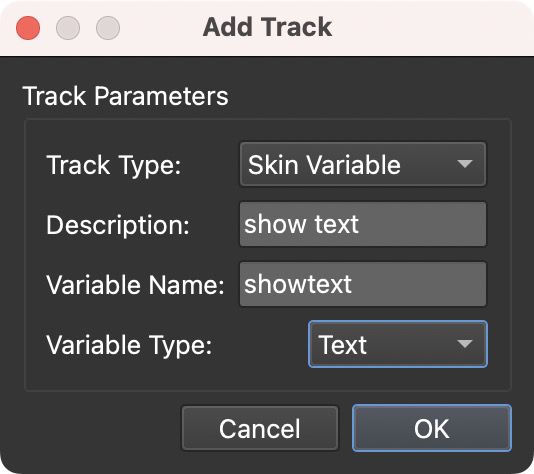
Track Parameters
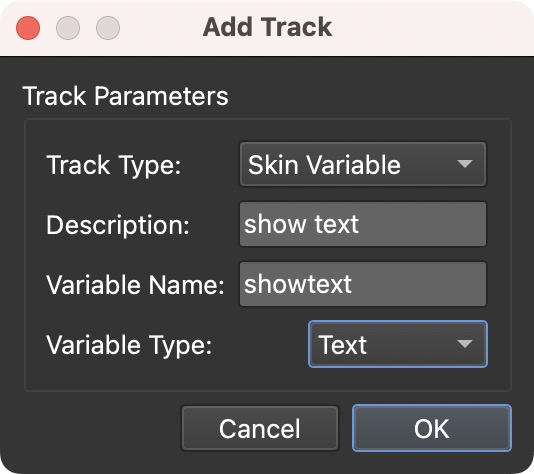
Add Keyframes
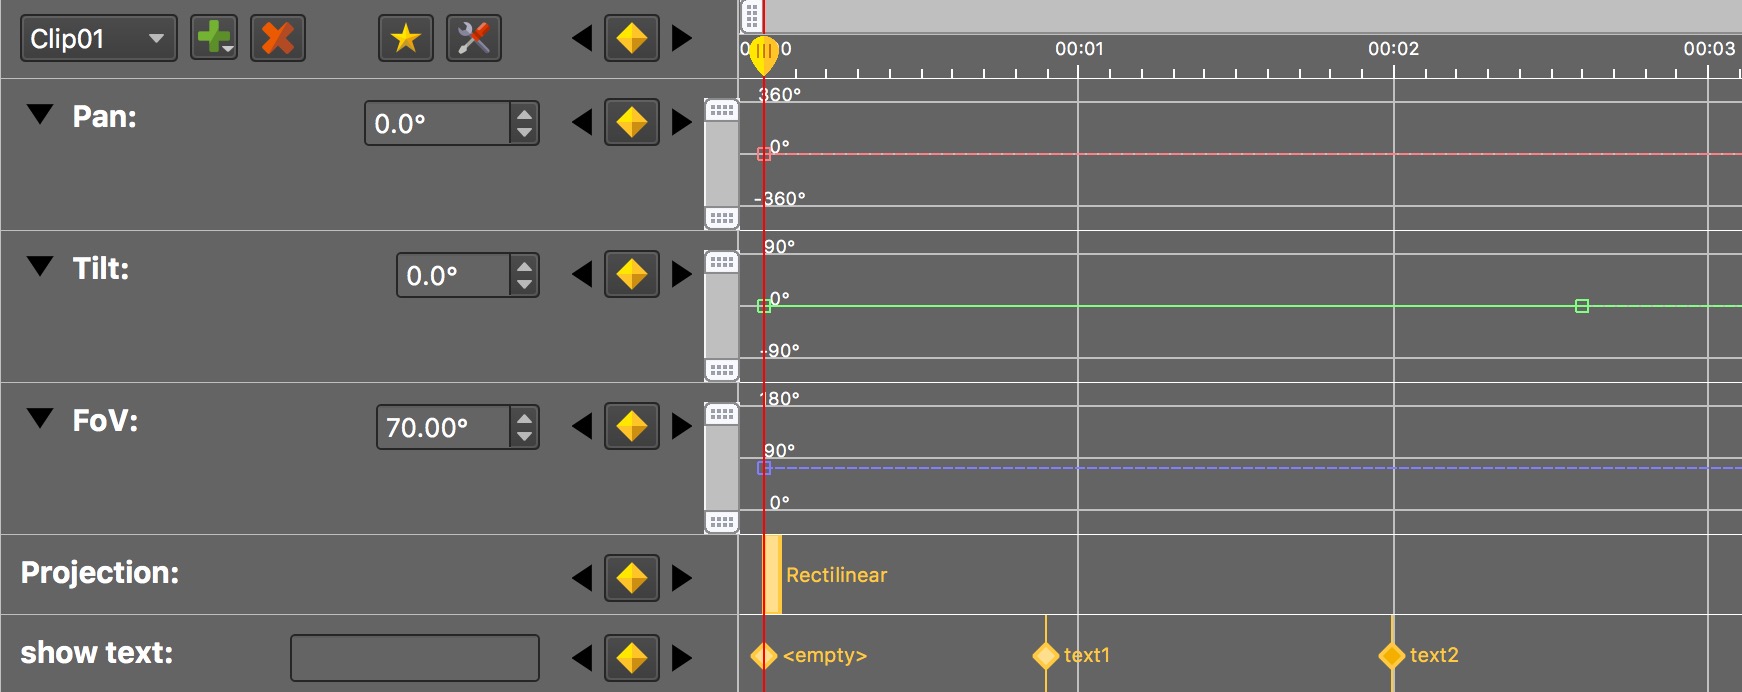
Next, add keyframes to that act as triggers to change the value the of variable.
- Double-click in the track to add.
- Set a value. Since the type of our variable is text, we’ll add a text value:
text1. This first keyframe indicates when the first textbox appears. - Add another keyframe. Give it a different value from the first keyframe. For
instance,
text2. The second keyframe indicates when the second textbox should appear and when the first box should hide.
So far, we’ve added two keyframes that change the variable’s value. In the Skin Editor, we’ll add this variable, a few text boxes, and actions that react to a change in the variable.
Add Actions to Skin Elements
Now, add elements to the skin and give them actions.
- Open the Skin Editor from the web output properties, or press Command-K (macOS) or Ctrl+K (Windows).
- Click inside the Canvas to reveal the skin properties. You’ll see a table with the variable we added in the Animation Editor.
We can now start to add elements to the skin. For our example, we add only two text boxes. One shows at the time of the first keyframe, while the other appears at the second keyframe.
Add a Textbox
-
Draw a text box.
-
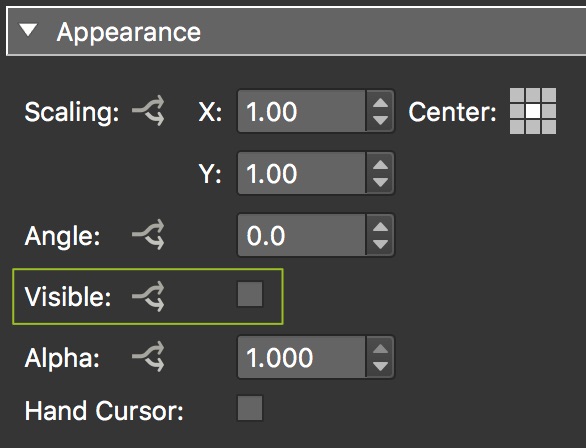
Deselect Visible. (Textbox properties > Appearance > Visible)
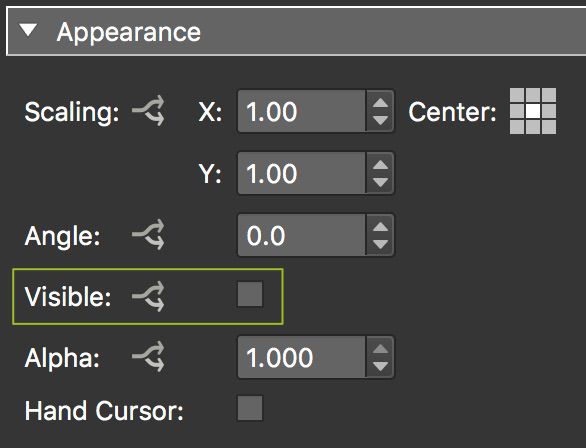
Deselect Visible. -
Add some text. (Textbox properties > Text)
-
Customize the textbox. We selected Center alignment, Word Wrap, Auto size, and changed the padding to
10. We also changed its background color (Text box properties > Rectangle > Background). -
Add the changed variable action:
-
Double-click in the Actions table to add the action.
-
For the Source, choose Variable Changed.
-
Choose the variable you created. Ours is called showtext.
-
Choose the Action, Visibility.
-
Type is Show Element.
-
Target is
_self.
This action shows the textbox when the variable, showtext, is changed in the Animation Editor. But we don’t want this box to show at every variable change. So, we’ll add a filter to the action.
-
Add an Action Filter
-
Click the Action Filter button to open the filter settings.

Action Filter button. -
Double-click in the table to add a condition.
-
For the Trigger, choose a variable added in the skin properties. Ours is called
showtext. -
Set the Comparison to
=. -
Set the Value to whatever you set as the keyframe value. We set ours to
text1. -
Click OK.

This condition states that the action should only be performed if the variable’s
value has been changed to text1.

Add a Hide Element Action
Finally, the textbox needs to hide itself when the second textbox shows.
-
Copy the first action in the action’s table. Right-click, choose Copy.
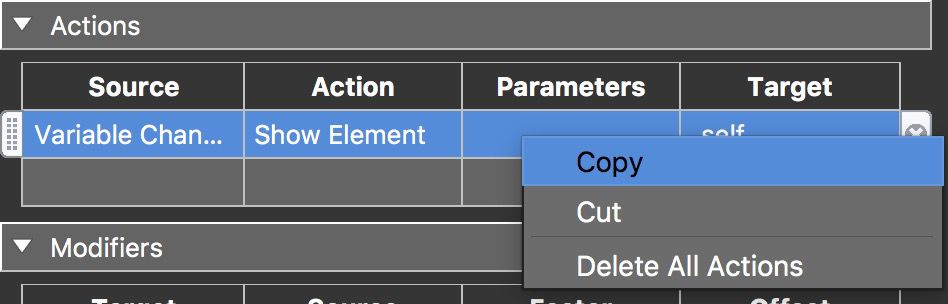
Copy the action. -
Right-click in the table and choose, Paste.
-
Double-click the action to open its parameters.
-
Change its action to Hide Element.
-
Change the action filter to execute only if the variable
showtext=text2.
Add another Textbox
-
Draw a second textbox.
-
Change the Element’s ID.
-
Deselect Visibility. (Textbox properties > Appearance > Visibility)
-
Add some text. (Textbox properties > Text)
-
Customize the textbox.
-
Add the changed variable action.
-
Double-click in the Actions table to add the action.
-
For the Source, choose Variable Changed.
-
Choose the variable you created. Ours is called showtext.
-
Choose the Action, Visibility.
-
Type is Show Element.
-
Target is
_self.
-
-
Add a filter.
-
Double-click to add a condition.
-
For the Trigger, choose the variable you added in the skin properties. Ours is called
showtext. -
Set the Comparison to
=. -
Set the Value to whatever you set as the second keyframe value. We set ours to
text2. -
Click OK.
-
-
Add the Hide Element action.
-
Copy the first action. Right-click, choose Copy.
-
Right-click in the table and choose, Paste.
-
Double-click the action to open its parameters.
-
Change its action to Hide Element.
-
Change the action filter to execute only if the variable
showtext=text1.
-
-
Save the skin.
Output the Project
Finally, it’s time to export the project.
-
Open the web output properties.
-
Add the skin you’ve created.
-
In the Auto Rotation pane, select Animation.
-
Choose the correct sequence. For this example, we used the Default Sequence.
-
Click the Generate Output button or upload to the Gnome Cloud.