Lens Flares Properties
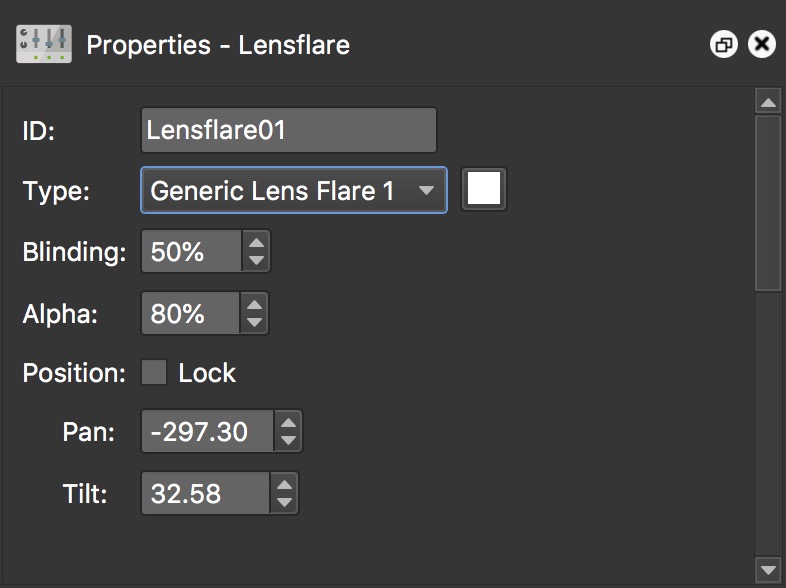
When you add a lens flare to your project, the Properties panel will open showing all the settings for lens flares.
Switch to Master Node – This button appears only when the selected lens flare comes from the tour’s master node while another node is open in the Viewer. Click it to switch to the master node.
ID – The ID of the Lens Flare which can be used in the Skin Editor.
Type – Choose the type of flare:
- No Lens Flare
- Simple Lens Flare
- Colorful Lens Flare
- Bright Sun
- Warm Sun
- Cool Sun
- Golden Spotlight
- Blue Spotlight
- Red Spotlight
For the Generic Lens Flares, a color well appears next to the menu. Click it to change the flare’s tint.
- Generic Lens Flare 1
- Generic Lens Flare 2
- Generic Lens Flare 3
Blinding – How bright the panorama becomes when the viewer is looking towards the light source. Values range from 0% to 200%.
Alpha – Adjusts the flare’s opacity, from 0% to 100%.
Position – Select Lock to lock the lens flare’s position in place. While locked, the Pan and Tilt fields are disabled.
Pan – Adjusts the flare’s location horizontally, from -360 to 360 degrees.
Tilt – Adjusts the flare’s location vertically, from -180 to 180 degrees.
To move the lens flare, drag it in the Viewer.