Add an Image Pop-up
Hotspots can be used to pop up images and to show information boxes. When Info and Image hotspots are added to a project, they can use a different skin graphic to represent them.
This process will add an Image type hotspot. This means that the image pops up to open; it is not pinned and visible like if you were to add an image via the Images Mode
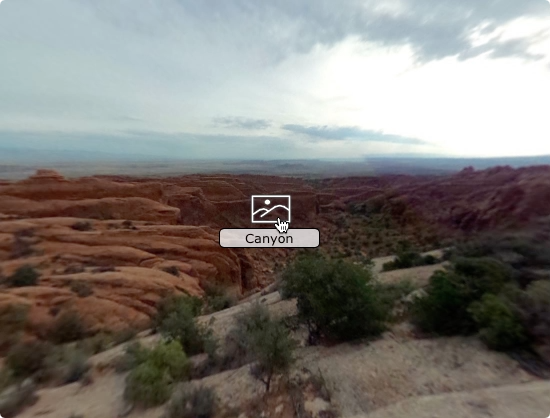
Instead, an image icon will be seen. When you click on this icon, an image pops up. The image icon comes from the skin. The hotspot and the image icon in the skin are connected via a hotspot template and a Skin-ID.
The easiest way to get an image hotspot icon, is to use the installed Components found in the Components Toolbox or simply use one of the built-in skins. They both have hotspot templates with image icons for pop-up images.
-
Open a project or import a panorama.
-
Select the Point Hotspot Viewer Mode from the Viewer Modes or hit P on the keyboard.
-
Drag in the image for the pop-up and drop on to the Viewer. It will be automatically added as a hotspot that links to an image.
The hotspot’s properties will open. There you’ll see the hotspot set to an Image type and the Skin-ID already added.You could output this from here, but the image won’t pop up. Rather, when you click on the hotspot, it would open in a separate browser window. Also, the hotspot image would be the default hotspot image. If you want the image to pop up in the same window and have a nice looking hotspot graphic, continue with the following steps.
-
Open the Output panel and add an HTML5 output.
-
Add a skin.
Both the Silhouette and Simplex skins have the needed hotspot template. If you choose either of these skins, you can output the project from here and you’ll have a hotspot graphic that when clicked will open an image. However, you can also just add one of the image components. -
Open the Skin Editor (Click the Edit Skin button).
-
Open the Components Toolbox, find the Built-in Components.
-
Double-click one of the Image Popup components to add it to the skin.
From here, you could swap out the hotspot icon. See: Custom Hotspot Images -
Save and rename the skin.
-
Output the project.
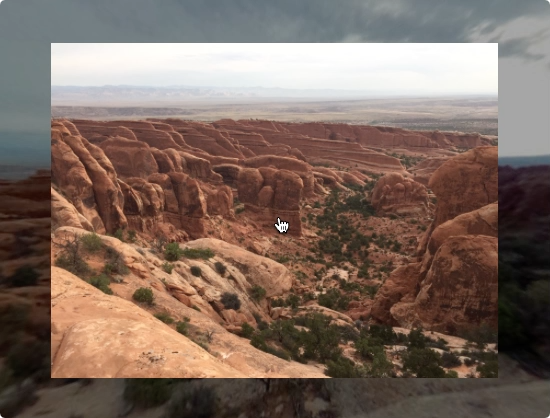
You’ll now see an image graphic representing the point hotspot and when you click on it, the image pops up in the center of the screen. Click on the image again to hide it.

✭ You can use external images, too. Just drag in the image from a website (or URL) and the image will be added (so long the URL ends with an image extension).