A map for a tour can be sourced as an image or as map tiles, like Google Maps or
Mapbox. The default map in the Tour Map is World Map which is used internally.
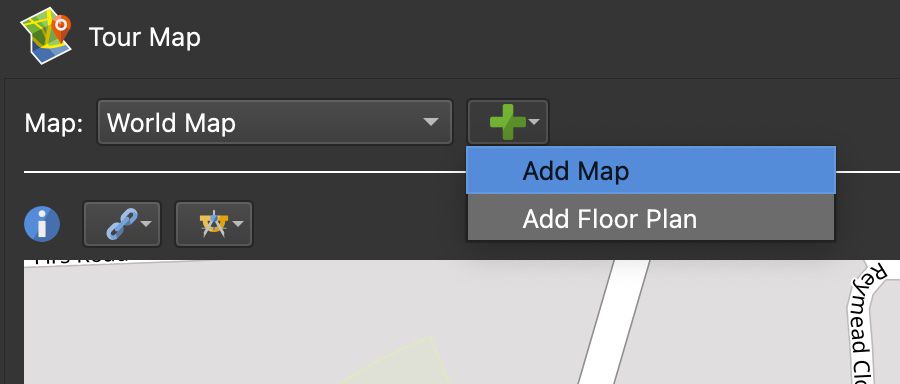
To add a map to your project (in the skin), add a Map using the green plus. To
display Google Maps on a website, it’s necessary to obtain an API key.
On a touch device, use 1 finger can be used to move the map and 2 fingers to
zoom in and out.
Adding OpenStreetMaps
OpenStreetMap is an open source map provider
in which you’re free to use under an open license. Pano2VR uses the Leaflet API
to display the maps.
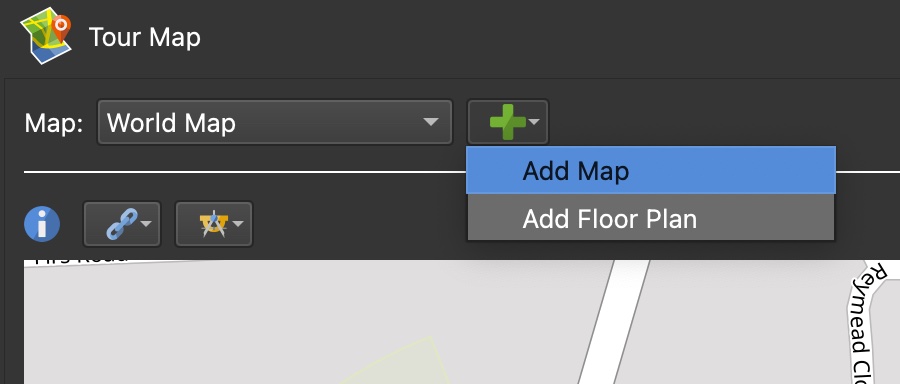
Open the Tour Map.
Click the green plus button and select, Add Map.
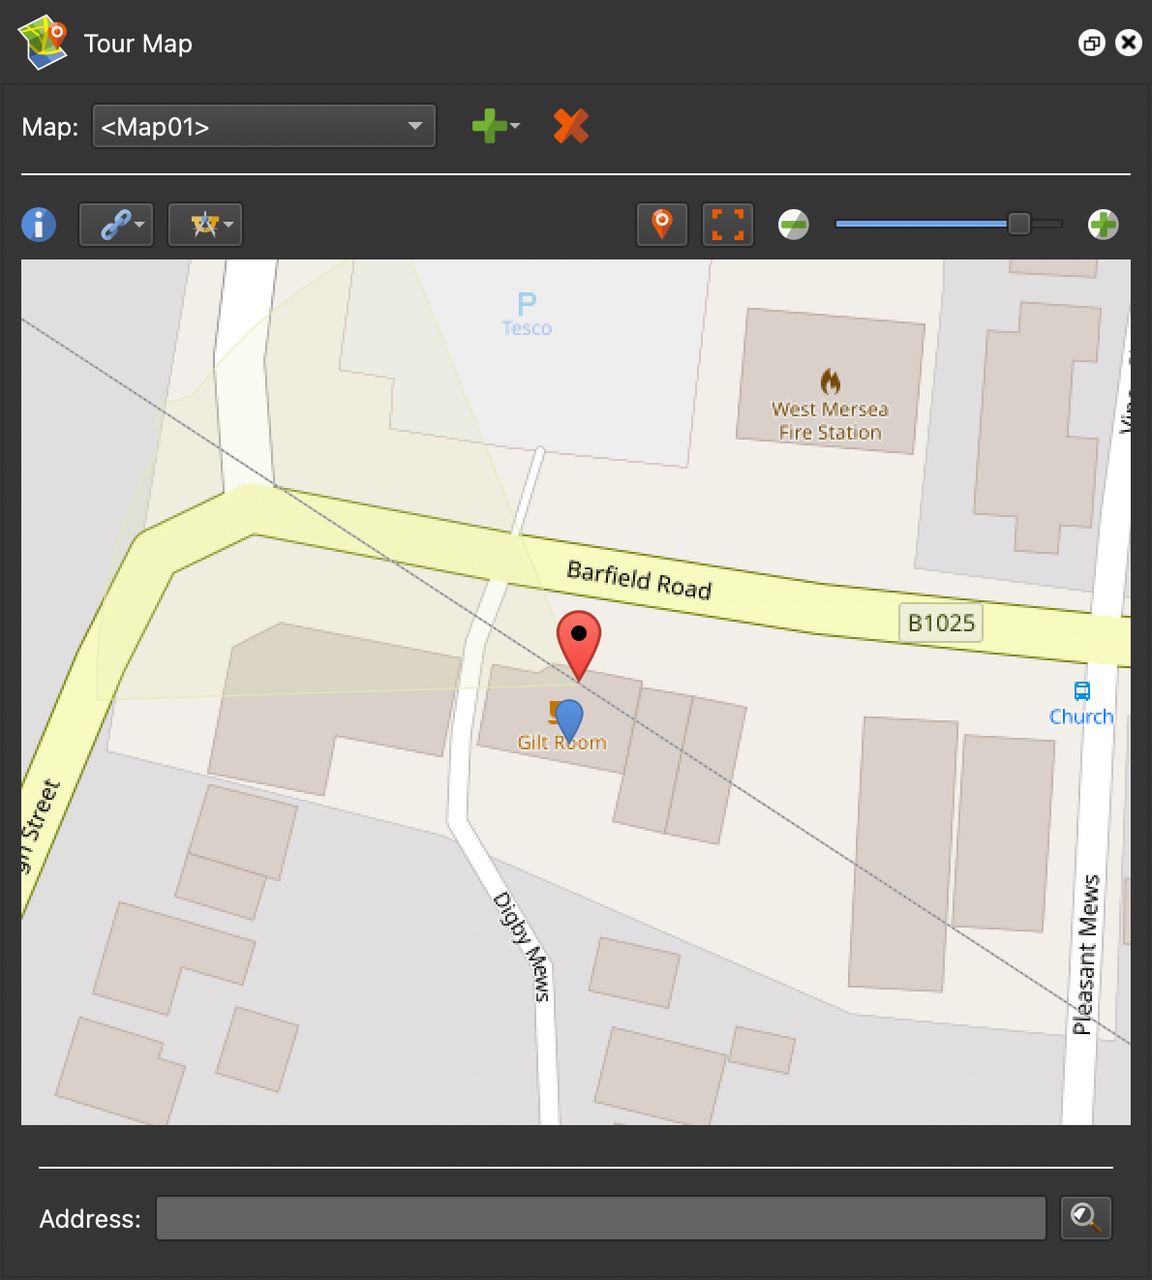
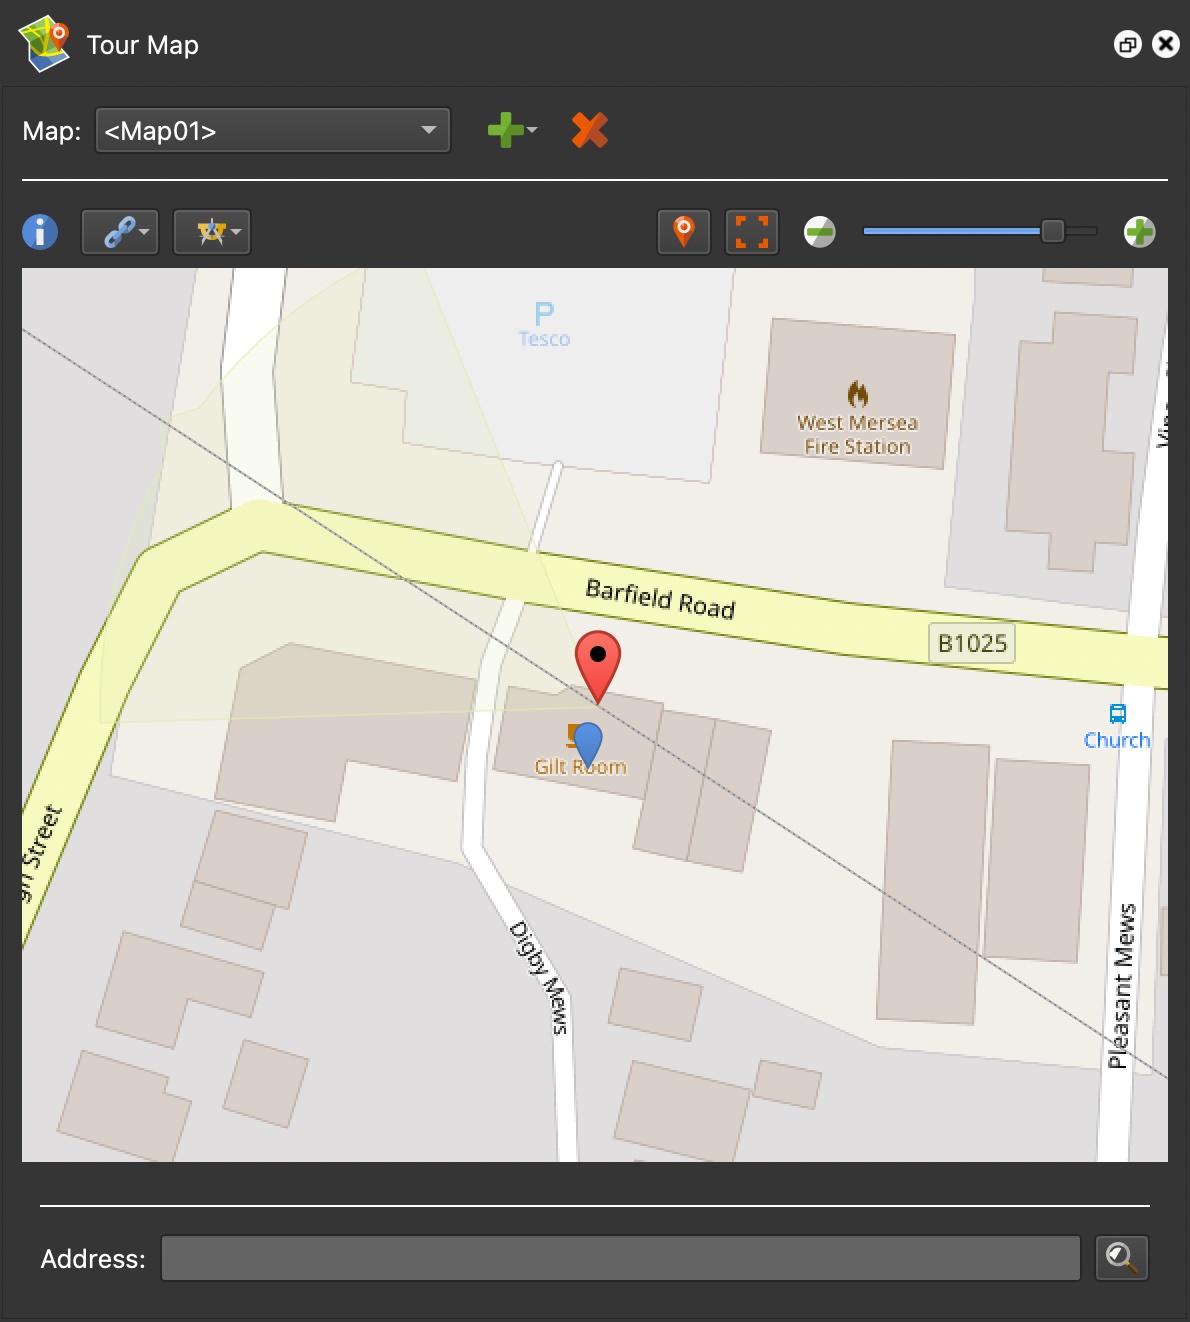
Add Map.Map added. If tour nodes
have location data, they will be represented by pins on the map. The active
node will show a red pin and the other nodes will be blue. It’s possible the
GPS is not exact. If so, drag the pins to their accurate location.
★ Go
here
to learn how to add location data, if the images do not have it.
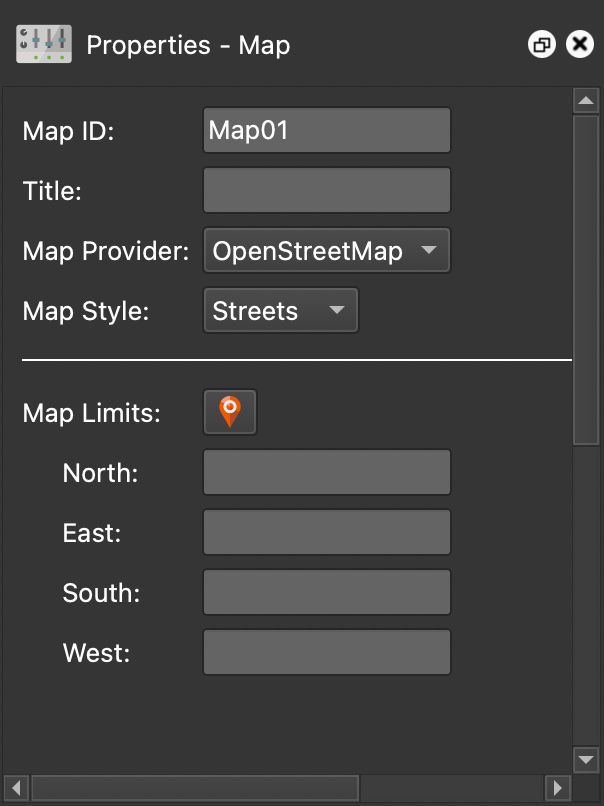
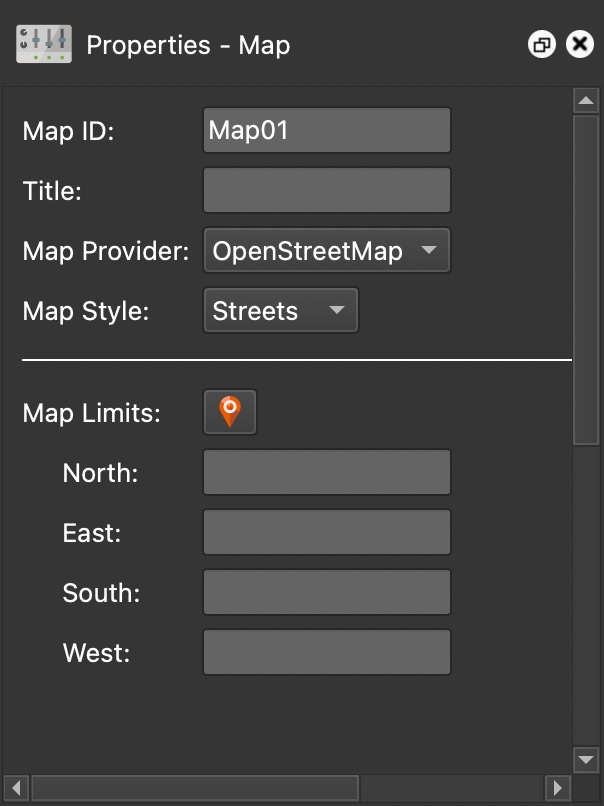
In the Properties panel, the settings for the new map appear. In the list of
map providers, choose OpenStreetMaps.
Map Properties
Open a skin or create a new skin.
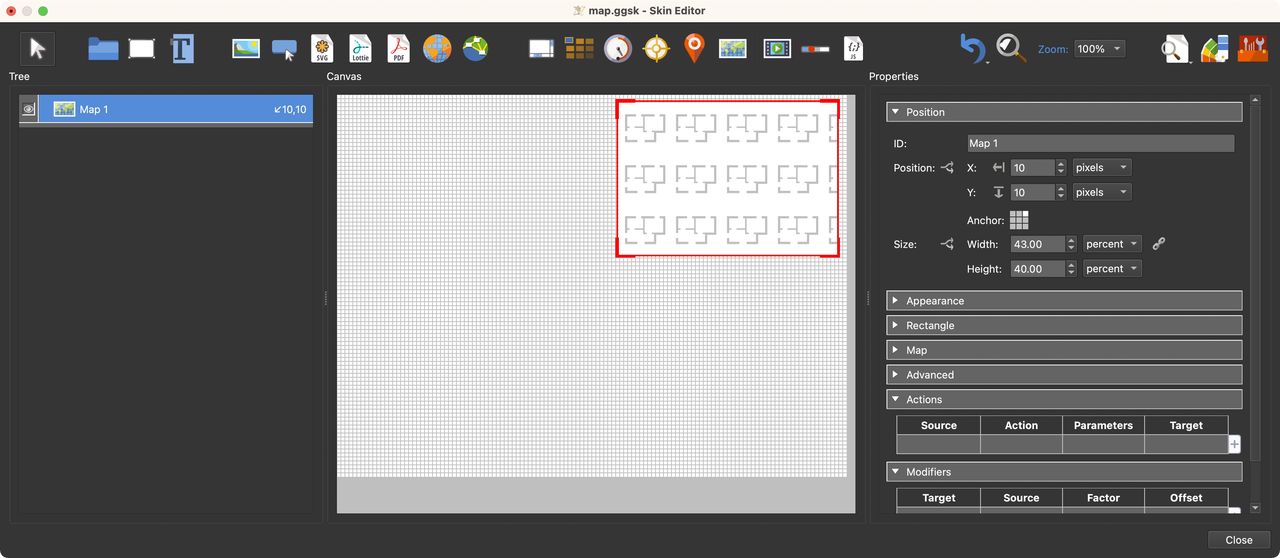
In the Skin Editor, add a Map element. Select Draw map. from the toolbar
and draw a shape for the map. The map element will be filled with placeholder
content. Once the project is generated, the map will appear.
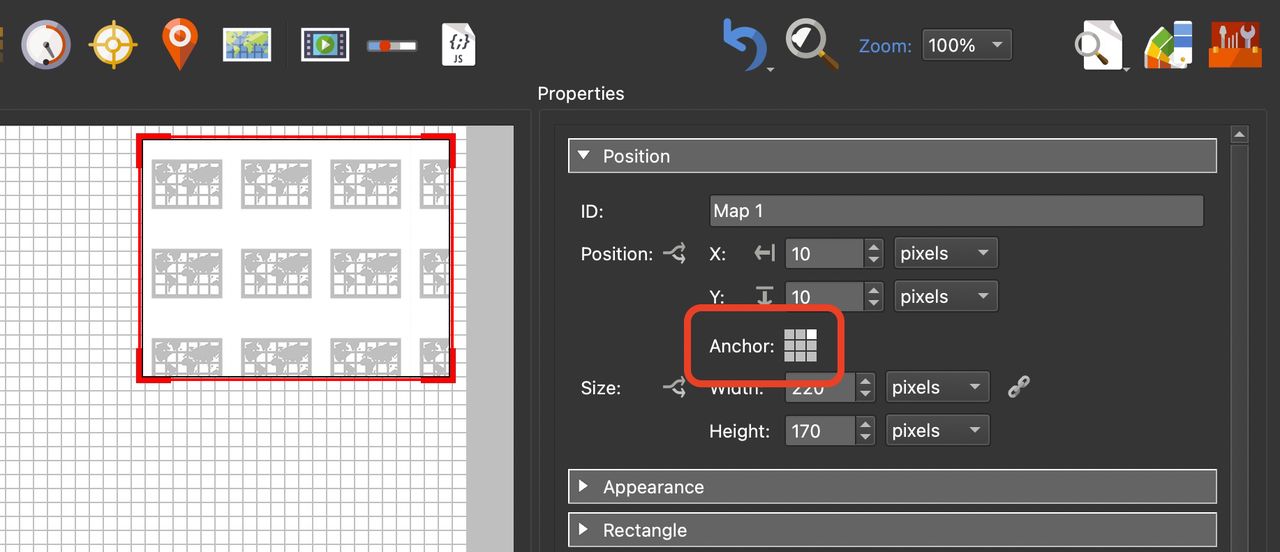
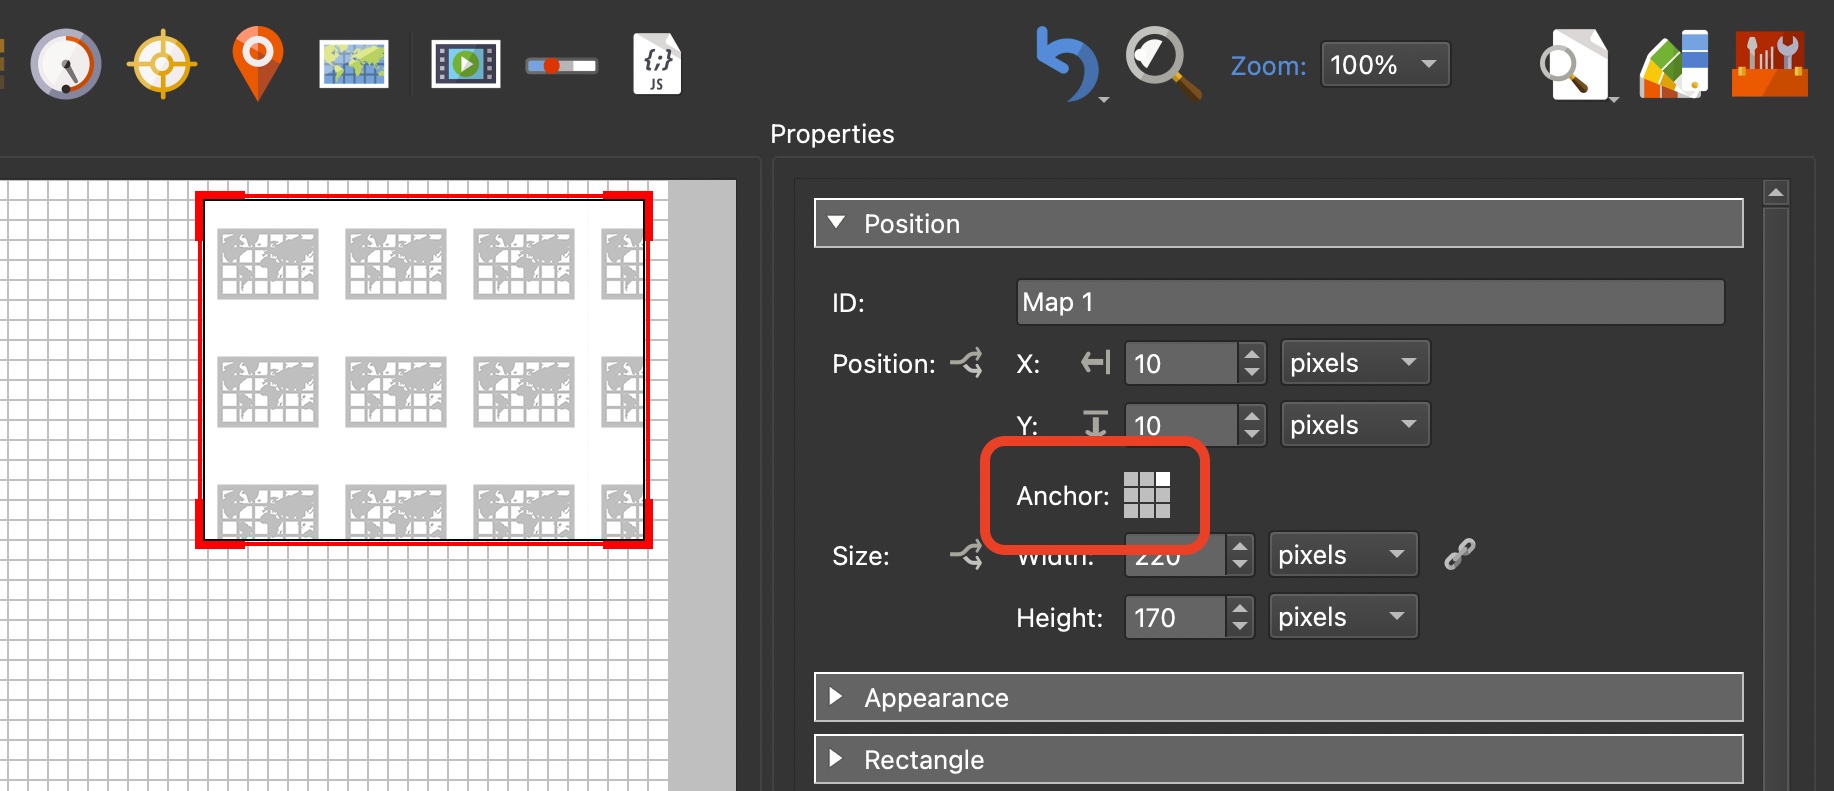
Anchor the Map to the top right corner. Anchor the map.
Next, from the components toolbox, add Map Element Map Pin.
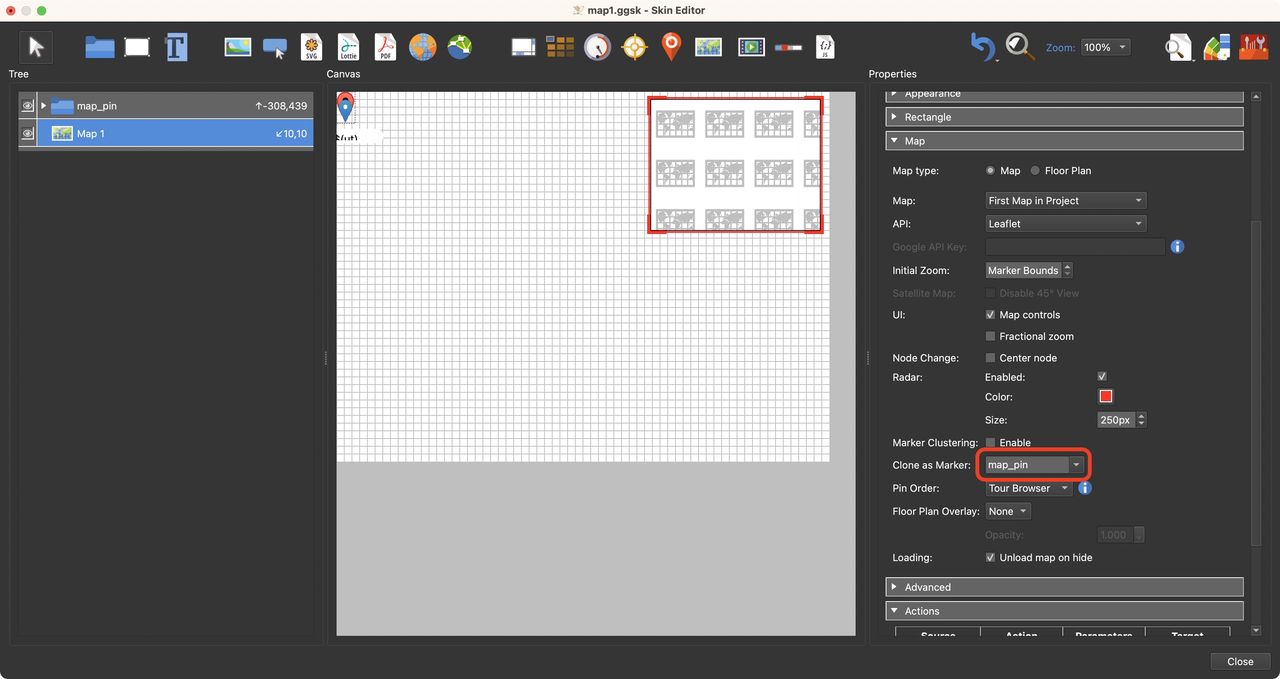
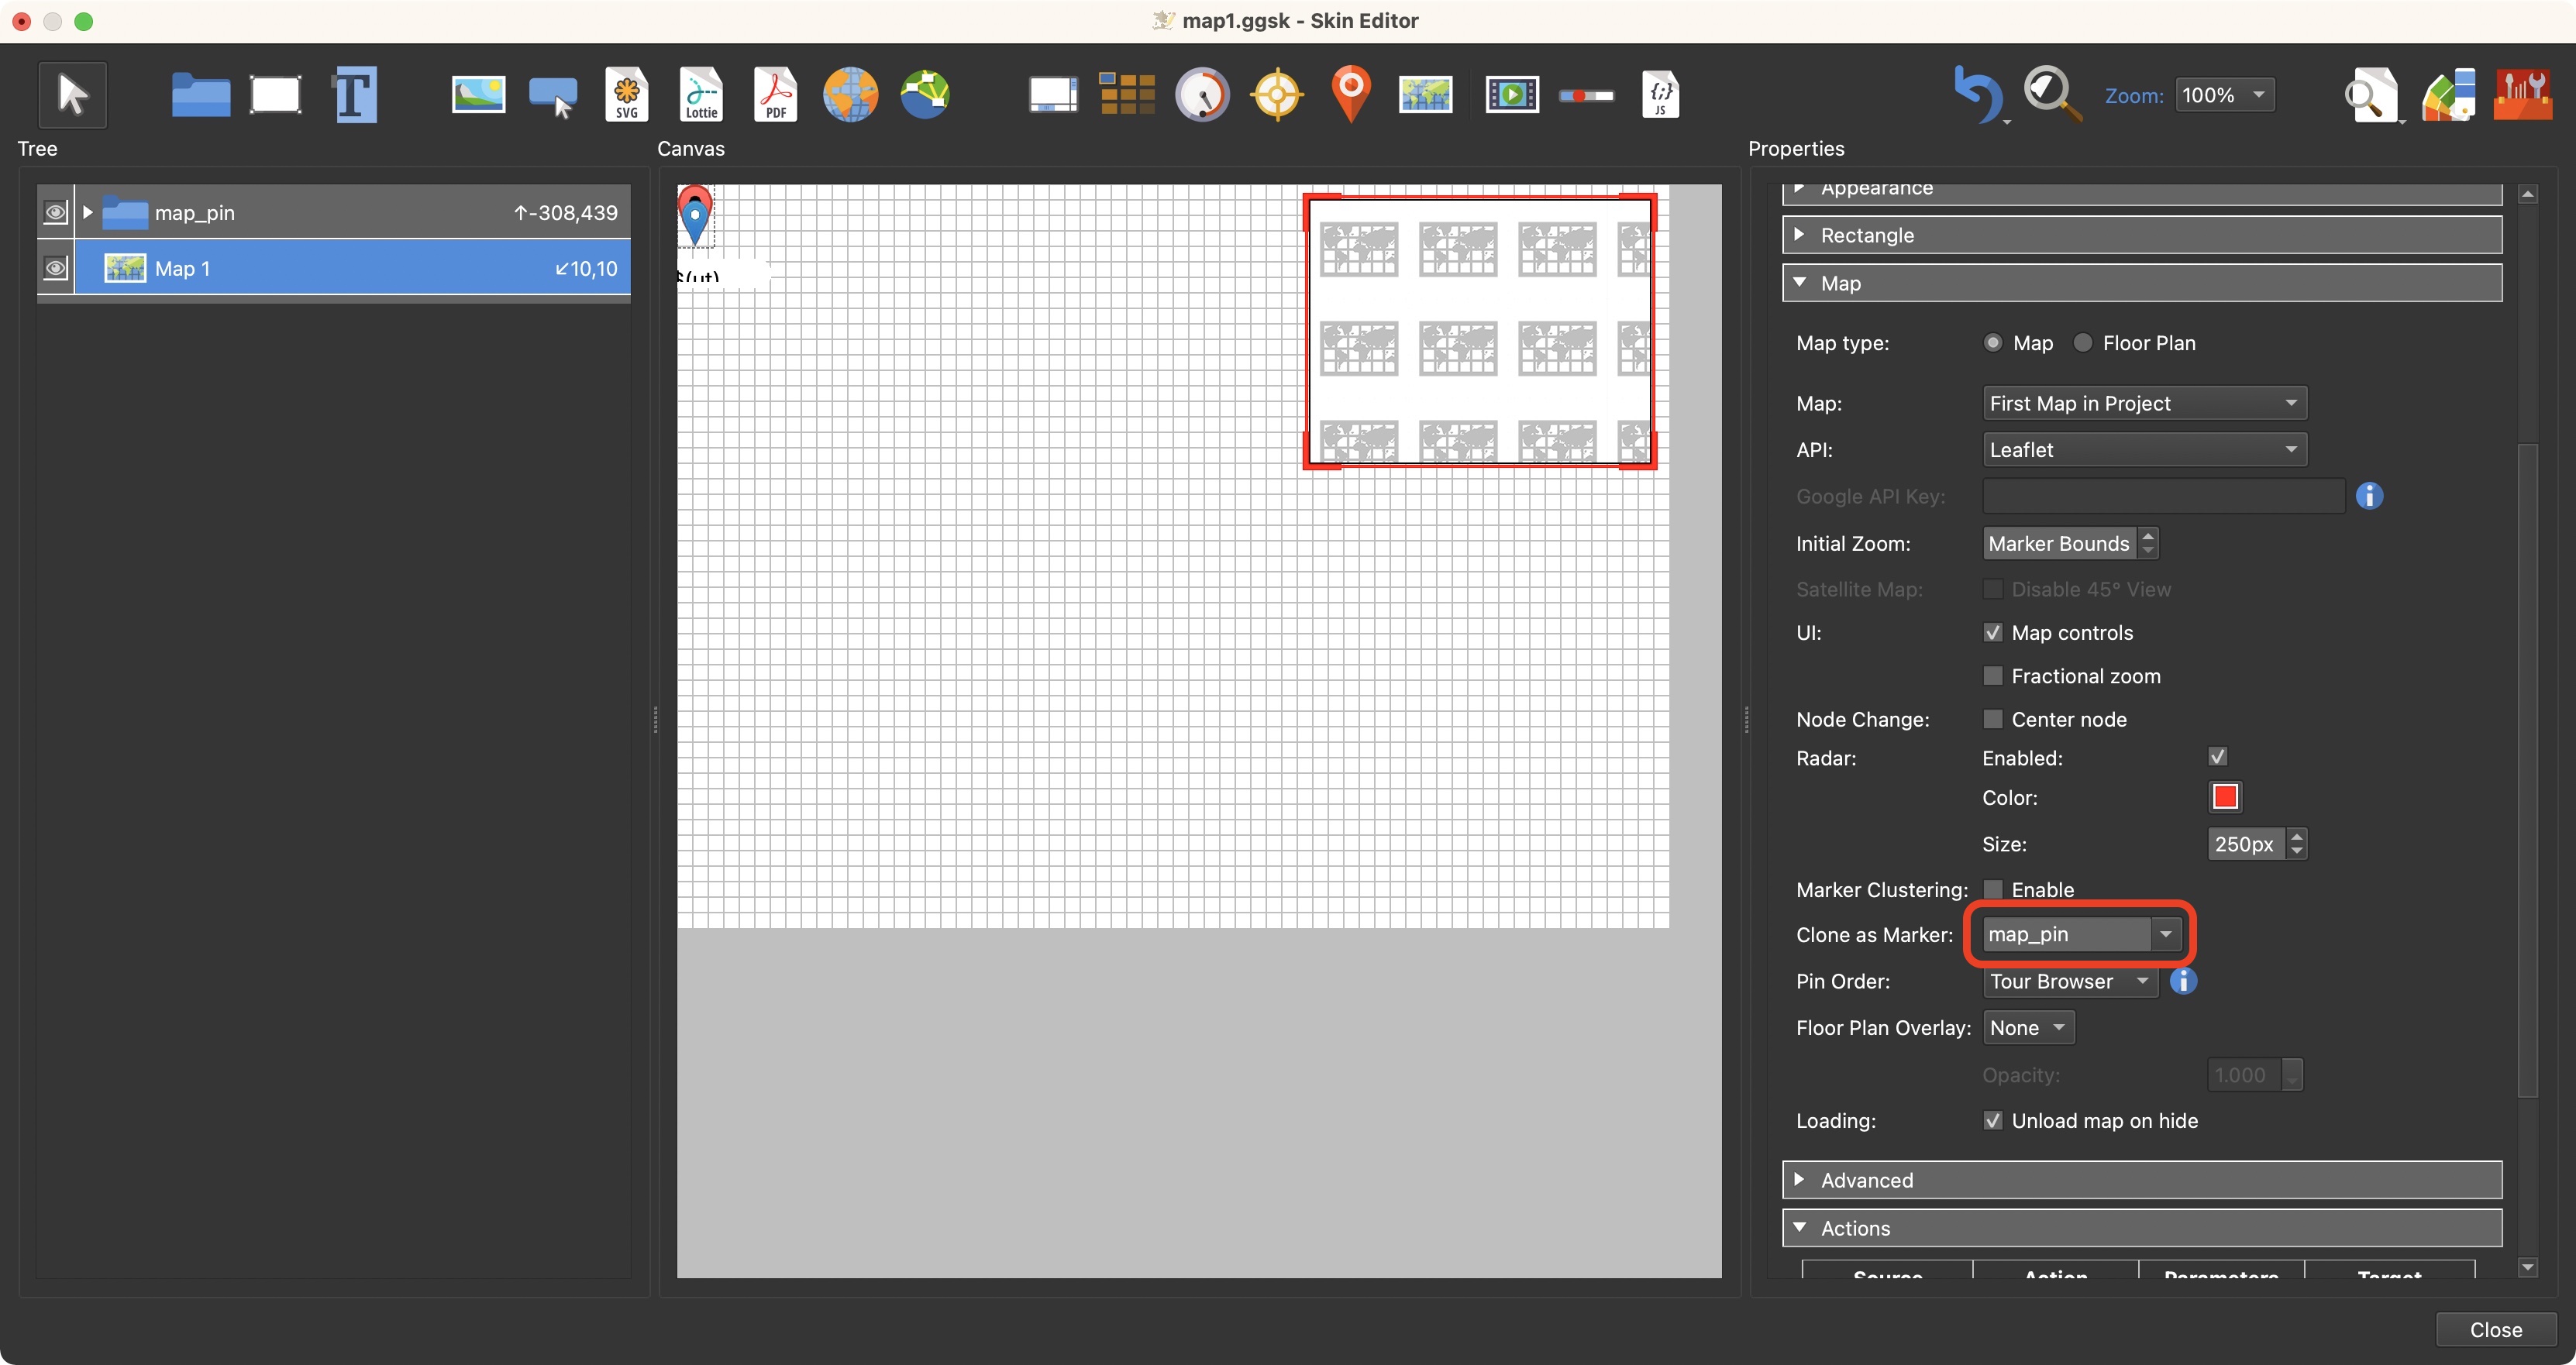
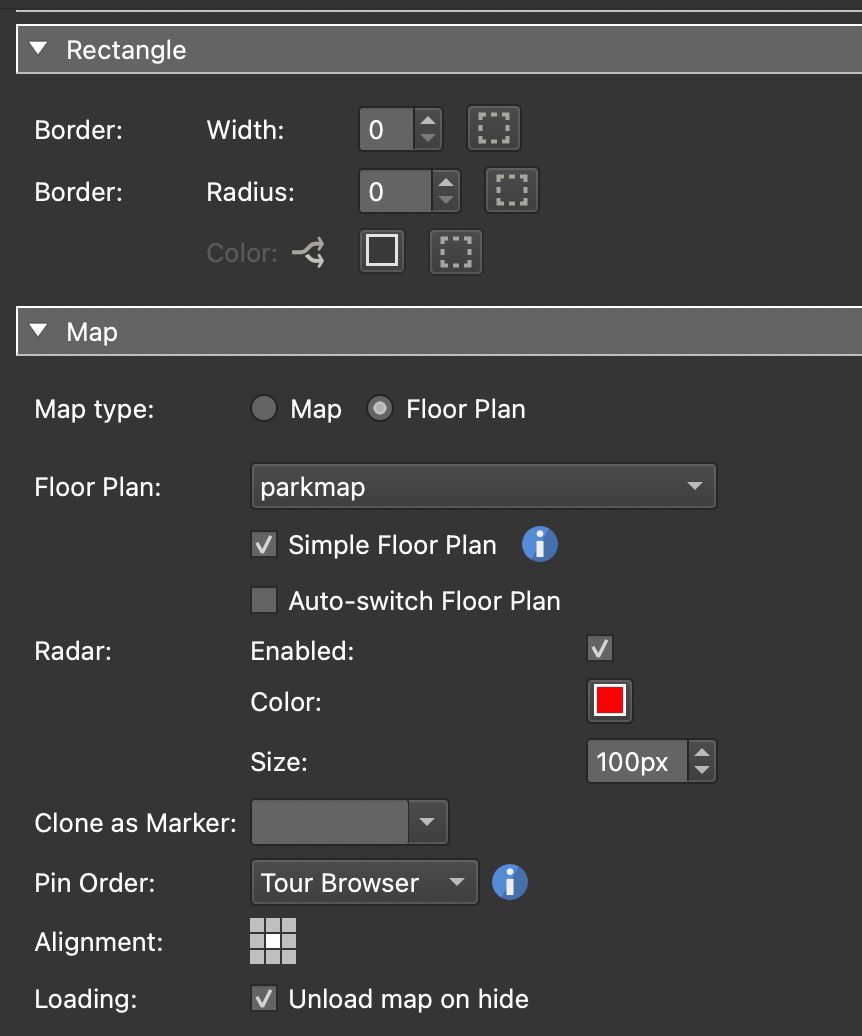
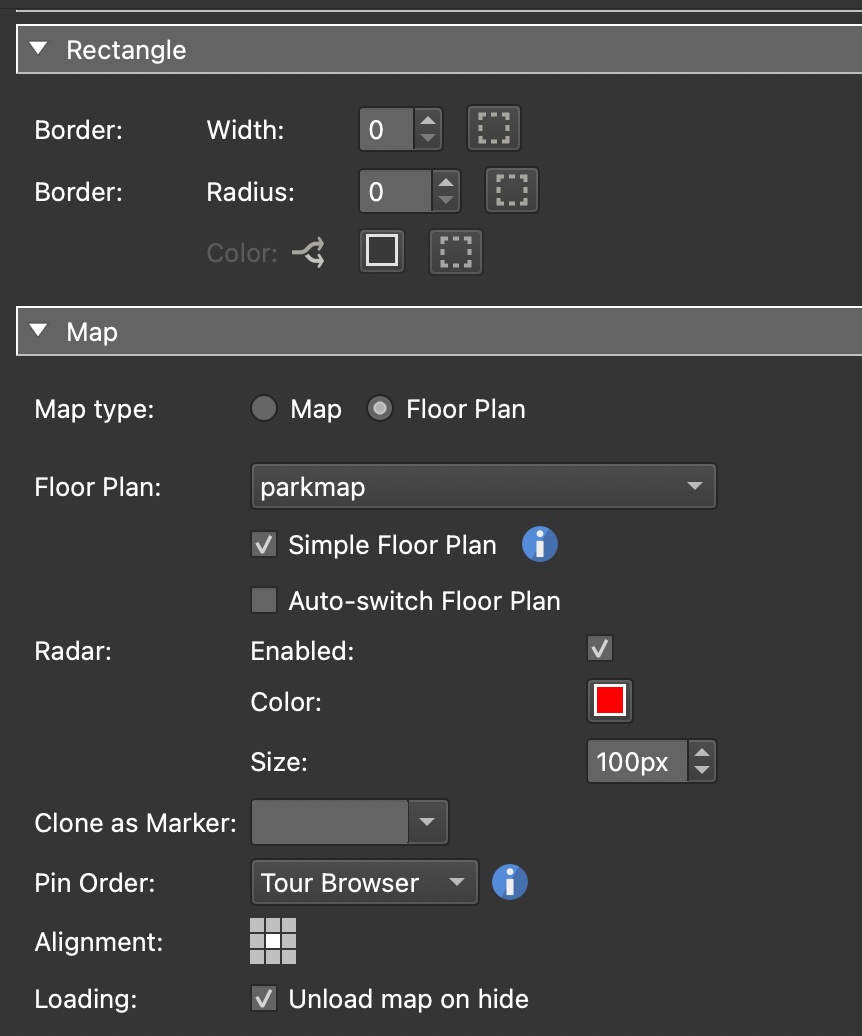
Select the map element in the Tree or Canvas, and go to the Map panel. For
Map, choose First Map in Project. For API, choose Leaflet.
Next, find the setting, Clone as Marker. From the list, choose map_pin.
Map element settings.
Save the skin.
Back in the main program window, add a web output (if not already added) and
choose the skin that you’ve just added the map.
Add GPS and set North to each node image if not already added. If the nodes
have location data, they will be visible as pins in the Tour Map. If the
nodes don’t have GPS, you can learn how to add it
here.
★ Tip: Save the project.
Open a skin or create a new skin.
In the Skin Editor, the
components toolbox, add the Map Silhouette button and add it to the skin.
In our example, we have anchored it to the bottom right corner. This
component has a button that opens and closes a map in the center of the view.
In the Tree, select the Map Element. (It is found in map_container.)
Go to the Map settings. For Map, choose any of the Google maps.
Add your Google API key.
Google requires an API key that is not free and for which you will need to
register.
Save the skin.
Back in the main program window, add a web output (if not already added) and
choose the skin that you’ve just added the map.
Generate the web output.
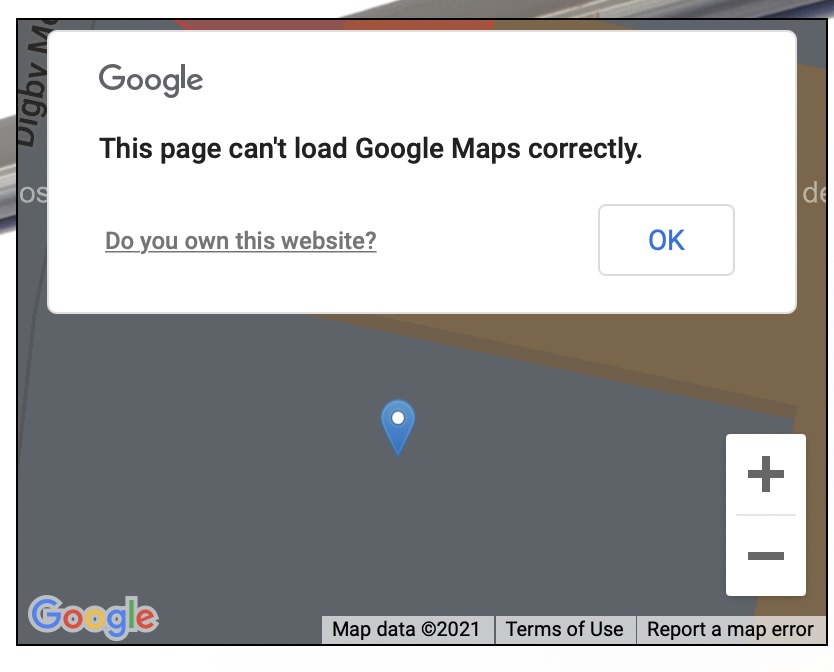
★ If you see this warning in your map, it means you either forgot to do step 7
or entered the API key incorrectly.
The warning one gets when an API key is missing.
Adding a Map as an Image
Any image can be used as a map. In this exercise, our images will not have
location data and the map will be an image. When the map is an image you can add
it using the Floor Plan setting of the Tour Map or you can add it directly to
the skin.
Click the green plus button and select, Add Add Floor Plan. You’ll be
prompted to open an image file.
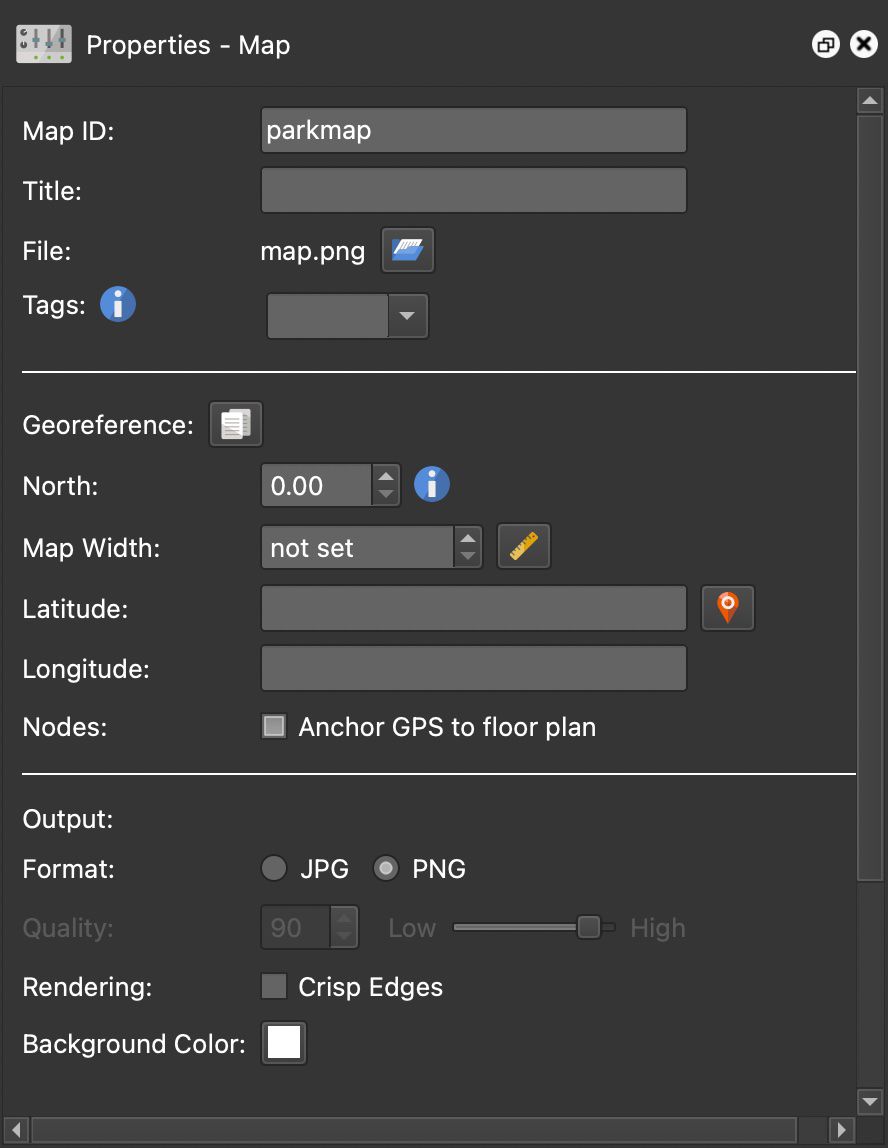
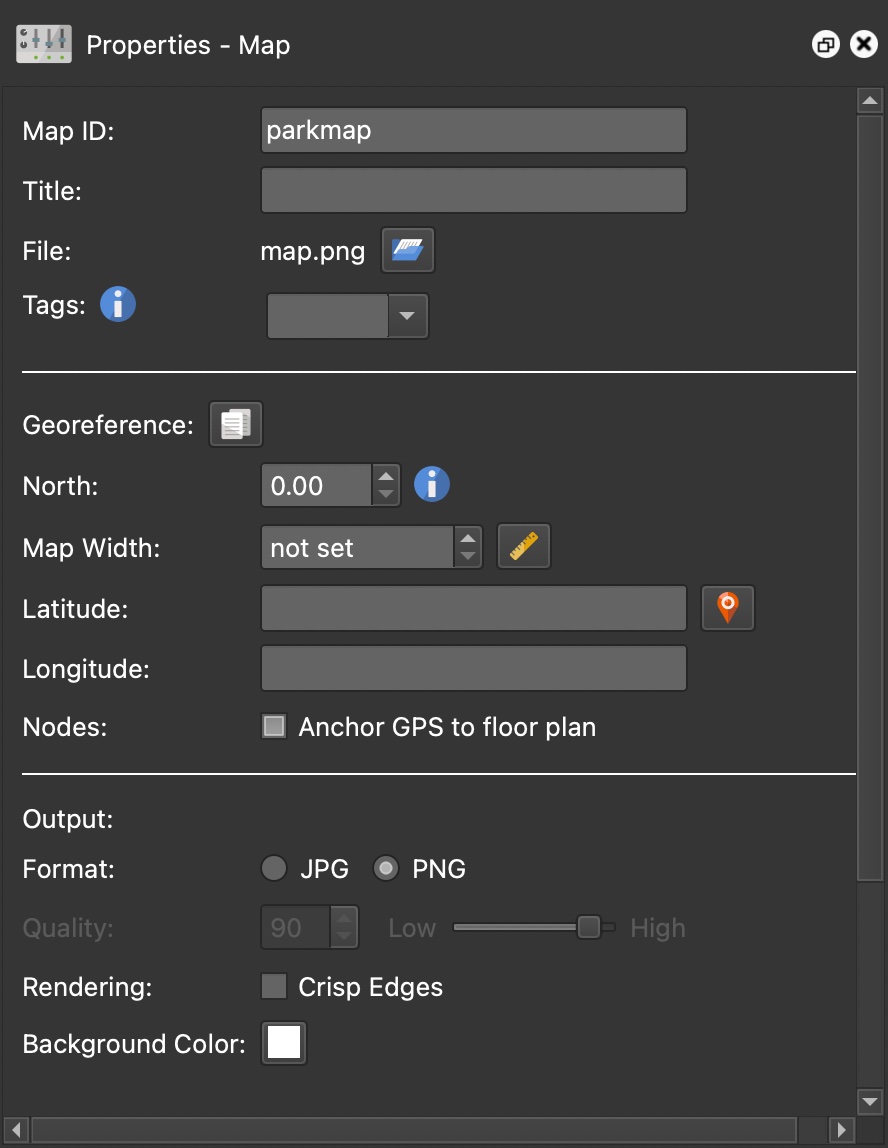
In the Map Properties, choose the corresponding image format. Our example is
PNG. Optional: change the ID to something more meaningful.
Floor Plan properties
Change background color to transparent.
Drag the nodes to their corresponding locations on the map in the Tour Map.
This will add the nodes as pins. Drag the pins as necessary. ★Tip: Hold down
the Alt or Option key to move the blue, inactive pins. (The active pin is red
and is the currently selected node in the Viewer.)
Correct the node’s view by holding down the N key and drag the panorama.
Watch the radar beam in the Tour Map. Alternatively, you can drag the radar
beam in the Tour Map.
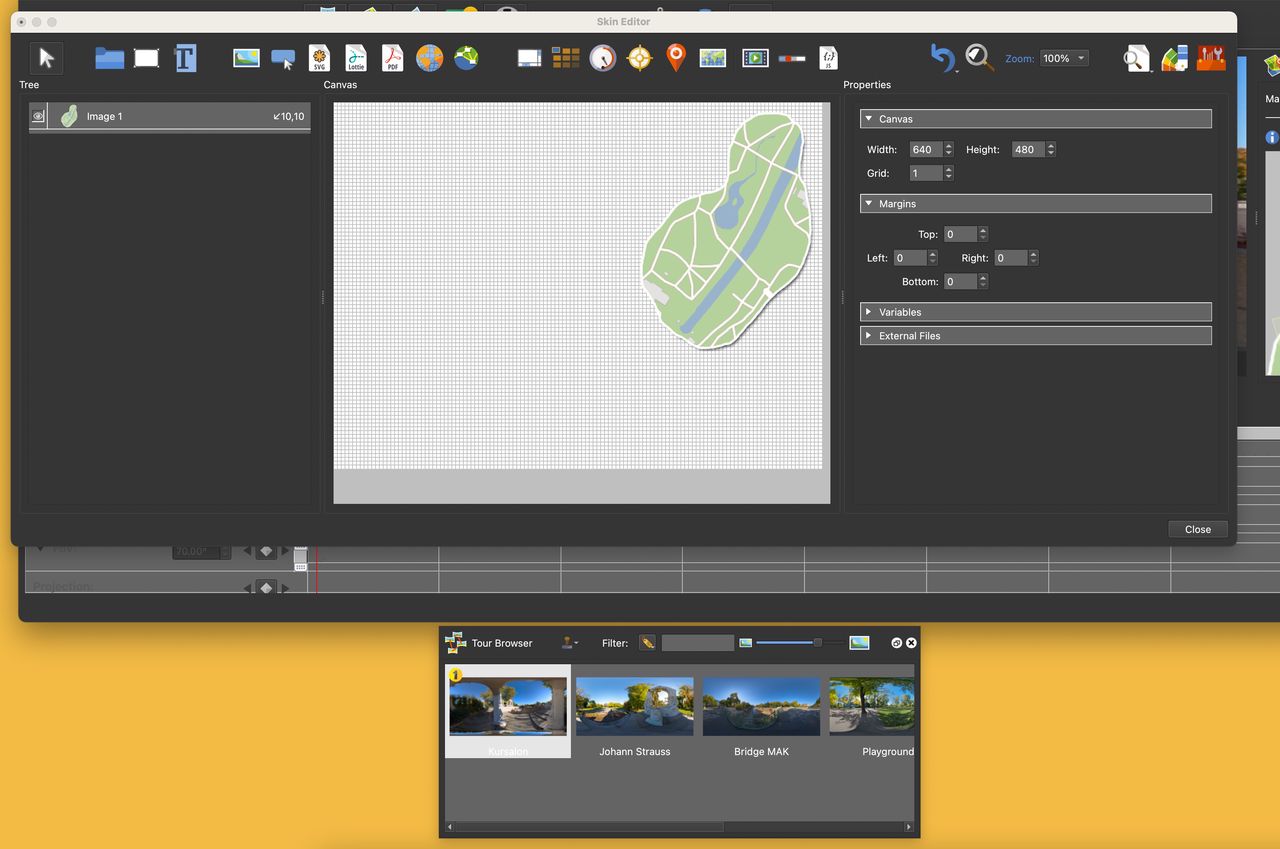
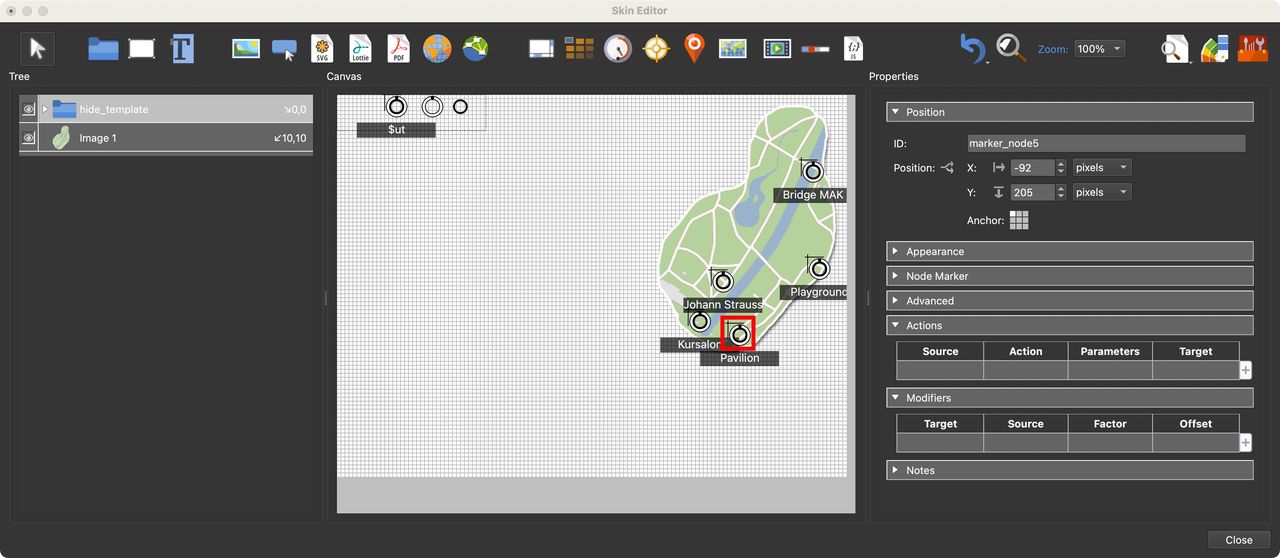
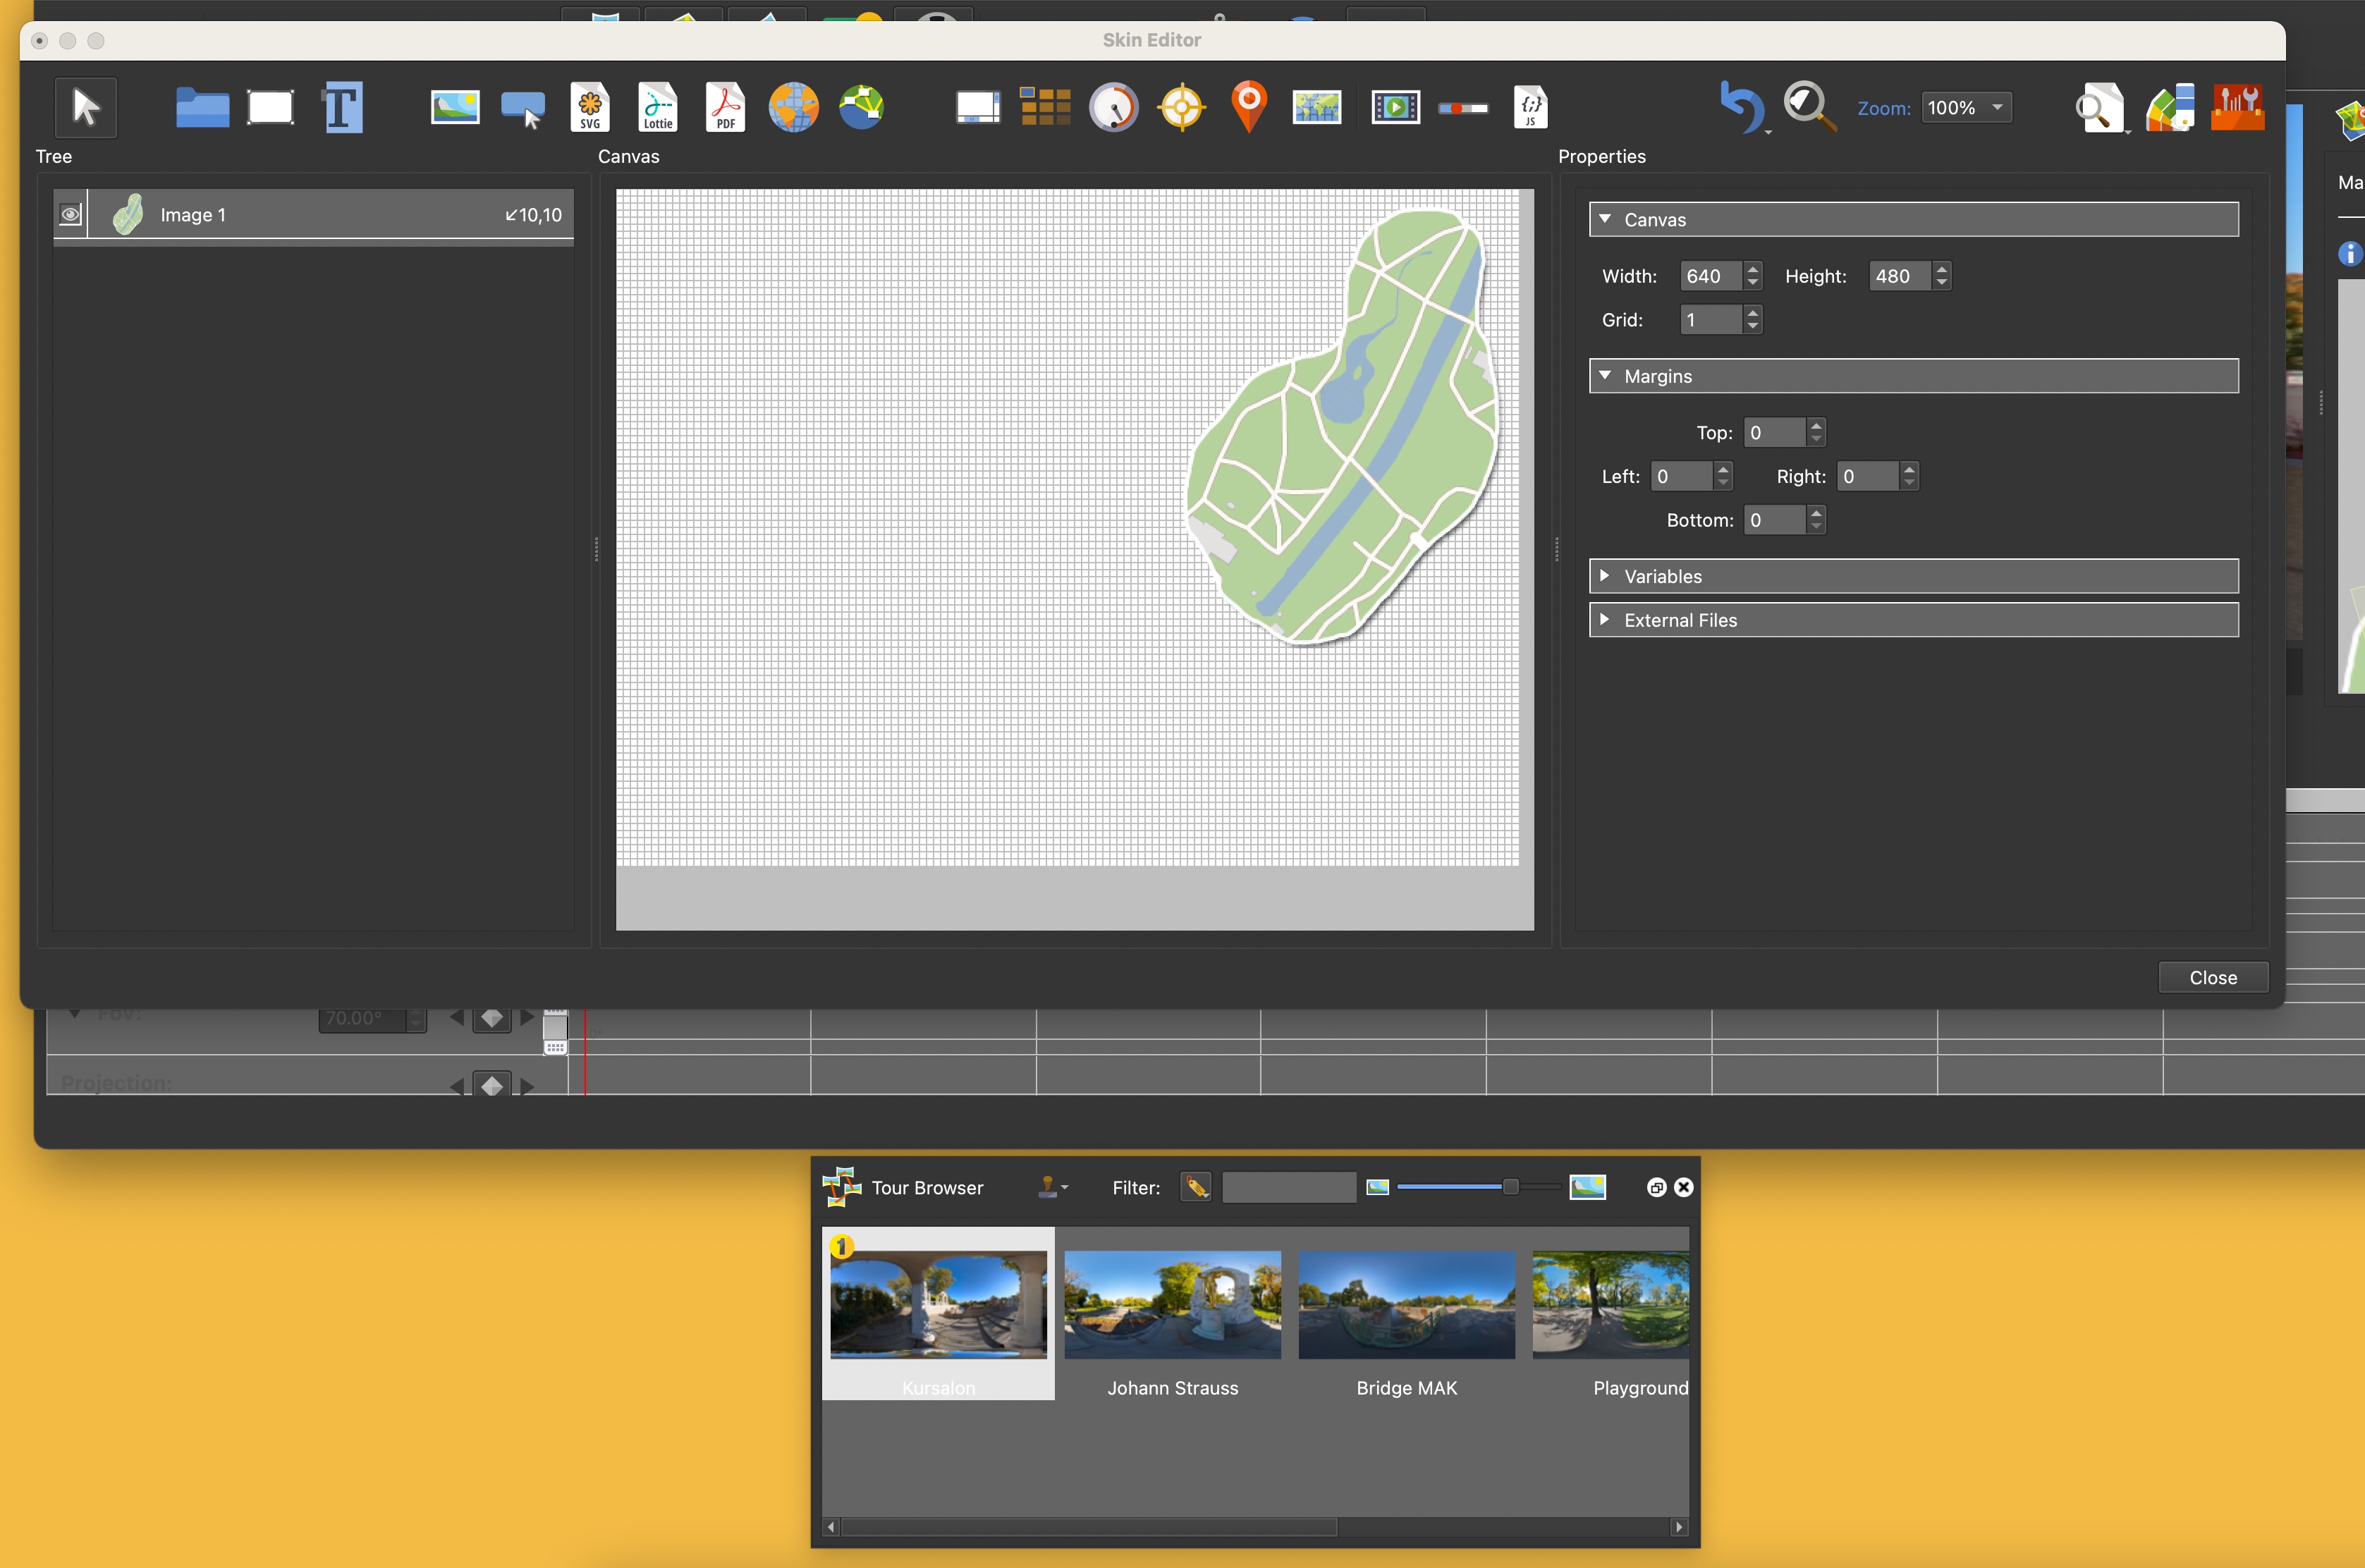
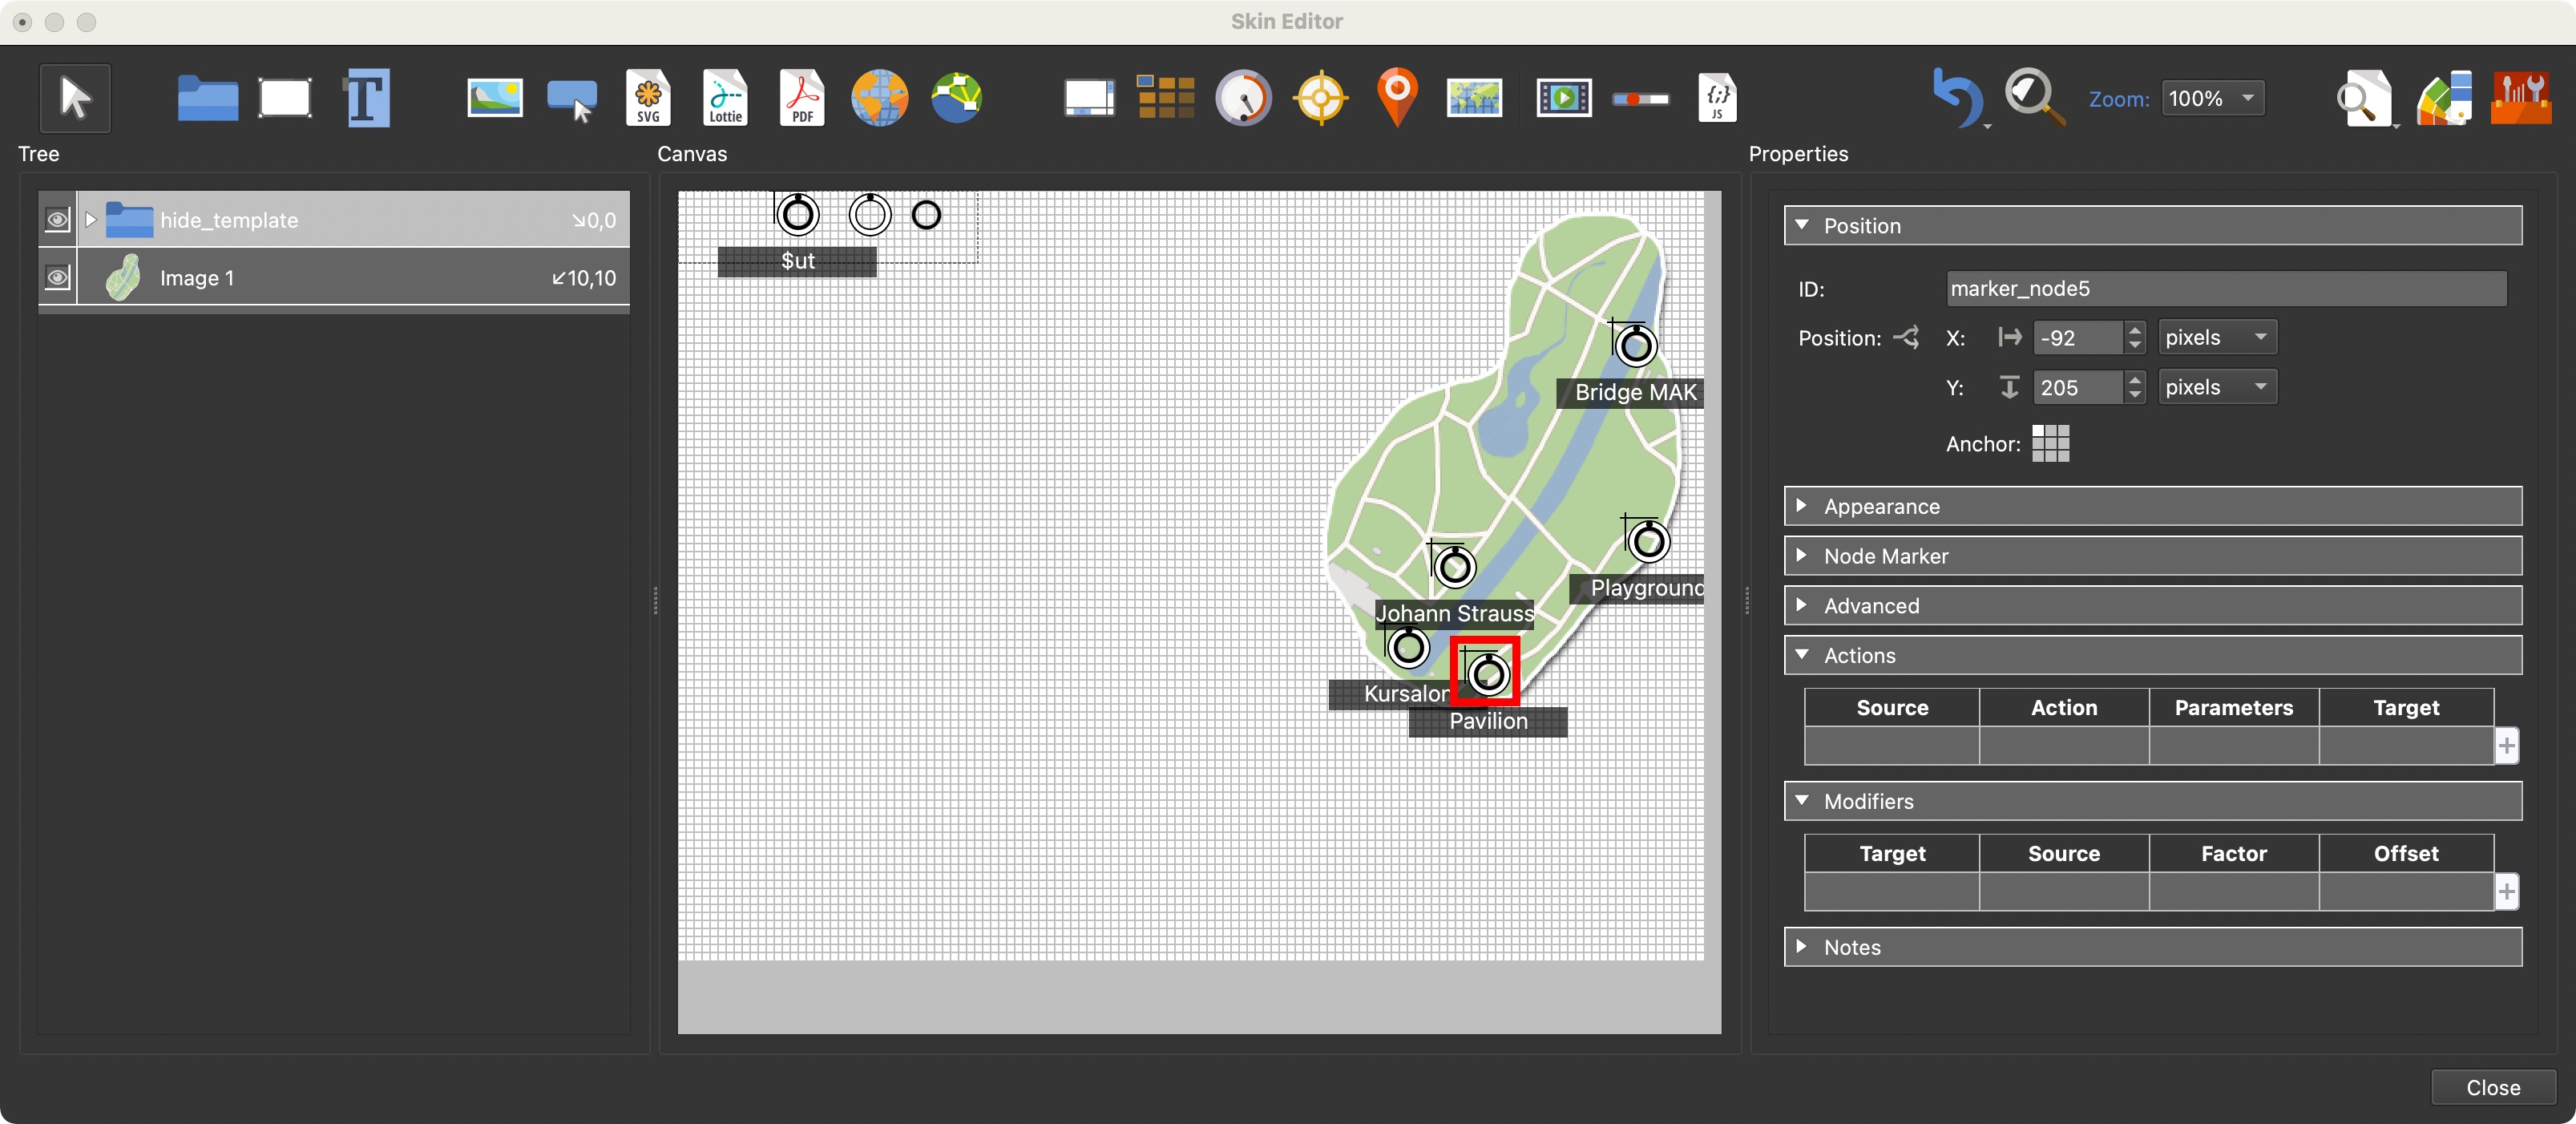
Drag the nodes from the Tour Browser to the map in the canvas (On a Mac,
you’ll need to pop the Tour Browser out first and then bring the Skin Editor
into focus.). This will add the map pins. To refine placement, be sure to
first click in the Canvas to deselect everything and then select the pin and
drag.
Tour Browser detached from main program window to allow dragging nodes in to the skin’s canvas.Node Markers added to the map.
Save the skin.
Generate the output.
From here, you can further customize the map by adding custom pins, showing and
hiding the map, adding tooltips, etc.