Those who have a Version 7 license are granted a 90-day trial that can be
started at any time.
Direct Purchase
If you purchased your license directly from
ggnome.com, you already have an account. Note, this is not
the same login you use for the Forum. If you’ve never logged in before, use the
Lost Password link to create a password. If you received your license via a
voucher or coupon, then you have already created your account.
Log in to your account on ggnome.com. Use
the email address associated with your license. If you’ve forgotten your
password, or never logged in before, use the “Lost my password” link and then
add the email address associated with your license.
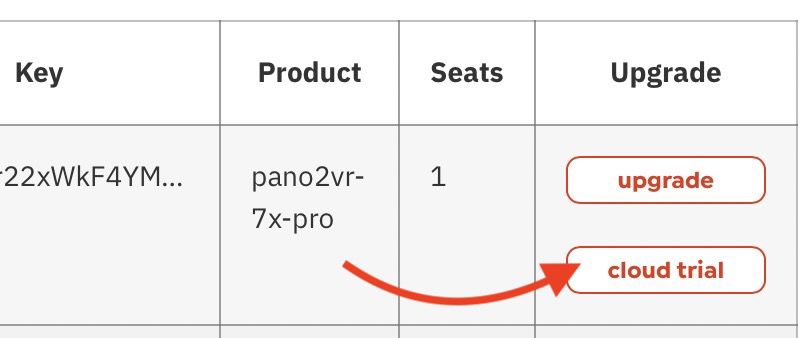
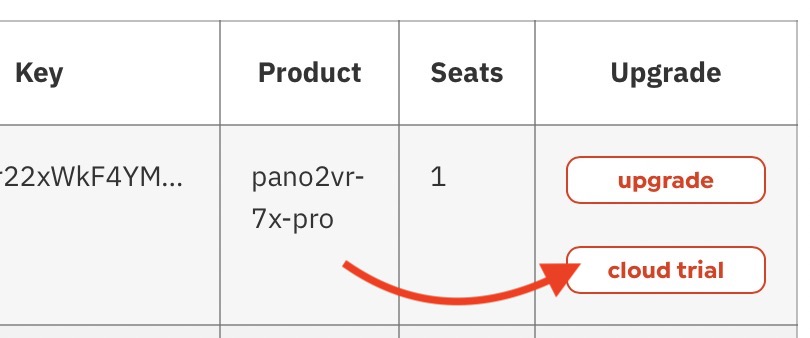
Once logged in, go to License Keys in the left-side menu.
Click cloud trial. Click cloud trial.
Enter your purchase details and then hit Subscribe. You won’t be charged
until 90 days later and you can cancel anytime. To manage the subscription,
go to Subscriptions in the left-side menu. Don’t log out yet because next
we’ll upload a project!
★ Tip If you need more traffic and storage, you can always add more later from your Gnome Cloud account. Subscriptions can be stacked!
Purchased from a Reseller
If you purchased from a reseller and got a license key (instead of a
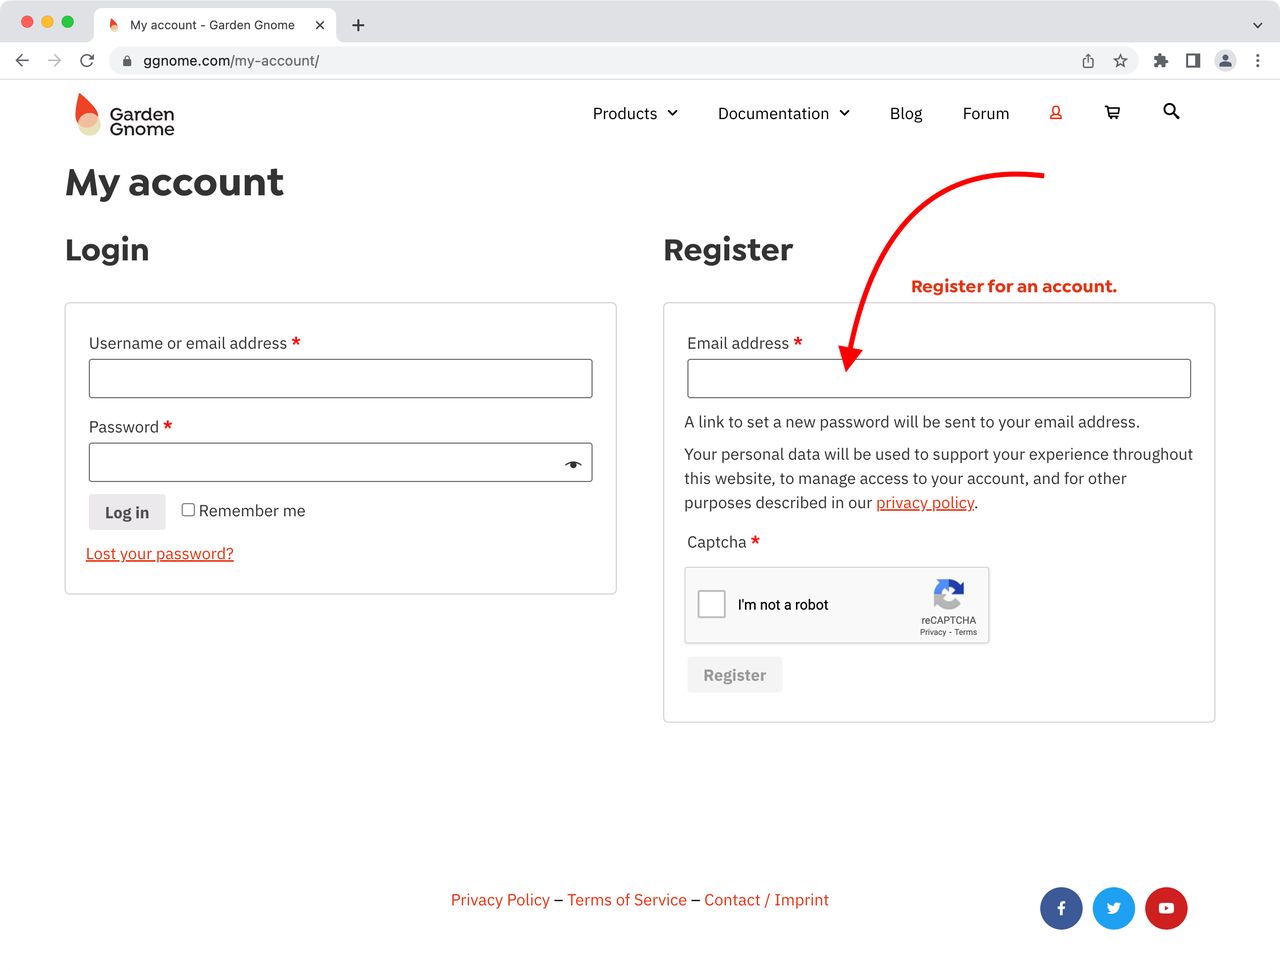
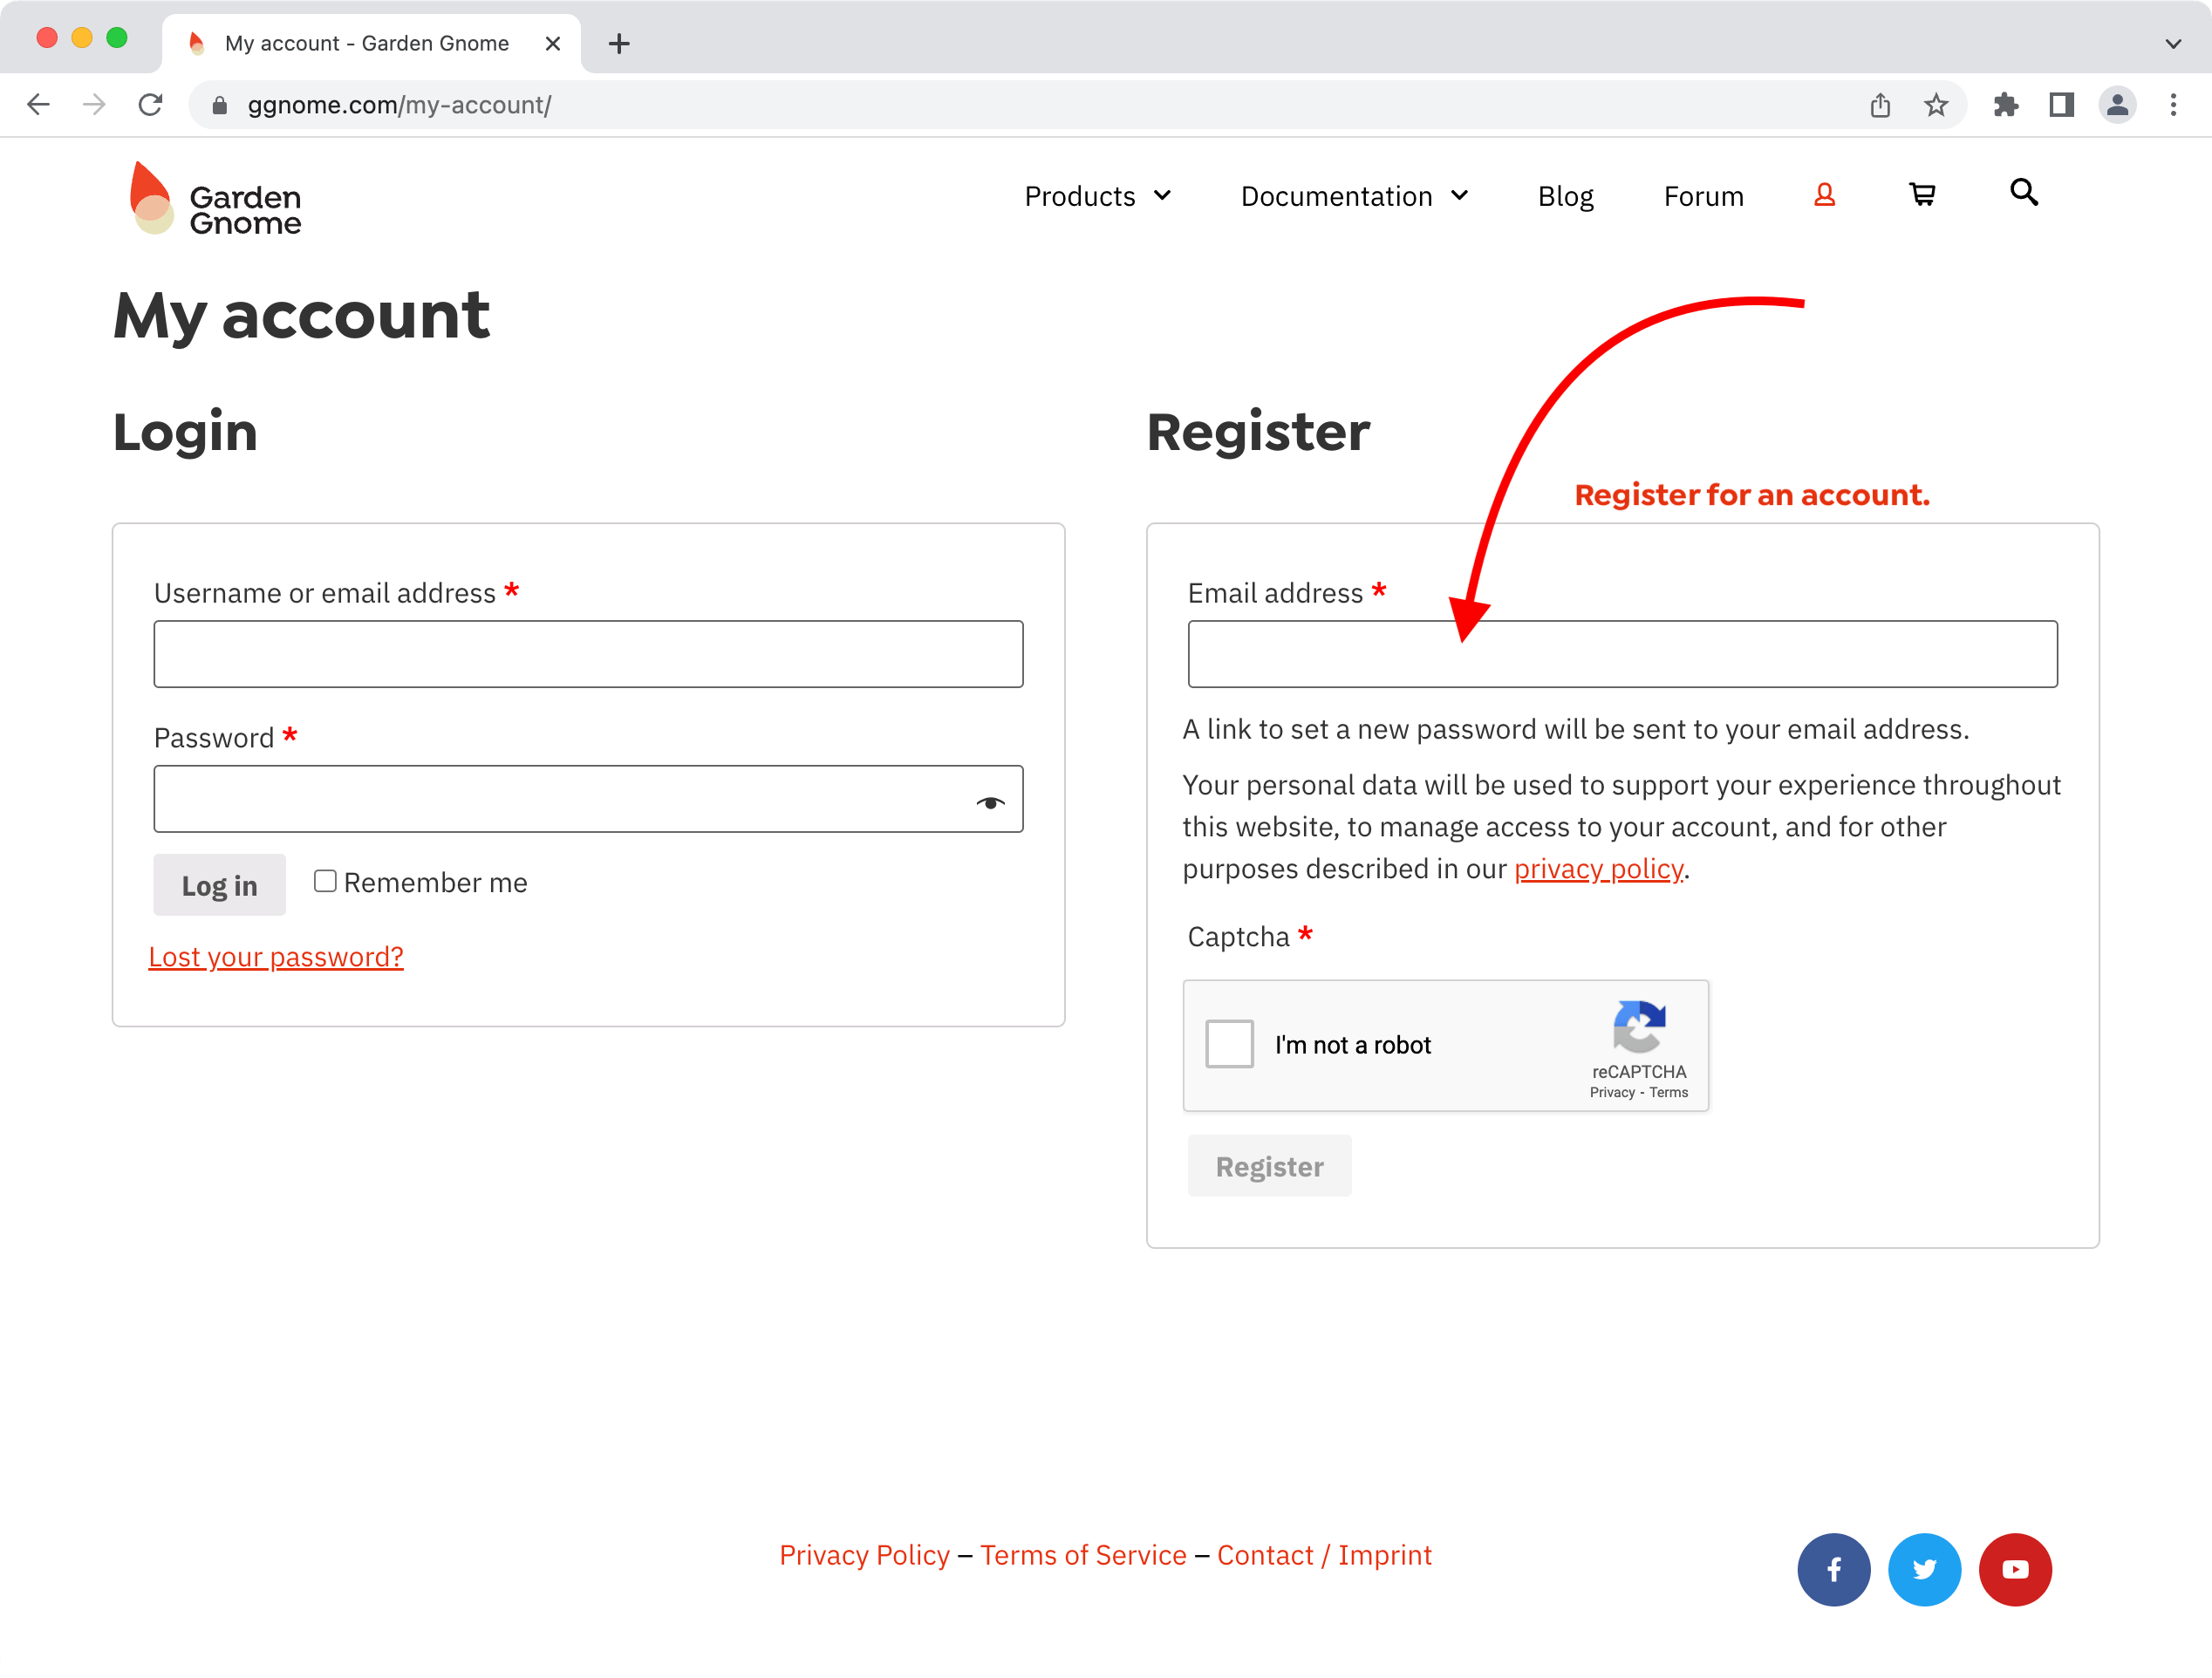
voucher), you will need to create an account and start your trial:
Add your email address and click Register. An email will be sent with a
link to create (reset) a password.
Add a password and log in.
Now, open Pano2VR and add a Web Output.
Click the Upload button. Choose the Web Browser as the login method.
In the next dialog, click Start Trial.
Now that you’re logged in to Gnome Cloud, it’s time to upload a project!
Upload to Gnome Cloud
Before uploading, check that external media used in the tour has been added to
Assets. This is found
in the Web Output Properties, under Advanced.
Open an existing project or create a new project in Pano2VR.
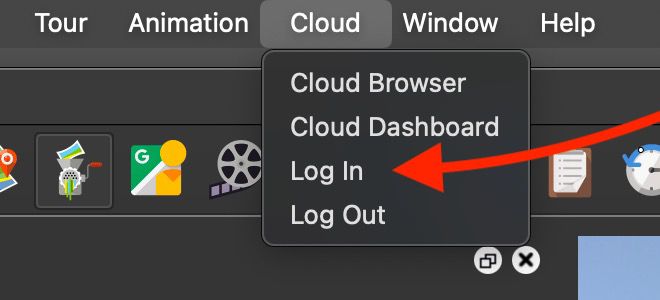
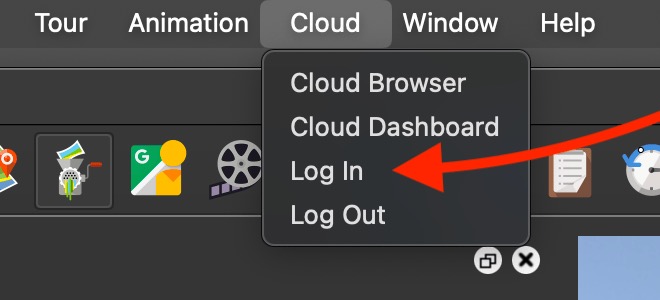
Go to Cloud > Log In in the Toolbar.
Choose Log In.
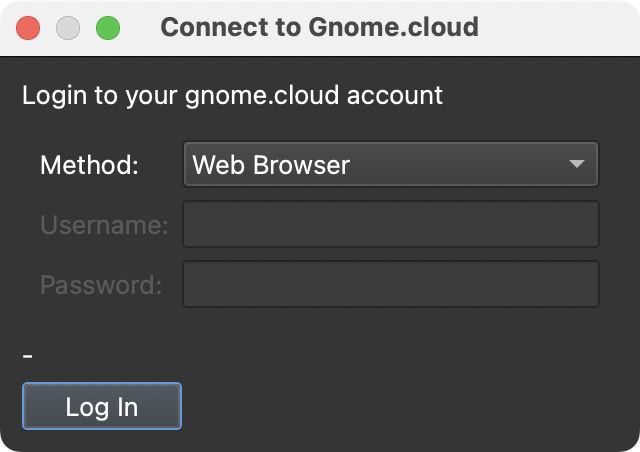
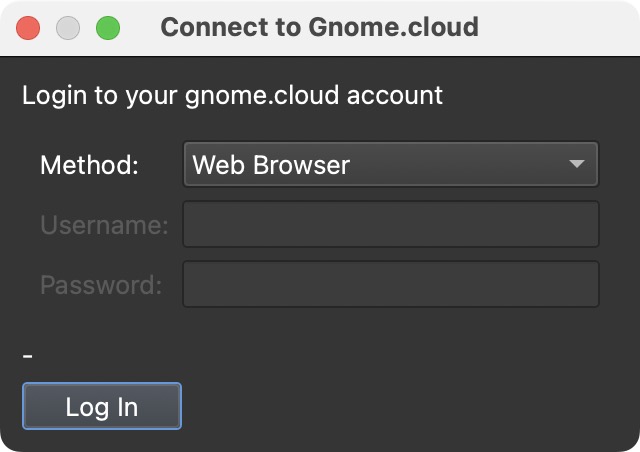
Choose Web Browser for the login method. This will open your default
browser briefly then switch back to Pano2VR since you are already logged in.
If you’re not already logged in, provide your ggnome.com details or add your
credentials directly for ggnome.com or gnome.cloud.
Connect to Gnome Cloud
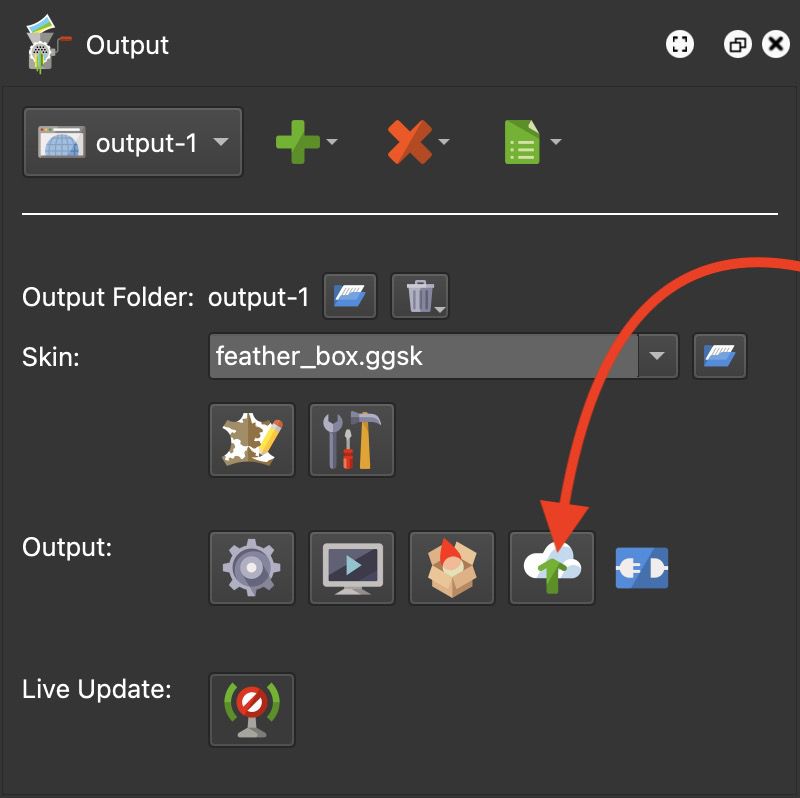
Add a Web Output.
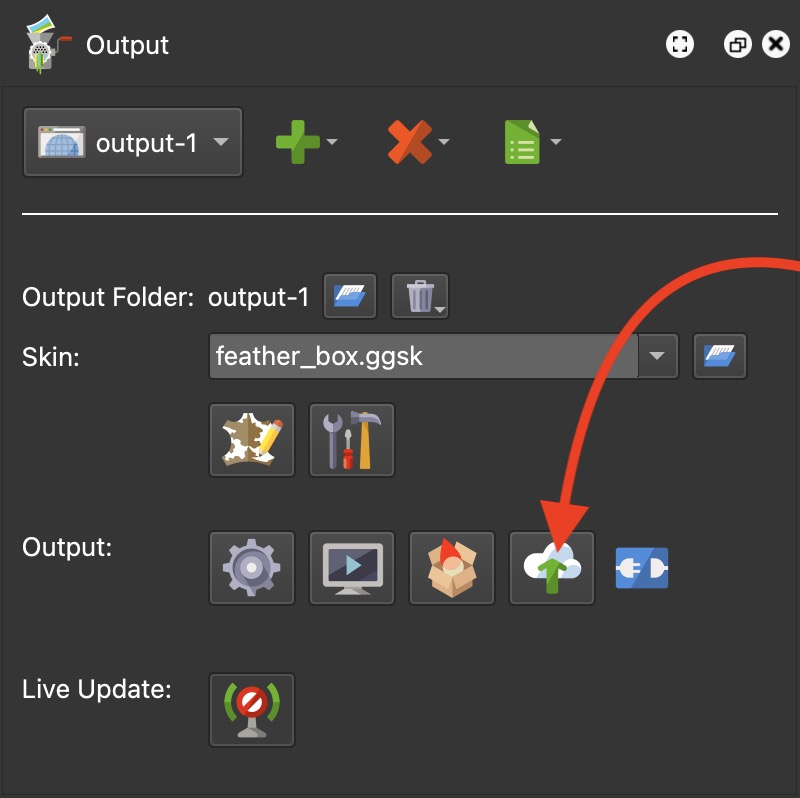
Click the Upload button. If the project has been outputted before, you may be
asked if Pano2VR should overwrite the existing folder.
Upload to Cloud
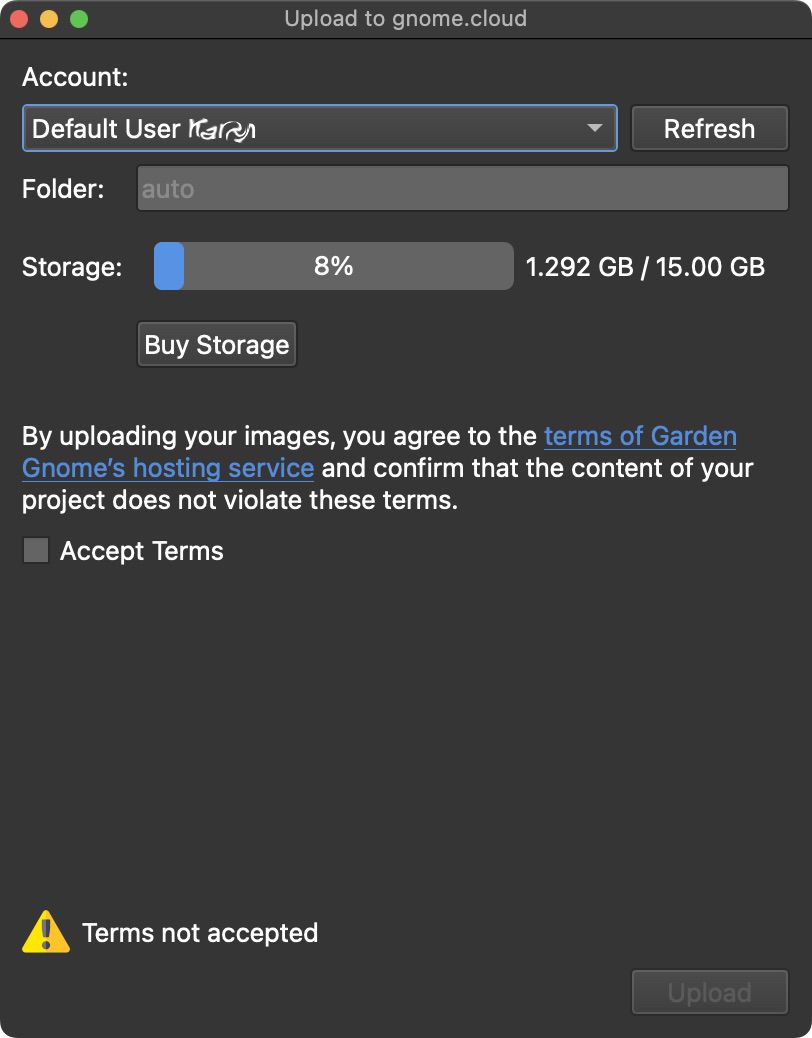
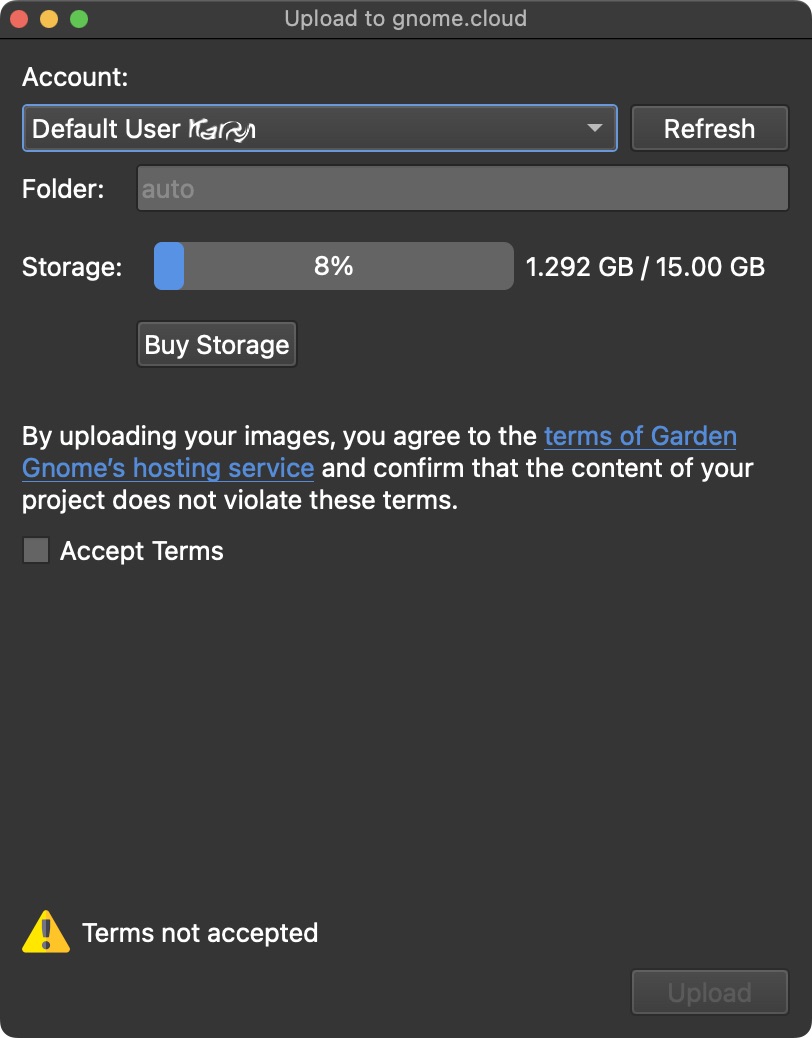
Next, select your account. (It is possible to have multiple accounts, so
check you’re using the correct account.) Here, you’ll see your storage usage
and, if you need more, click the Buy Storage button. If you’ve made changes
to your account in the meantime, use the Refresh button to update the
dialog. Upload Dialog
Accept the Terms of Garden Gnome’s hosting service.
Click Upload. This button will not be active until Accept Terms is
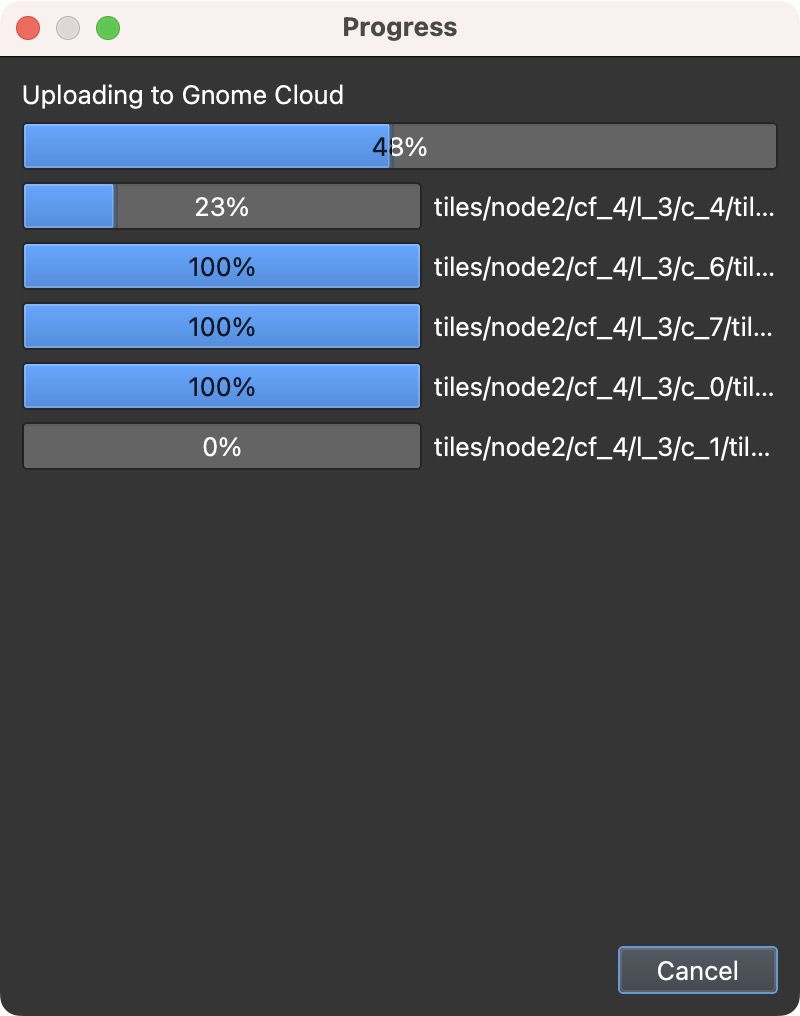
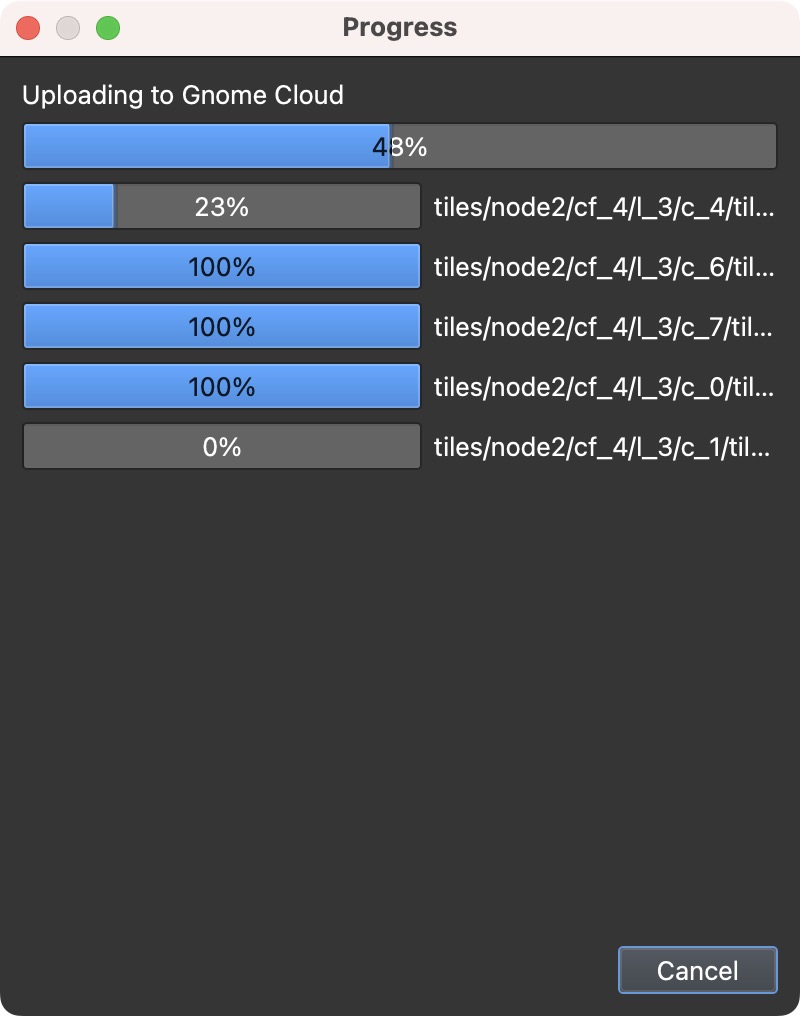
selected. You’ll see a progress bar dialog next.
Progress Dialog Once the upload is complete, the
project will automatically open in the default browser with the cloud URL.
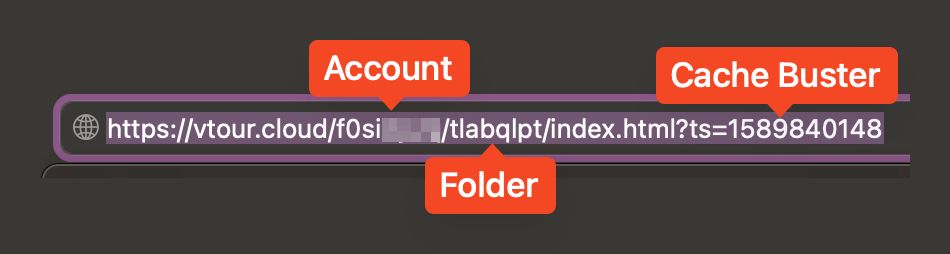
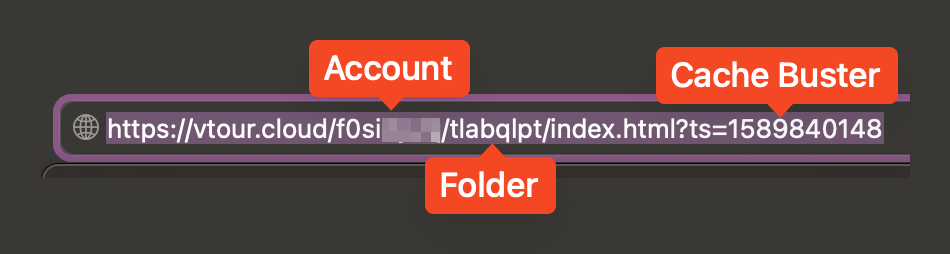
The initial upload will have a “Cache Buster” in the URL. This is used to
force clear the cache so changes to the project can be seen after a refresh.
You do not have to include this in the to share.
Cache Buster in URL
If you created a new project and want to add that project to a specific folder,
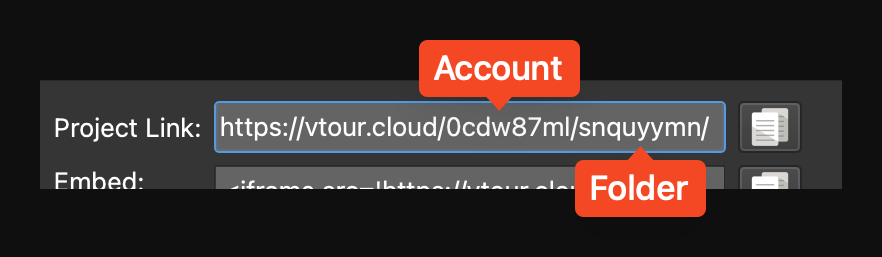
enter the folder name for Folder. The folder is initially created when the
output is uploaded and is visible in the URL.
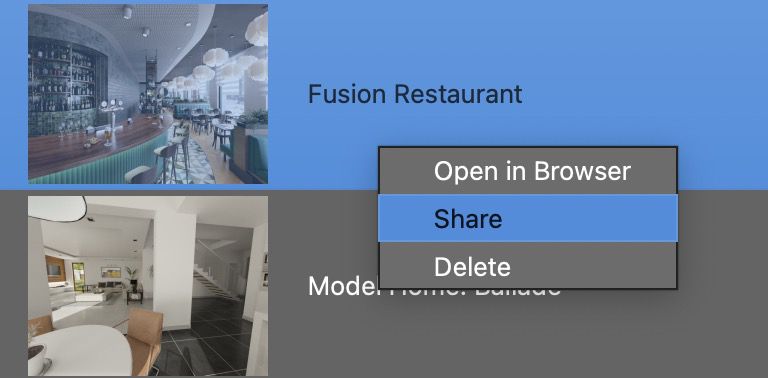
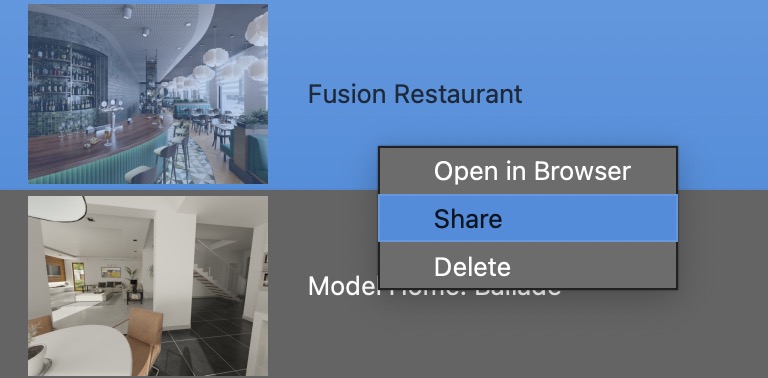
Right-click on the project and choose, Share.
Choose Share.
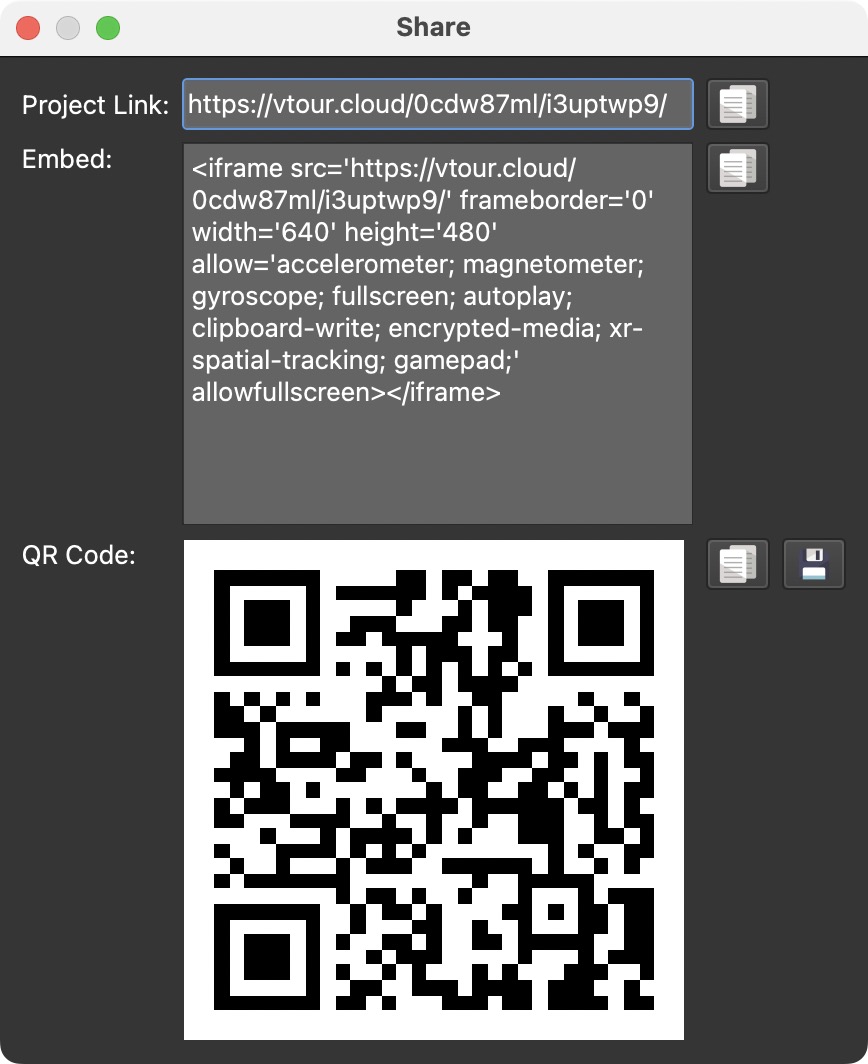
A dialog will pop up with a few options for sharing your project.
Share Dialog Copy and share the project’s
URL, copy the embed code to embed into your website, or copy and save
the QR code to add to your website or print media.
★ TipCheck the FAQ for questions about traffic and subscriptions.