Droplets are a great way to streamline a workflow. Just drop a folder on a Droplet, adjust some settings and you’re done.
A note for Linux users: Linux does not allow for Droplets.
Creating a Droplet
- Open Object2VR and adjust the HTML5, Flash or QuickTime output settings. Add as many output formats as you will need.
- Add a meaningful file name, if you like, in the Output section of the output format. For example, you can name the files that are generated from a particular droplet by adding information about that output, like the quality of the outputted image (i.e. low, medium, high).
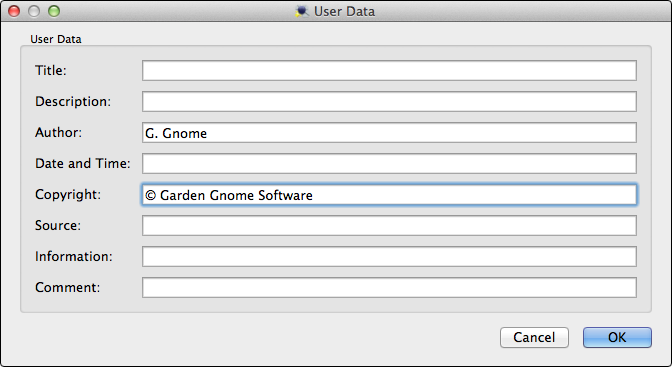
◊ NOTE: $n in the file name field is a placeholder that will be replaced with the image’s folder name. - Next, add User Data. The information added here will be the same across all images.

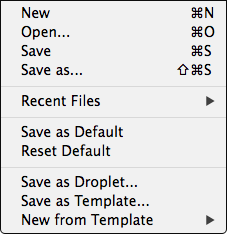
- Go to the File menu, in the menu bar and choose, Save as Droplet.

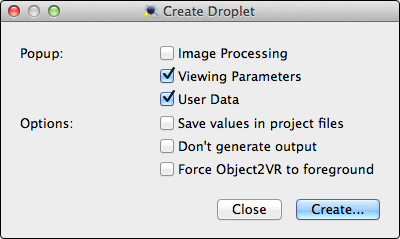
- In the Create Droplet dialog, choose what settings should pop up so you can change certain parameters accordingly. You might find the Save values in project files useful for later editing. This will create a separate project file.

- Hit Create. In the dialog, Give the droplet a name, and choose a location to save the droplet. The Desktop makes a nice location because it makes dropping folders on the droplet easy.

To make changes to the droplet, simply double-click on the droplet and make your changes.
Using the Droplet
- Drag a folder containing the images onto the Droplet.
- If you chose to have anything popup (see step 5 above), make the necessary changes. For example, if you chose to have the Viewing Parameters pop up, you can change the default view or change the viewing limits.
- Check your object movies. All generated files will be saved in the same folder as the original files if you did not specify otherwise.
See also
HTML5 Output Settings (Object2VR)
Flash Output Settings (Object2VR)
QuickTime Output Settings (Object2VR)