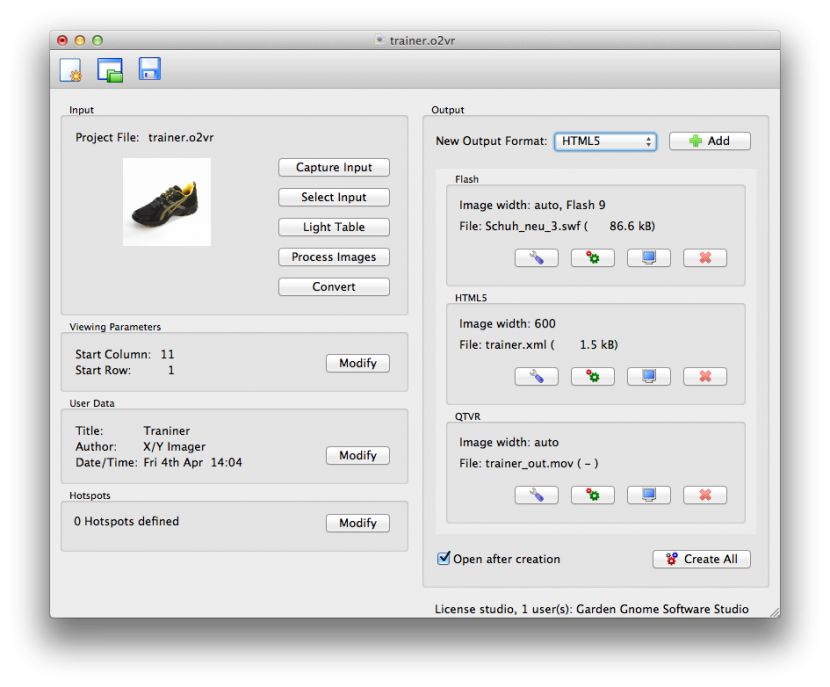
Below outlines a general workflow for a project in Object2VR. To get a better understanding of how Object2VR works and what you can do with it, check out the Getting Started tutorial:
- Open Object2VR.

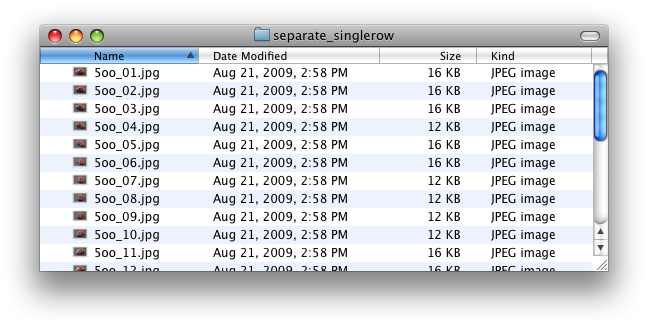
- Import an image sequence.

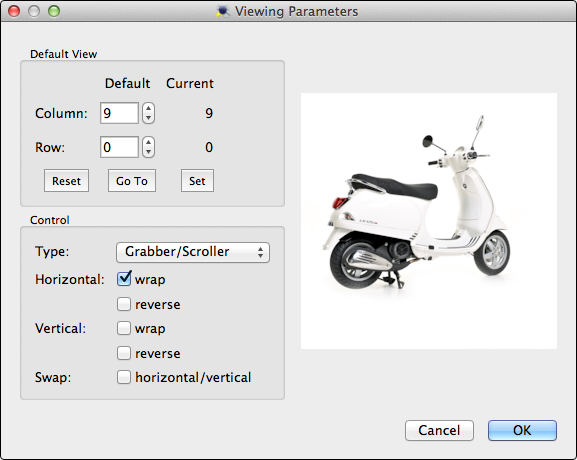
- Modify the movie’s viewing parameters (default view and controller).

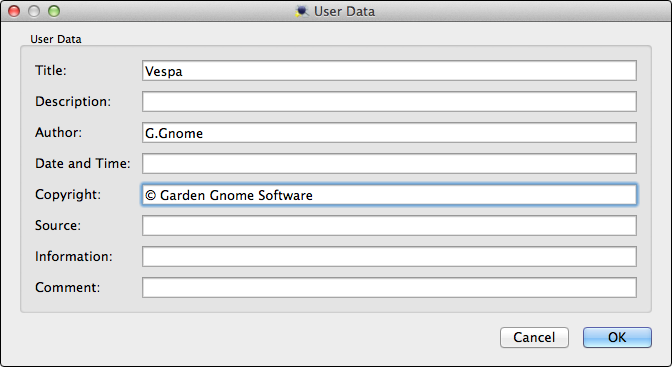
- Add metadata.

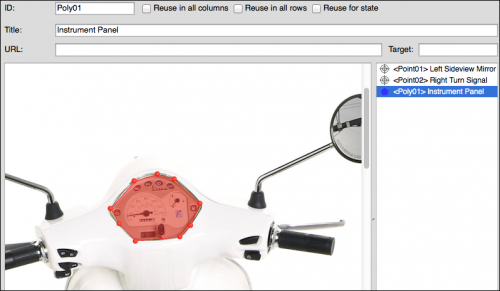
- Add hotspots.

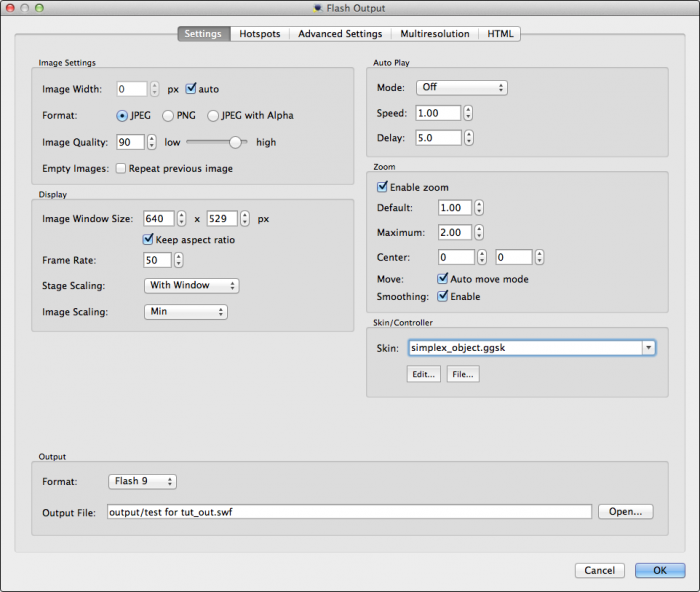
- Choose an output format: Flash, HTML5 or QuickTime.
- Adjust the settings for the selected output.

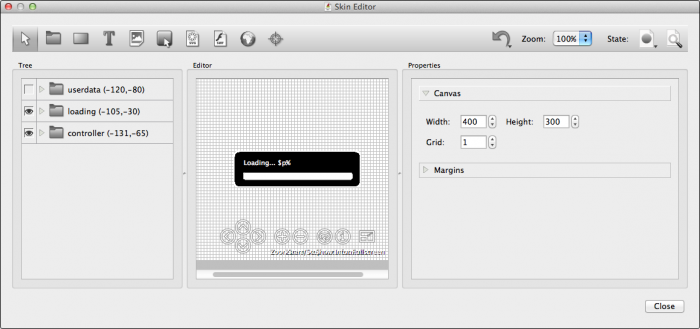
- If outputting to Flash or HTML5, add a skin.

- Output the object movie.
- Show off your object movie by, for example, embedding it in a webpage.