What would be the point of having multiple view states if there’s no way to see them?
We use the skin editor to switch through the view states and below is a simple tutorial showing you how to do this.
Materials needed:
- Images to use as buttons. You will need at least two. To show the button has been clicked or selected, have an alternate version available, too.
- Import the images via the Light Table or Select Input.
- Choose either Flash or HTML5 as an Output Format.
- Select Edit… from the Skin section to open the Skin Editor.
- From the Tools, in the Editor section, click the Add Button button,
. Select the images and then hit Open to add them to the Editor.
They will be layered on top of each other in the upper left corner of the Editor window. - Select and move the buttons to the desired position.
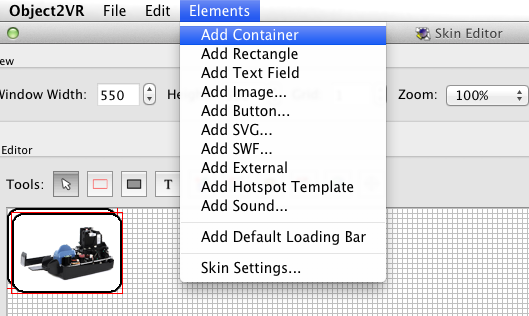
- Once they are where they need to be, add them to a Container. Select both images (easier to do in the Tree). Then go to Elements in the Menu Bar and choose, Add Container.
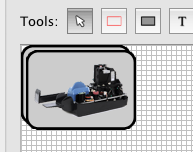
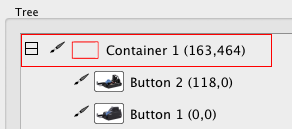
This will automatically add a container around the two buttons and them as children in the tree.
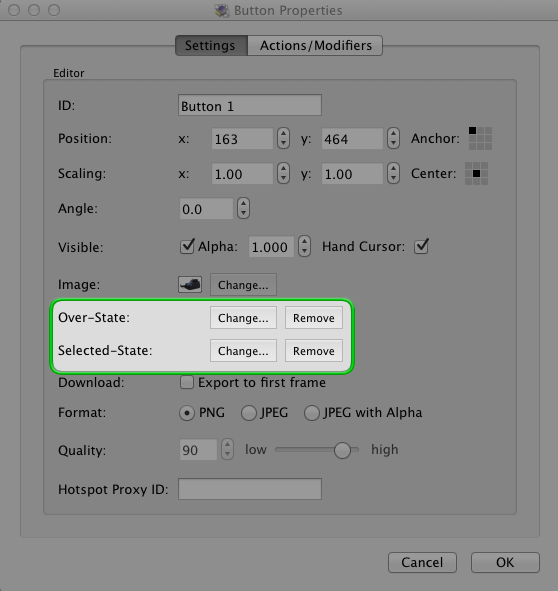
◊ TIP: This is a much easier way to approach this than what is shown in the tutorial. - Double-click on one of the buttons (i.e., Button 1) to open the Button Element Properties dialog.
- Add its Over-State (or Selected-State or both) by choosing, Change…. Select the image and choose, Open.
- Go to the Actions/Modifiers tab and enter the following actions recipe:
Source = Mouse Click
Action = Change View State
State = 0 (this is the first or base state)
Speed = 0.05 (this gives a nice smooth transition between the states) - Hit, OK to close the element editor. And then do the same for the other button(s).
- Hit, OK, again in the Skin Editor and if you’re prompted, save the skin.
- Output the project and test your buttons!
See also
Using the Light Table (Object2VR)
Importing with Select Input (Object2VR)
Skin Editor
Skin Sources
Skin Actions


