Importing your images via the Select Input option is the better choice when you have a large number of images.
You can also import a QTVR movie here. Once imported, you can then work in on the project and add outputs, etc.
To import your images follow these simple steps:
- In the main project window, choose Select Input in the Input section.
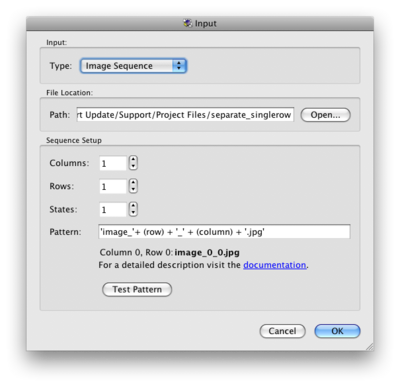
- In the pop-up window that appears, choose Image Sequence from the Type menu.
- Next, define the location of the image sequence. Click, Open, in the File Location section, and navigate to the folder that holds the images. Select the folder to set the Path.
- In the Sequence Setup section, enter the number of columns and rows (and view states if applicable) the images make up.
- Enter the naming convention of your images in the Pattern field.
- A common pattern (expressed in JavaScript) is already set up for you, but you can edit this to fit your pattern. For example, if the files are named
shoe_1_1.png, your pattern might look like this:
'shoe_'+ (row)'_'+ (column) + '.png'.
Here are more pattern examples.
- A common pattern (expressed in JavaScript) is already set up for you, but you can edit this to fit your pattern. For example, if the files are named
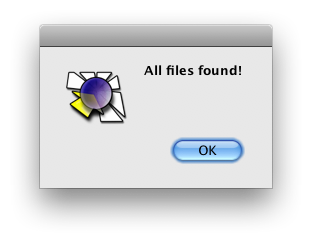
- After defining the pattern, click Test Pattern, to make sure Object2VR recognizes all of the images.
- If Object2VR cannot find the images, go back and make sure the pattern that is in bold under the Pattern field matches the pattern of the images. Also make sure all the image file names use the same pattern.
- Finally, click OK to return to the main project window. You will now see a preview image in the Input section.
See also
Project Window (Object2VR)
Input (Object2VR)
Image Sequence Pattern (Object2VR)


