A floating tooltip is a text box that stays with the mouse pointer. It is set to be invisible until the mouse hovers over elements in the panorama or object movie and displays the name of the current element.
Creating a Floating Tooltip
- Draw a text box in the skin editor using the Text Element.
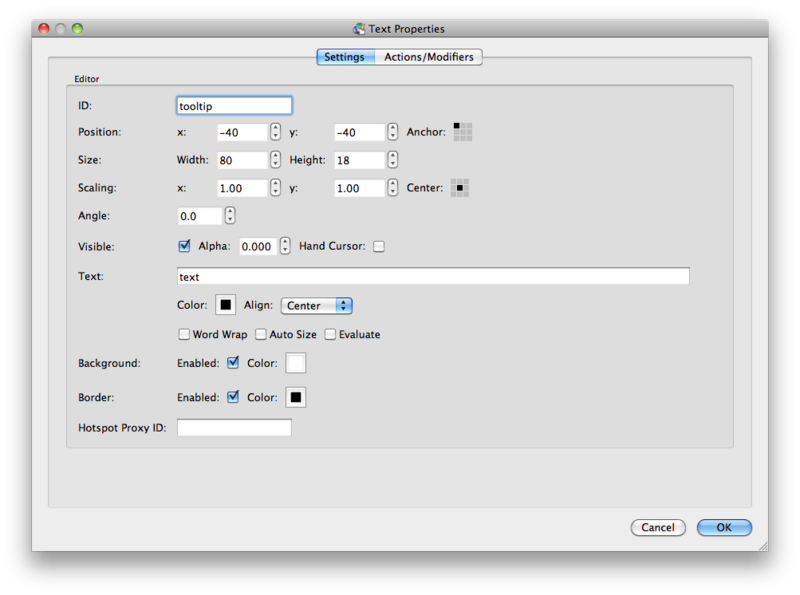
- Open the Text Element Properties, give it an ID of tooltip and make its size 80px x 18px.
- Position the box as follows: X = -40px and Y= -40px.
- Set the text box Alpha to 0.
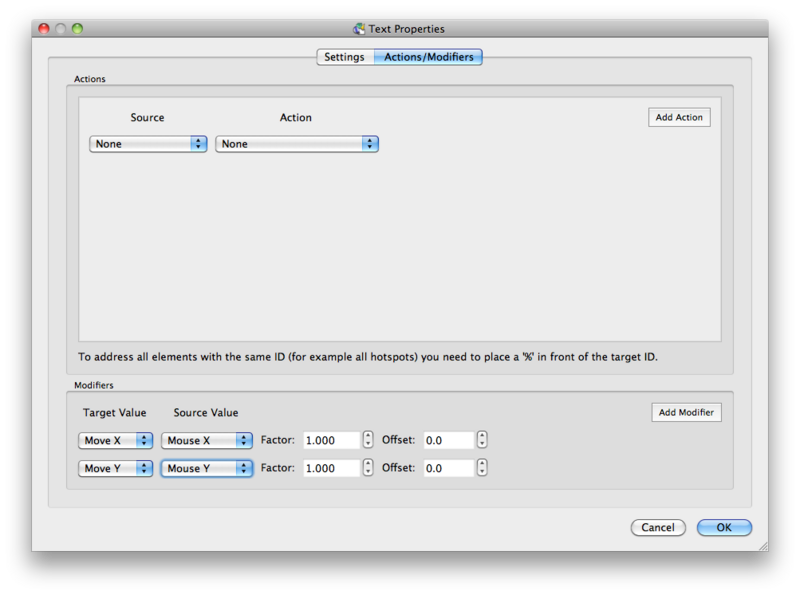
- Add modifiers and set the following:
Move X > Mouse X > Factor: 1.000 > Offset: 0.0
Move Y > Mouse Y > Factor: 1.000 > Offset: 0.0 - Click OK to close.
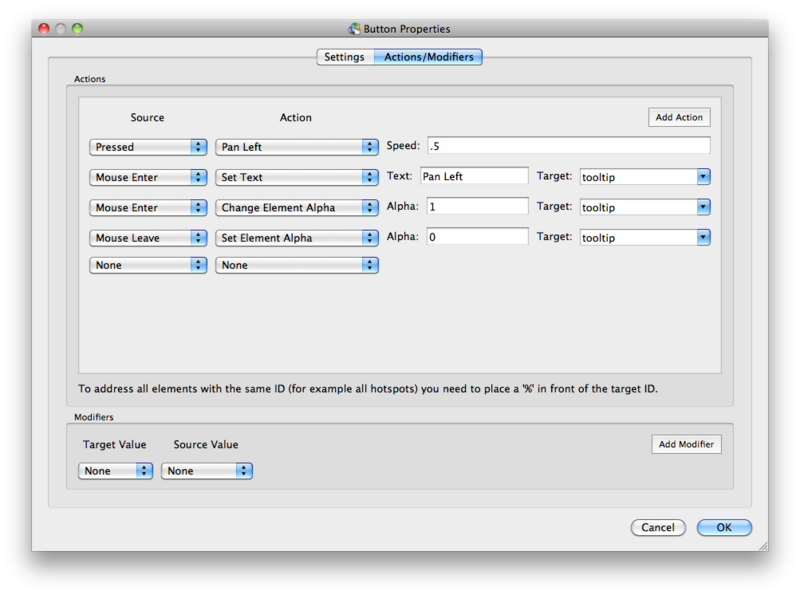
- Add the following actions to all the elements you wish the tooltip to show and display text when hovered over:
Mouse Enter > Set Text > Text: tooltip text > Target: tool_tip
Mouse Enter > Change Element Alpha > Alpha: 1 > Target: tooltip
Mouse Leave > Set Element Alpha > Alpha: o > Target: tooltipHere, the actions are added to a Pan Left button:
In this example, as the mouse enters the element, the set text action will display what is set here. The Change Element Alpha action will show the tooltip and as the mouse leaves, it will set it back to 0 (or full transparency). Change Element Alpha was used to fade the text box in, and Set Element Alpha to hide it straight a way. Alpha with text only works with Flash Player 10; Flash Player 9 will just hide and show with no fade.
Changing Location of the Text box
If the skin element is too close to the edge of the window, the tooltip may go off-screen. To avoid this, add the following two actions to the element(s) to change the position of the textbox during hovering.
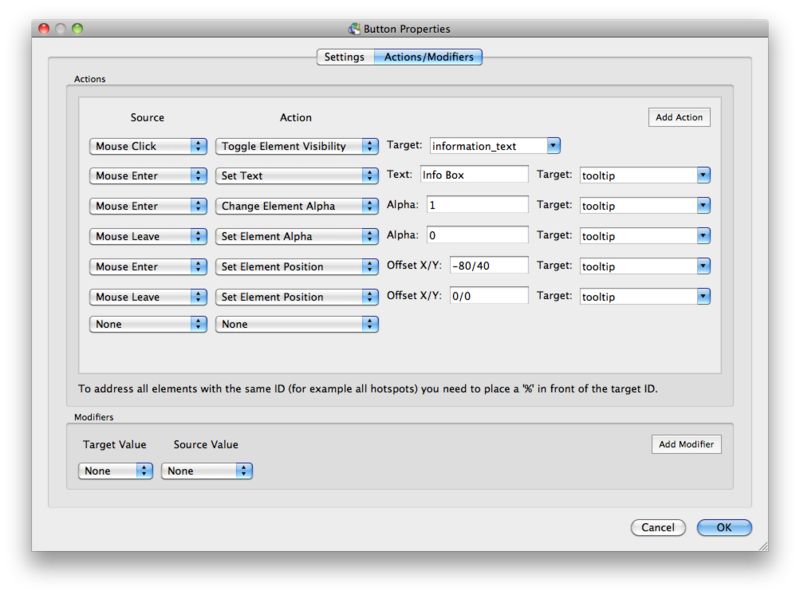
The following example assumes that there is a button in the top right corner of the window. When the mouse hovers over the button, the tooltip will go off the top of the screen. To correct this, the text box needs to be moved to the left and down to be visible when the mouse enters this particular button.
- Select the element in question, in this case the button.
- Add two actions:
Mouse Enter > Set Element Position > Offset X/Y: -80/40 > Target: tooltip
Mouse Leave > Set Element Position > Offset X/Y: 0/0 > Target: tooltipThe first action is to move the text box to its new position. The second action returns it to its original position. These actions assume the starting position is X:0 and Y:0, so to move the text box 80px to the left and 40px down the data is X= -80, Y= 40. To return the text box back to its original position, to display above the mouse, the X/Y will be 0/0.
See also
Floating Tooltips and Hotspots
Using the Skin Editor
Text Drop Shadow Effect


