We’re getting closer!
Today we’ve released Pano2VR 6 beta 4. This adds quite a few features and fixes a ton of bugs. We’ve changed a few things to the interface and added a highly requested feature. Without further ado…
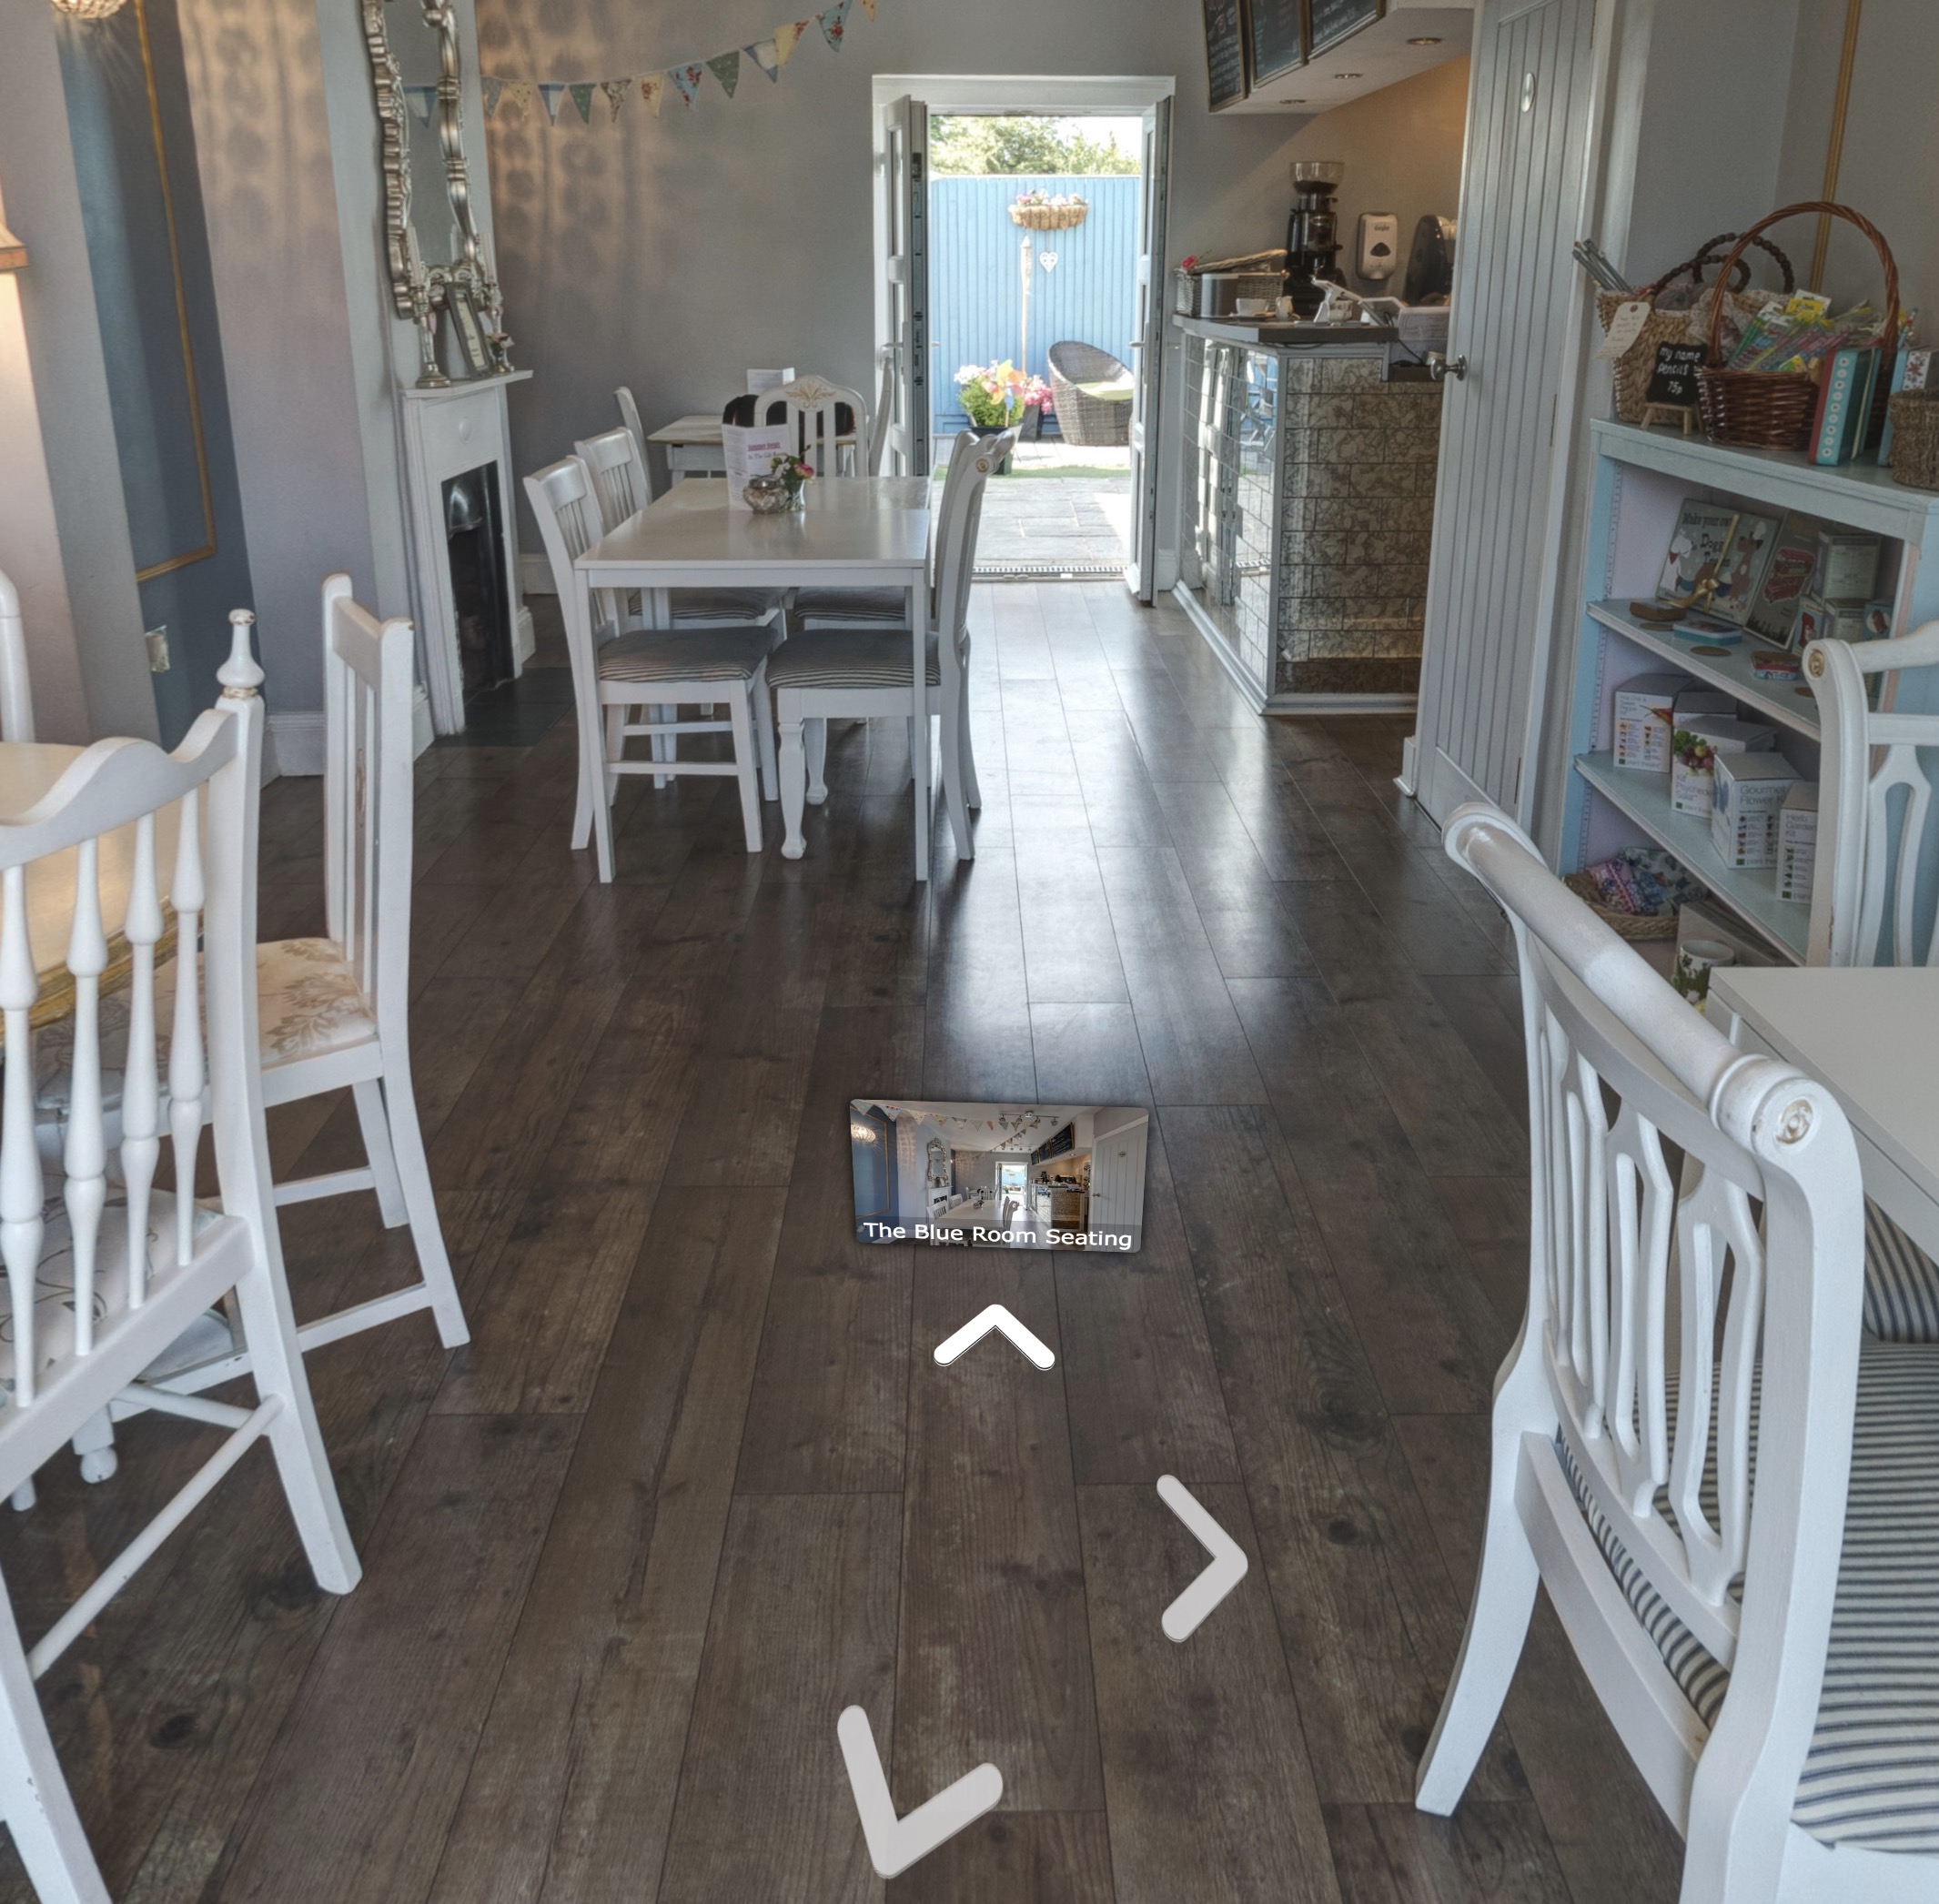
3D Arrow Hotspots
In the Components Toolbox, you’ll now find the highly anticipated Street View style hotspots with extra fanciness! See it in action.
Here’s a tutorial on how to add, use, and configure them for your projects:
Quick Share
We’ve made a few changes to the interface and the most noticeable is the Quick Share button we’ve added to the Toolbar. This lets you quickly export an image for posting on the social networks, specifically Facebook. It will save the default view, GPS, add patches, and leveling data to the image without having to use the Output panel.
Here, Hopki gives a short introduction to it:
Viewer Settings
The second most noticeable change to the interface is the Viewer Settings. They are now found in the Viewer and use icons instead of checkboxes. All the original settings are still available and we’ve added a few more.

Finally, we’ve updated the Simplex and Silhouette skins.
- There is now one Node Hotspot component that works for both pro and light versions
- Better thumbnail menu layout
- Thumbnails will now automatically hide if the project is not a tour
- Custom scrollbars added to the scroll area
- If there is no Title, tooltips will be hidden
The shortlist of changes:
New
- 3D Arrow Hotspots Component — Street View style hotspots
- Quick Share button for sharing on social networks
- Mapbox users can now add custom maps
- Drag multiple nodes to Auto Place drop zones
- Small Skin images are embedded into the skin file
- Placeholders can now be used as triggers for logic blocks (tooltips can be hidden if no title added)
- Added scrollbars to the scroll area so scroll bars can be customized
- Pick Place ID for quickly adding POI to an image
- Map Pin with Radar Component — allows you to easily connect tour nodes to pins on a map or floor plan
- Altitude can be adjusted for automatic hotspots
- Polygon hotspots colors can now be changed in the Viewer
Updated/Changed
- Built-in skins have been updated
- The Viewer Settings panel now opens at the bottom of the Viewer
Improvements
- 3D distorted hotspots working with flat images – fixed
- Gyro not following North – fixed
Tutorials
We’ve also added a few new tutorials.
Map Pin with Radar
Another component we’ve added is Map Pin with Radar. Use this component to add map pins to an image map (image element) in the Skin Editor. Just drag tour nodes to the map image to add pins. The pins also act as radars, and tooltips show both at the pins and the hotspots in the tour. Watch the tutorial to see how you can use it.
Variable Tracks in the Animation Editor
In case you missed it, variables can be used in the Animation Editor. This gives you the ability to show and hide skin elements, play/pause sounds, etc. at certain points in time during the auto rotation or video. This is quite an advanced workflow and requires some knowledge of the Skin Editor, but Hopki shows you how to use it:
Download the update here or go to the Help menu and check for updates.
Remember, you can install and use both version 5 and 6 at the same time. If you don’t want to use the trial for version 6, you will need to grab a new license. If you purchased a version 5 license after January 1, 2017, version 6 is free for you. Just log in to your account and follow the available upgrades path. If you need any help, just write us an email to [email protected].
The documentation for version 6 is still being updated, but it is there. In Pano2VR, go to the Help menu and choose Help. By default, this will open the online documentation. But, there is also offline documenatation (with a better search). Turn this on in the Preferences/Settings. Go to the General Tab and select, “Show offline help.”