Object2VR has a local web server built into the software. It simulates an active web server so you can view your project locally because both Flash and HTML5 restrict local viewing for security reasons. You can also simulate slower connections to see how a project might download and playback.
This tip will explain how to set up and use the server. Here, Pano2VR is used, but the workflow is the same for Object2VR.
Web Server Settings
The settings for the web server can be found under Settings for Windows and Linux and Preferences for Mac OS.
- Windows and Linux: File => Settings
- Mac: Object2VR => Preferences
When the window opens, find the section labeled Web Server:

- Open HTML Output: Select this option to enable the integrated web server for testing images locally.
- Network Accesses: Keep this selected to ensure that the web server is using the current local host. When not selected, other devices and machines connected to the same network can also view the output.
- Port: Choose your desired port or leave it at auto. The server will use a new port number every time it is restarted, or the program is opened. A fixed port number can also be used, making it possible to bookmark the page. We suggest using ports 8000 or 8080. For more information on port numbers, please see w:List of TCP and UDP port numbers.
Using the Integrated Web Server
The default settings are set to be used when viewing the output within an HTML page. It was included to allow local viewing of the HTML5 output (something which some browsers do not allow).
Clicking the Open output file button in the output section of the main project window will open the file using the computer’s default web browser.
To view the output in another web browser, copy the local address and paste it into the required web browser.

Other machines and devices connected to the same network can also view the output without uploading it to a server. For a connected device to view the files, deselect Only local host under Network access in the program’s Settings or Preferences. Then follow the following steps to test the output on something other than the local host:
- Go to Tools > Integrated Web Server.
The web server window opens with the local address needed to enter in the device’s web browser. In the image below, two addresses are displayed. This is because there are two servers on the network. Either web address would work.
- Enter the address in the web browser of any device.

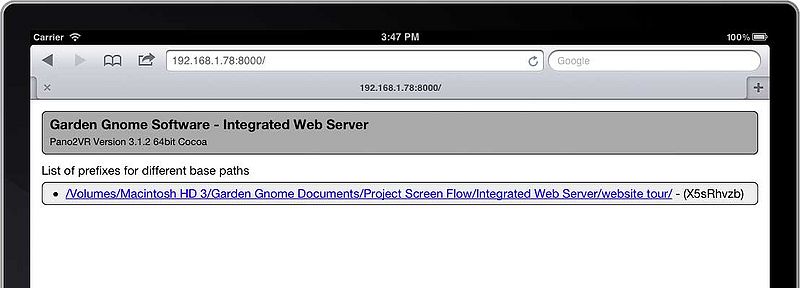
Locations of all open projects will be displayed; here, there is only one.

- Click on the link to display the project’s folder contents which will include any subfolders, HTML pages and images.

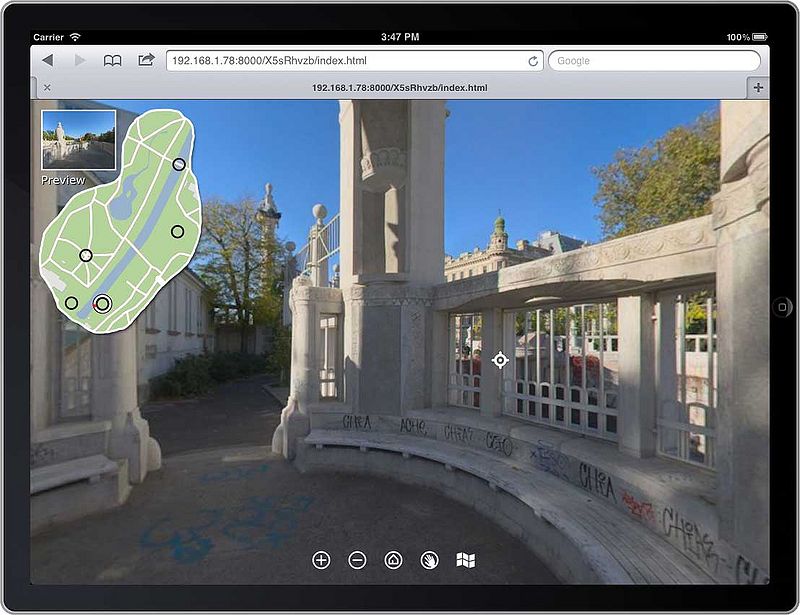
- This project uses the file name index for its HTML page. To open the output click on the file
index.htmlThe operation and function of the project can now be tested before being uploaded.
See also
w:List of TCP and UDP port numbers
Preferences (Object2VR)
HTML5 Output (Object2VR)
Flash Output (Object2VR)
