This is the documentation for Pano2VR 4. You can find the new documentation for Pano2VR 5 here.
Not all browsers will playback all media files. In the Media Editor, you can easily have Pano2VR generate an alternative file. For every media type, there is the option to add an alternative file. You can choose one you’ve created or if it’s a video or audio file, have the file generated for you.
◊ TIP: In the Filename field, use MP4/MP3 for the Flash compatibility and WebM/OGG for HTML5 compatibility. Flash will always use the first file in this list.
Set up
- Install FFmpeg.
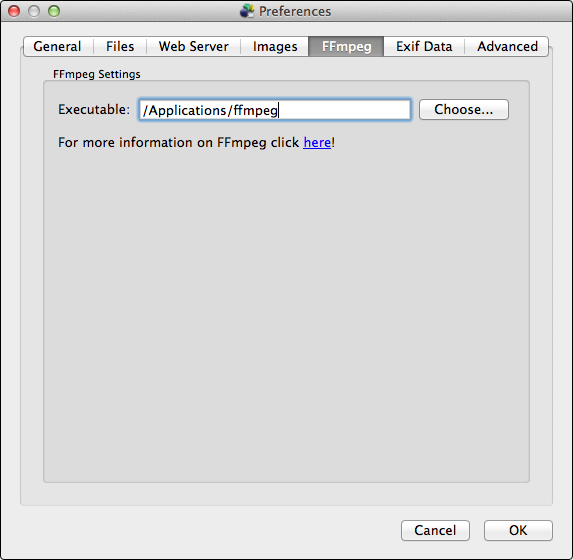
- Add FFmepg to your applications folder or home directory.
- In Pano2VR, Go to the FFmpeg tab in Settings/Preferences. Click, Choose, for the Executable field and choose the FFmpeg executable file.

Generate the Alternative File
- Add a video or audio file to the editor.
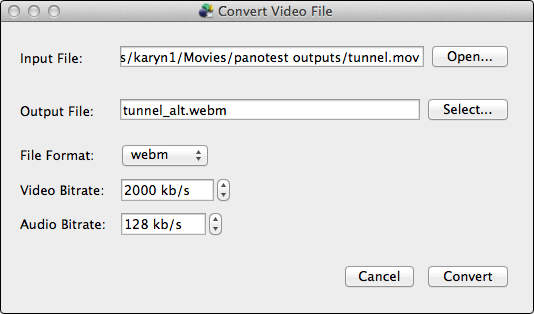
- In the Media Settings, choose, Generate… to open the Convert File dialog.
The file added to the Filename field will appear as the Input File. To change this, hit Open…. - For the Output File you’ll choose the output file’s location and give it a name. Click, Select….
- Select the file format. The options here will change depending on the media.
- Change the bit rates. For video you can adjust both the video and audio bit rates. The defaults work well. The audio bitrate can be raised to 192 kbps but will produce a larger file. The suggested video bit rate of 2000 kbps is good and for good quality video it’s best to not go below this.
- Click, Convert.
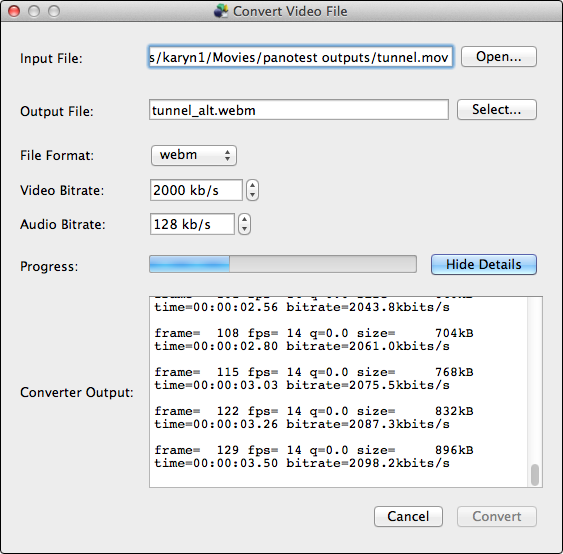
Once the conversion begins, you’ll see a progress bar and a Details button. Click this to watch the log. Once it’s finished the generated file will appear in the list, with the option to add another generated file.
See also
Using the Media Editor
Media Editor (Pano2VR)
HTML5 Video Browser Support
HTML5 Audio Browser Support
