This tip shows how to embed Objects and Panoramas in to Apple’s iBooks via iBooks Author.
To embed an Object or Panorama within an iBook you need to package the files in a special folder known as a widget which has the file extension .wdgt.
- Widgets are distributed as bundles. A bundle is a directory in the file system that groups related resources together in one place. – Apple, Inc.
Contents
Install the ibooks.ggt template
You can easily create this widget using our ibooks.ggt template, which needs to be added to the HTML Template directory for HTML5 output, for both Object2VR and Pano2VR.
- Download and unzip the HTML template:
ibooks_template.zip.
There will be two subfolders; one for Object2VR and the other for Pano2VR both containing the ibooks.ggt file. - Open Object2VR or Pano2VR.
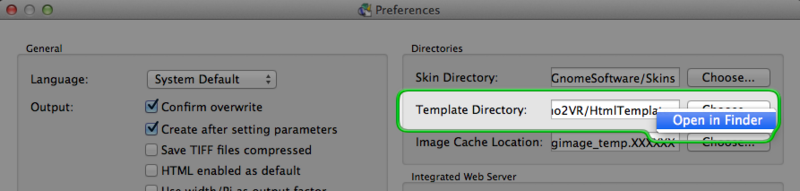
- Go to the Files tab in either Object2VR Preferences and open the template location in Finder by right-clicking on the text field and choosing Open in Finder.
- Copy the ibooks.ggt file to the html5 folder.
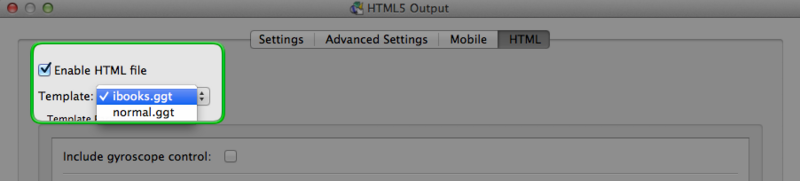
Now when you go to the HTML tab in the HTML5 output you will see the ibooks.ggt template as an option in the Template menu.
Using ibooks.ggt template
- Install the template.
- Input the object or panoramic image, depending on which program is being used.
- Choose the HTML5 output format.
- In the Settings tab, set the Window Size in the Display section.
- In the Skin/Controller section, select Convert SVG to PNG.
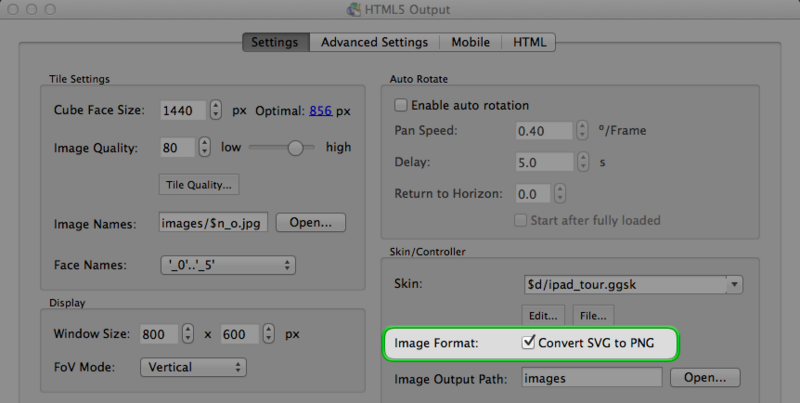
NOTE1:Currently, iBooks does not support SVG graphics. Therefore we need to export the files as PNG.
NOTE2: This option is not available in the current version of Object2VR (v. 2.0.1). For now, you can use the simplex buttons as PNG format: simplex png.zip. - In the Output section, manually add the widget’s file path.
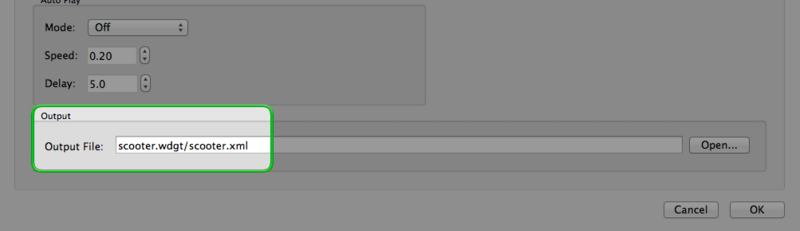
The widget (.wdgt) can be named anything (i.e. park.wdgt, scooter.wdgt, etc.). The first part of the file path points to the widget and the second part (following the forward slash) is the file name.
For example (this example is usingPart_01_out.xmlwhich is the first node of a five node tour.):park.wdgt/Park_01_out.xml.
NOTE1: If working with a multi-node panorama tour, make sure to add the widget’s file path to each node. For example:park.wdgt/Park_01_out.xmlpark.wdgt/Park_02_out.xmlpark.wdgt/Park_03_out.xmlNOTE2: Both the XML and HMTL files must contain the widget’s file path. So this process will be repeated later.
- Go to the HTML tab.
- Choose the ibooks.ggt template from Template.
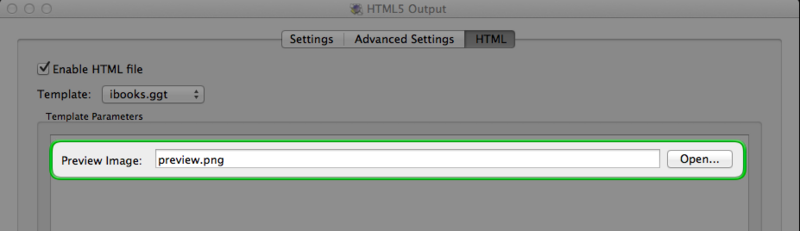
TIP: Learn how to install the template. - [Optional] Choose a Preview Image by clicking Open…. If you don’t use a custom preview image, the widget will adopt the size of the preview image for displaying the panorama or object. If you choose not to use a preview image, the default view and Window Size will be used.

NOTE: The file format for the preview image must be PNG.
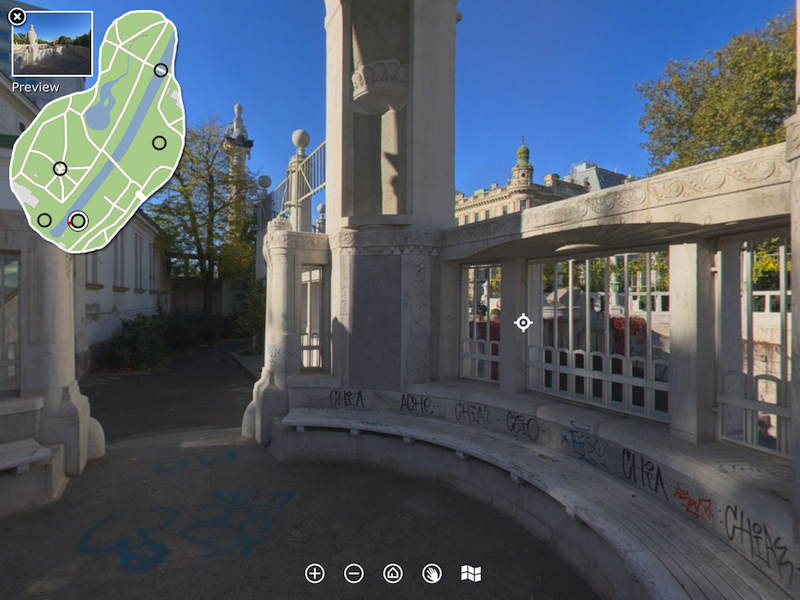
NOTE3:Currently, iBooks cannot resize the window. Rather, the object or panorama will be scaled so it will fit the width or height of the window; this includes the graphics in the skin. Make sure any text and/or images are easily visible when the output is scaled to its smallest size.

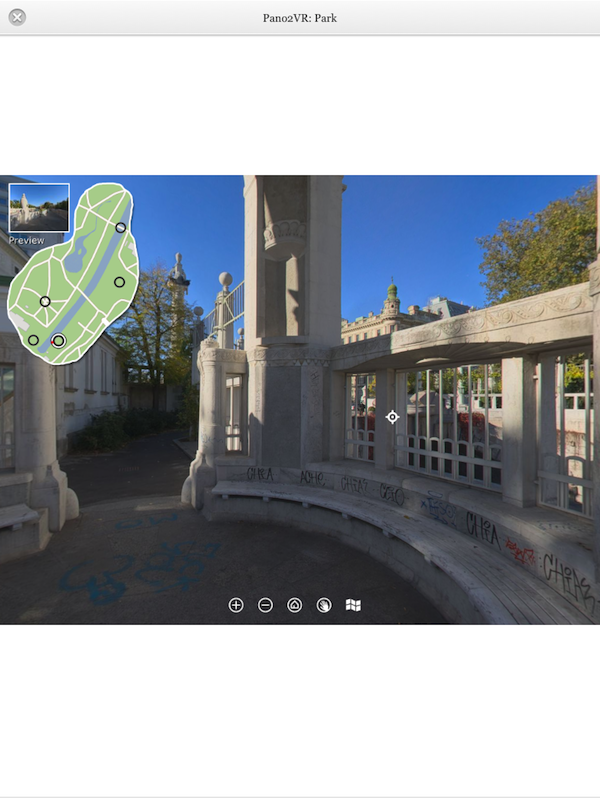
The following image shows the same panorama as the previous image but with the iPad portrait mode. The image has been scaled down to match the width of the screen and the text is now more difficult to see.
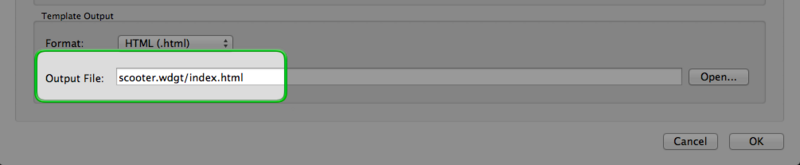
- In the Output section, manually add the widget path.
NOTE1: Both the XML and HMTL files must contain the widget’s file path.
NOTE2: The HTML must be called, index.html. For example:park.wdgt/index.html.
- Output the project.
When the project is complete it will create the widget which will contain all your files. To check the contents of the widget, simply right click on the widget and select Show Package Contents.
This is the final widget that is now ready for iBooks Author.
Continue on to the next section to learn how to add the widget in iBooks Author.
Add the Widget to iBooks Author
- Open iBooks Author.
- Select the page the object or panorama will be in.
- From the toolbar menu, choose Insert > Widget > HTML. A small window for interactive items will pop up.

- Drag the widget onto the HTML widget window. The preview image from the project will now be seen.
- Position the HTML widget in the page and change the text description.


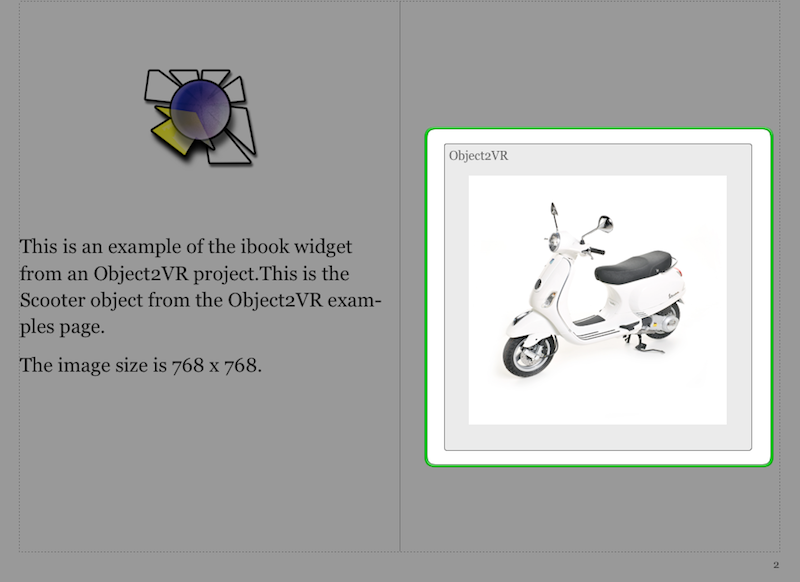
When the iBook is previewed, the project’s preview image will be seen in the page. Tap this to open the object or panorama.
Both the Park and Scooter widgets can be downloaded to look at how to embed them in iBooks Author. We have also added a tour.wdgt made with Pano2VR Pro. As The Pro version outputs to one folder this makes outputting widget’s even easier as the file path only needs to be set once for the opening panorama:
scooter.wdgt
park.wdgt
tour.wdgt – Made with Pano2VR Pro Tour Builder
See also
HTML Template
iBooks Author
Apple iBooks
iBooks Author – Adding HTML
Widgets Basics
iOS Apps Support, iBooks
iBooks FAQ