The tip will show you how to quickly change the color of a Scalable Vector Graphic using a text editor.
Scalable Vector Graphics
Scalable Vector Graphics or SVG’s are graphics that are defined using an XML text file. This means they can be opened with a text editor and the HEX code that determines the colors can be changed.
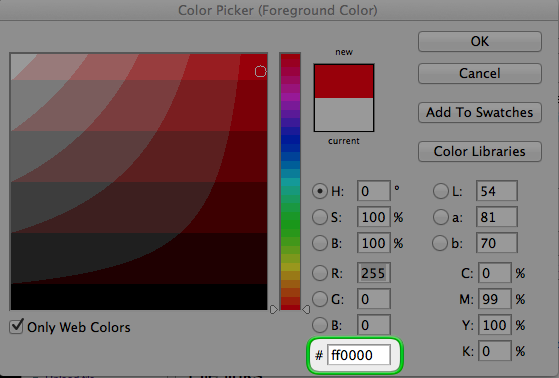
- First, the HEX value of the color must be known. There are a number of websites that have this information as well as most graphics programs, such as Photoshop, which also display colors in HEX code.
The following image shows Photoshop’s color picker displaying the HEX value for red.
- Once the HEX value is known open the SVG using a text editor. The information you are looking for is the Fill and the Stroke. The below image shows that this SVG has a fill of White
#FFFFFFand a stroke of Black#000000.
- SVG’s can be opened in most modern web browsers which is ideal for previewing.
The following shows an SVG opened with Safari.

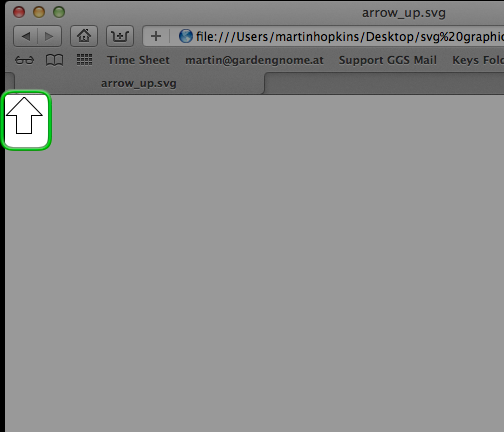
The above arrow can be found with a host of other useful graphics in the download link at the start of this tip.
See also
Wikipedia Scalable Vector Graphics
Wikipedia HEX Color Codes
Using the Skin Editor