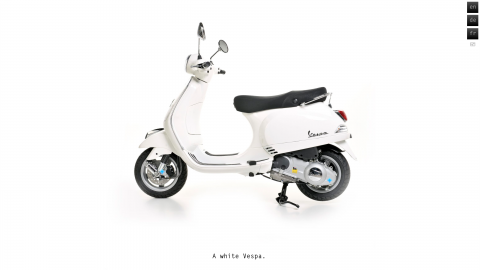
For many of us, it’s necessary to include multilingual projects to reach a larger audience. Hopki posted earlier this month, as a response to a question posed on the forum, a way to incorporate multiple languages into your project using point hotspots, PNGs, and the skin editor. This way you don’t have to code it. For the most part it goes something like this:
- For each language and point hotspot, create an information box (PNG) and a hotspot image.
- Create a folder for each language and place the PNGs (information boxes) in their corresponding folder. Each file must have the same name – for instance, info_1.png; info_2.png; info_3.png.
- Add the hotspots in the hotspot editor.
- In the URL field, add the corresponding file name for each information box (info_1.png).
- Add an External Loader, in the Skin Editor, to load the information boxes with the corresponding language.
- In the skin editor, add a hotspot template. Drag in the 3 hotspot images on to the template. Give them each actions to load the external loader and the text it should show. For example: en/$hu; de/$hu; fr/$hu, etc.
- Add buttons for changing/choosing the language. Add actions so that when they are clicked, the corresponding hotspot image and infobox are loaded.
Check out the tip for a bit more information.
PS: This can be used in Object2VR and a single-node Pano2VR project.
