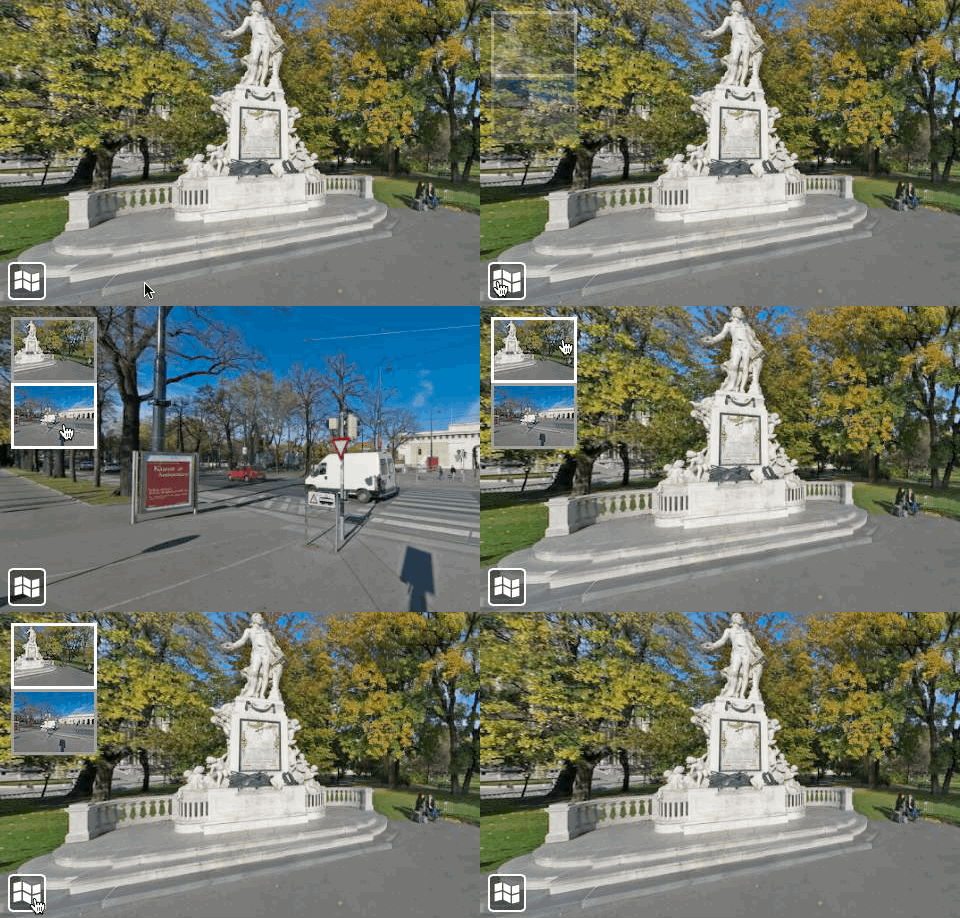
Using thumbnail images of the tour images are a great way to navigate through a tour. If you have a lot of tour images, though, and want to have this style of navigation, it can get a bit tedious.

Thumbnail Navigation
But, back in July, Hopki posted a tip on how to do this in a somewhat automated way in Pano2VR pro. Here are the basic steps:
- Download Hopki’s thumbnail project.
- Add your tour images to the thumbnail project and output the Transformation output that’s in the project. This will output all your tour images to thumbnails and will create a folder containing the images in your project’s output folder.
- Next, add the supplied skin to your project, and then just drag in your tour images from the Tour Browser. This will create automatic thumbnail buttons of your project images using external loaders.
That’s it!
Learn more about external loaders.
Learn more about node markers.