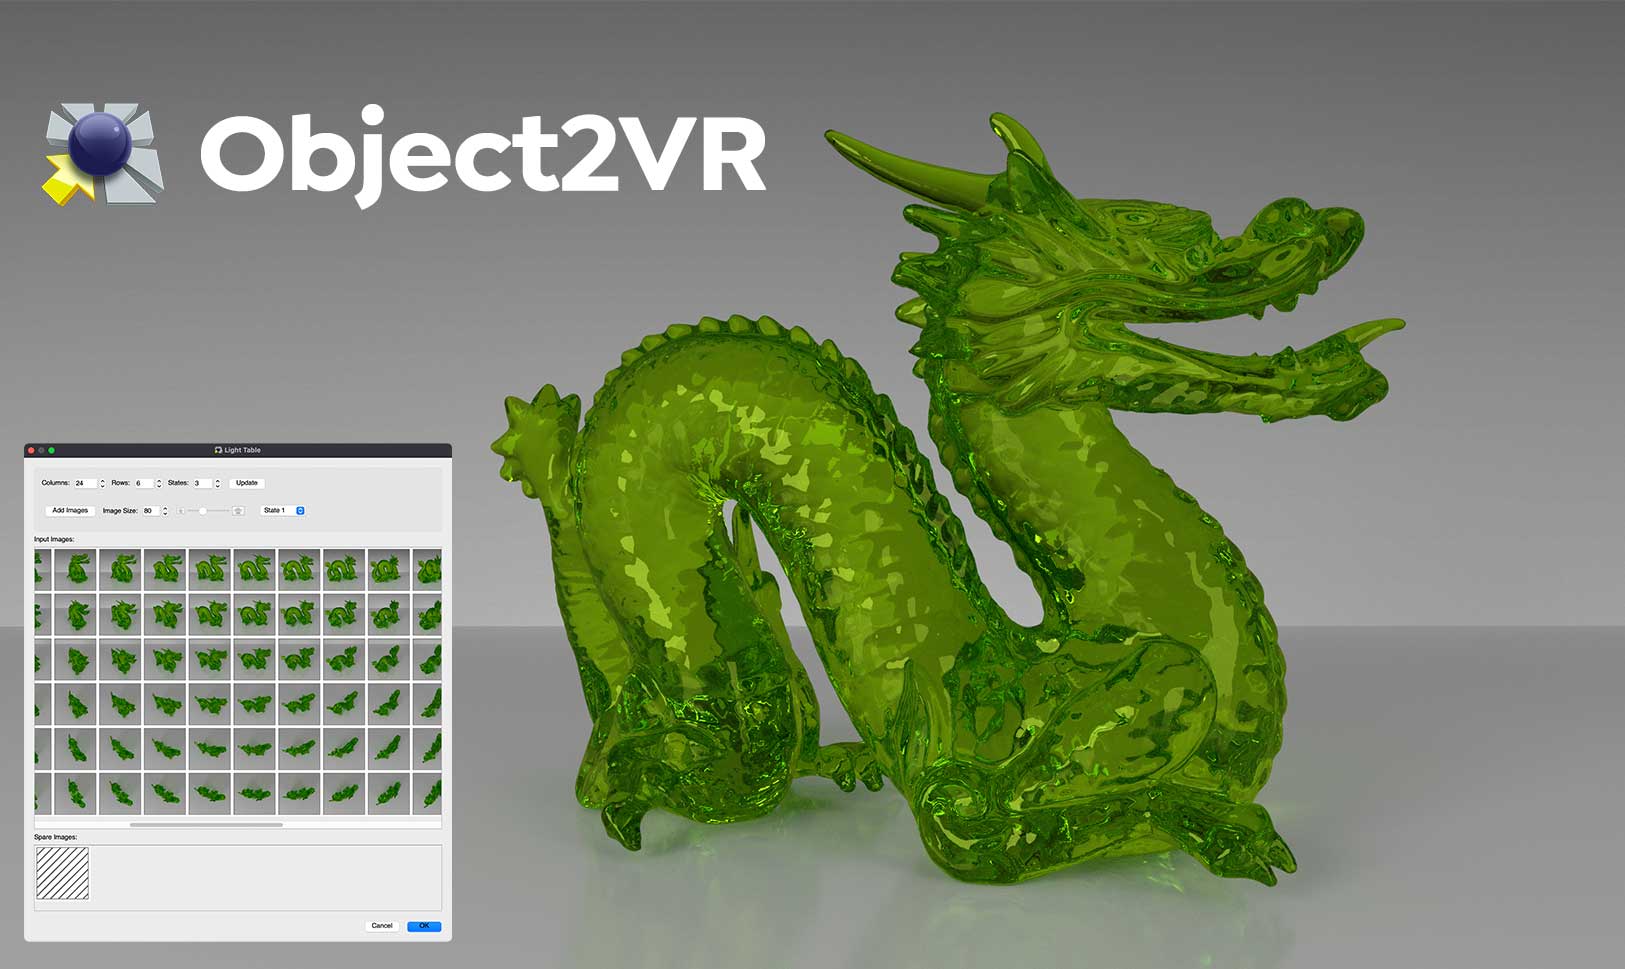
Object2VR 4 is out and delivers a brand new user interface, a powerful skin editor, translation support, more hotspot types and an option to upload to the cloud.
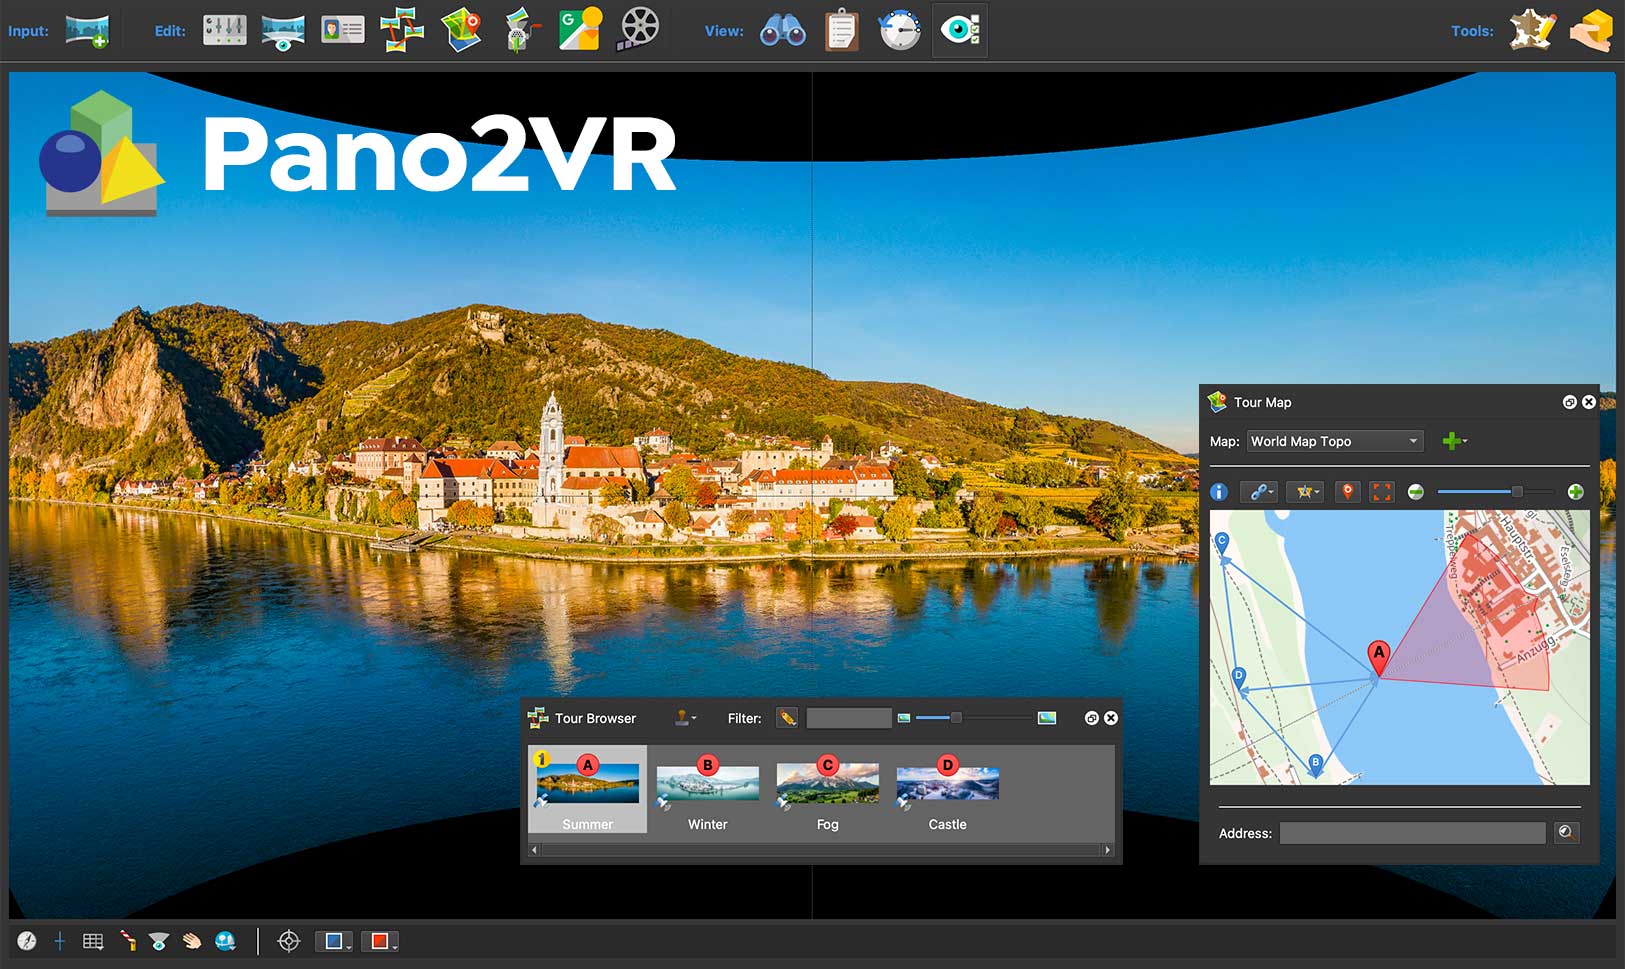
Pano2VR
Create virtual tours for desktop and mobile devices by using a single responsive design. Convert your panoramic images into interactive 360º panoramas.